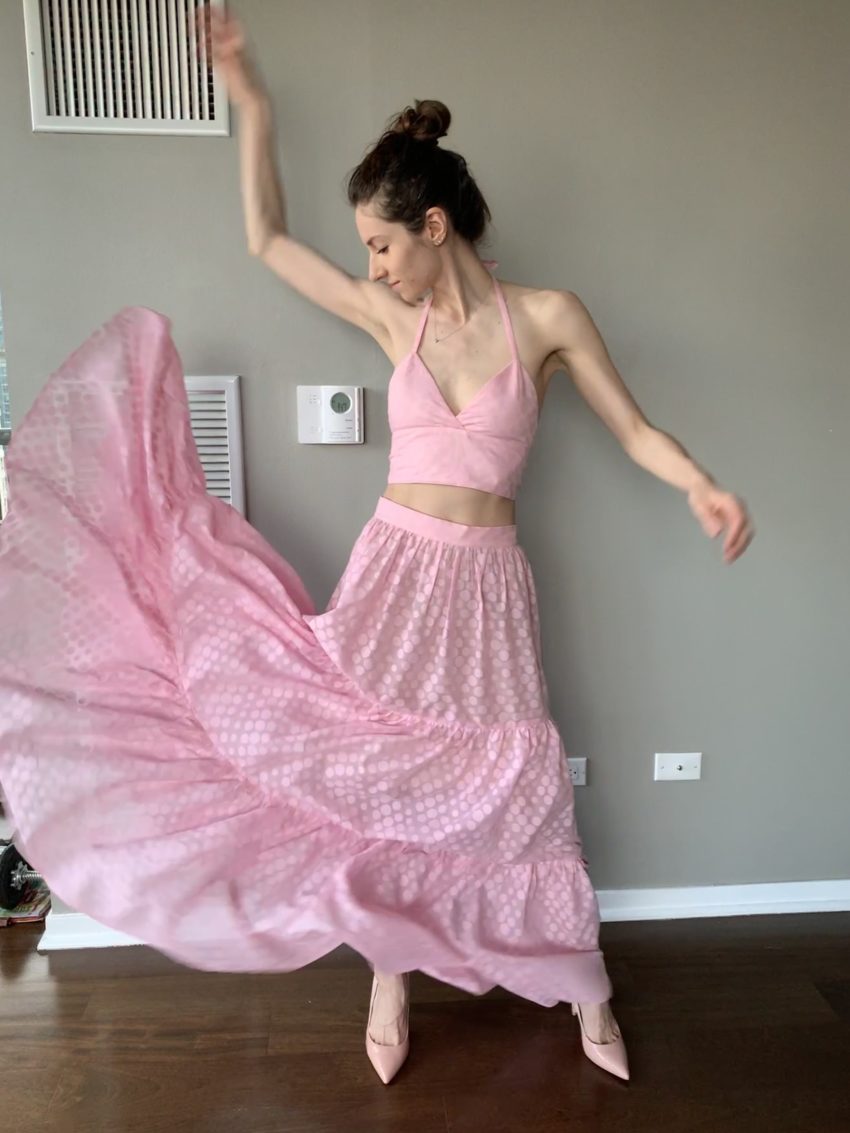
How to sew a flirty two-piece maxi skirt and bralette outfit, perfect for beach vacations and summertime.
Long before we had a solid wedding plan, I set out to start creating some fun custom pieces for our someday honeymoon. I knew we would probably choose a location with a beach where we can have a proper dose of relaxation with some adventure mixed in. But now our honeymoon is officially booked…and we’ll be frolicking around the Seychelles this summer!
Needless to say, I’m thrilled. I have visions of lazy days poolside overlooking the ocean and stunning strolls along the lush greenery of the islands in breezy beautiful clothing. And so, to help bring this vision to life, I sewed this romantic 2-piece set that will serve me well during our 12 days in paradise.
What you’ll need
- 4 yds. fabric (I used cotton voile)
- 1 yd. lining (I used cotton voile)
- 1 invisible zipper
- matching thread
What it cost me
- $20 for 4 yds. cotton voile
- $9 for 1 yd. cotton voile lining
- $31 invisible zipper
- $3 pink cotton thread
- TOTAL = $63
Notes & Tips
- Use a microtex 60/8 or 70/10 needle to sew cotton voile or other thin fabrics.
- Ensure you adjust the tension on your sewing machine when sewing with thin fabrics like cotton voile. I kept mine around 3/3.5.
- Use pinking shears on all raw edges to avoid fraying, even on enclosed edges.
- I sewed everything using a 1/2″ seam allowance.
Sewing Process
I had 4 yards of this 58″ wide cotton voile fabric from Mood Fabrics to work with, and it accommodated both the skirt and bralette top with leftovers to spare. I initially purchased this fabric with the intent to use it for some cute dresses for my nieces…I’m not much of a color-wearer…but I decided to be bold and use it to make something for myself (don’t worry, I still have fabric to spare to make them something!).
I self-drafted the 3-tiered maxi dress by making each tier twice as long as the tier above it. Here is my math: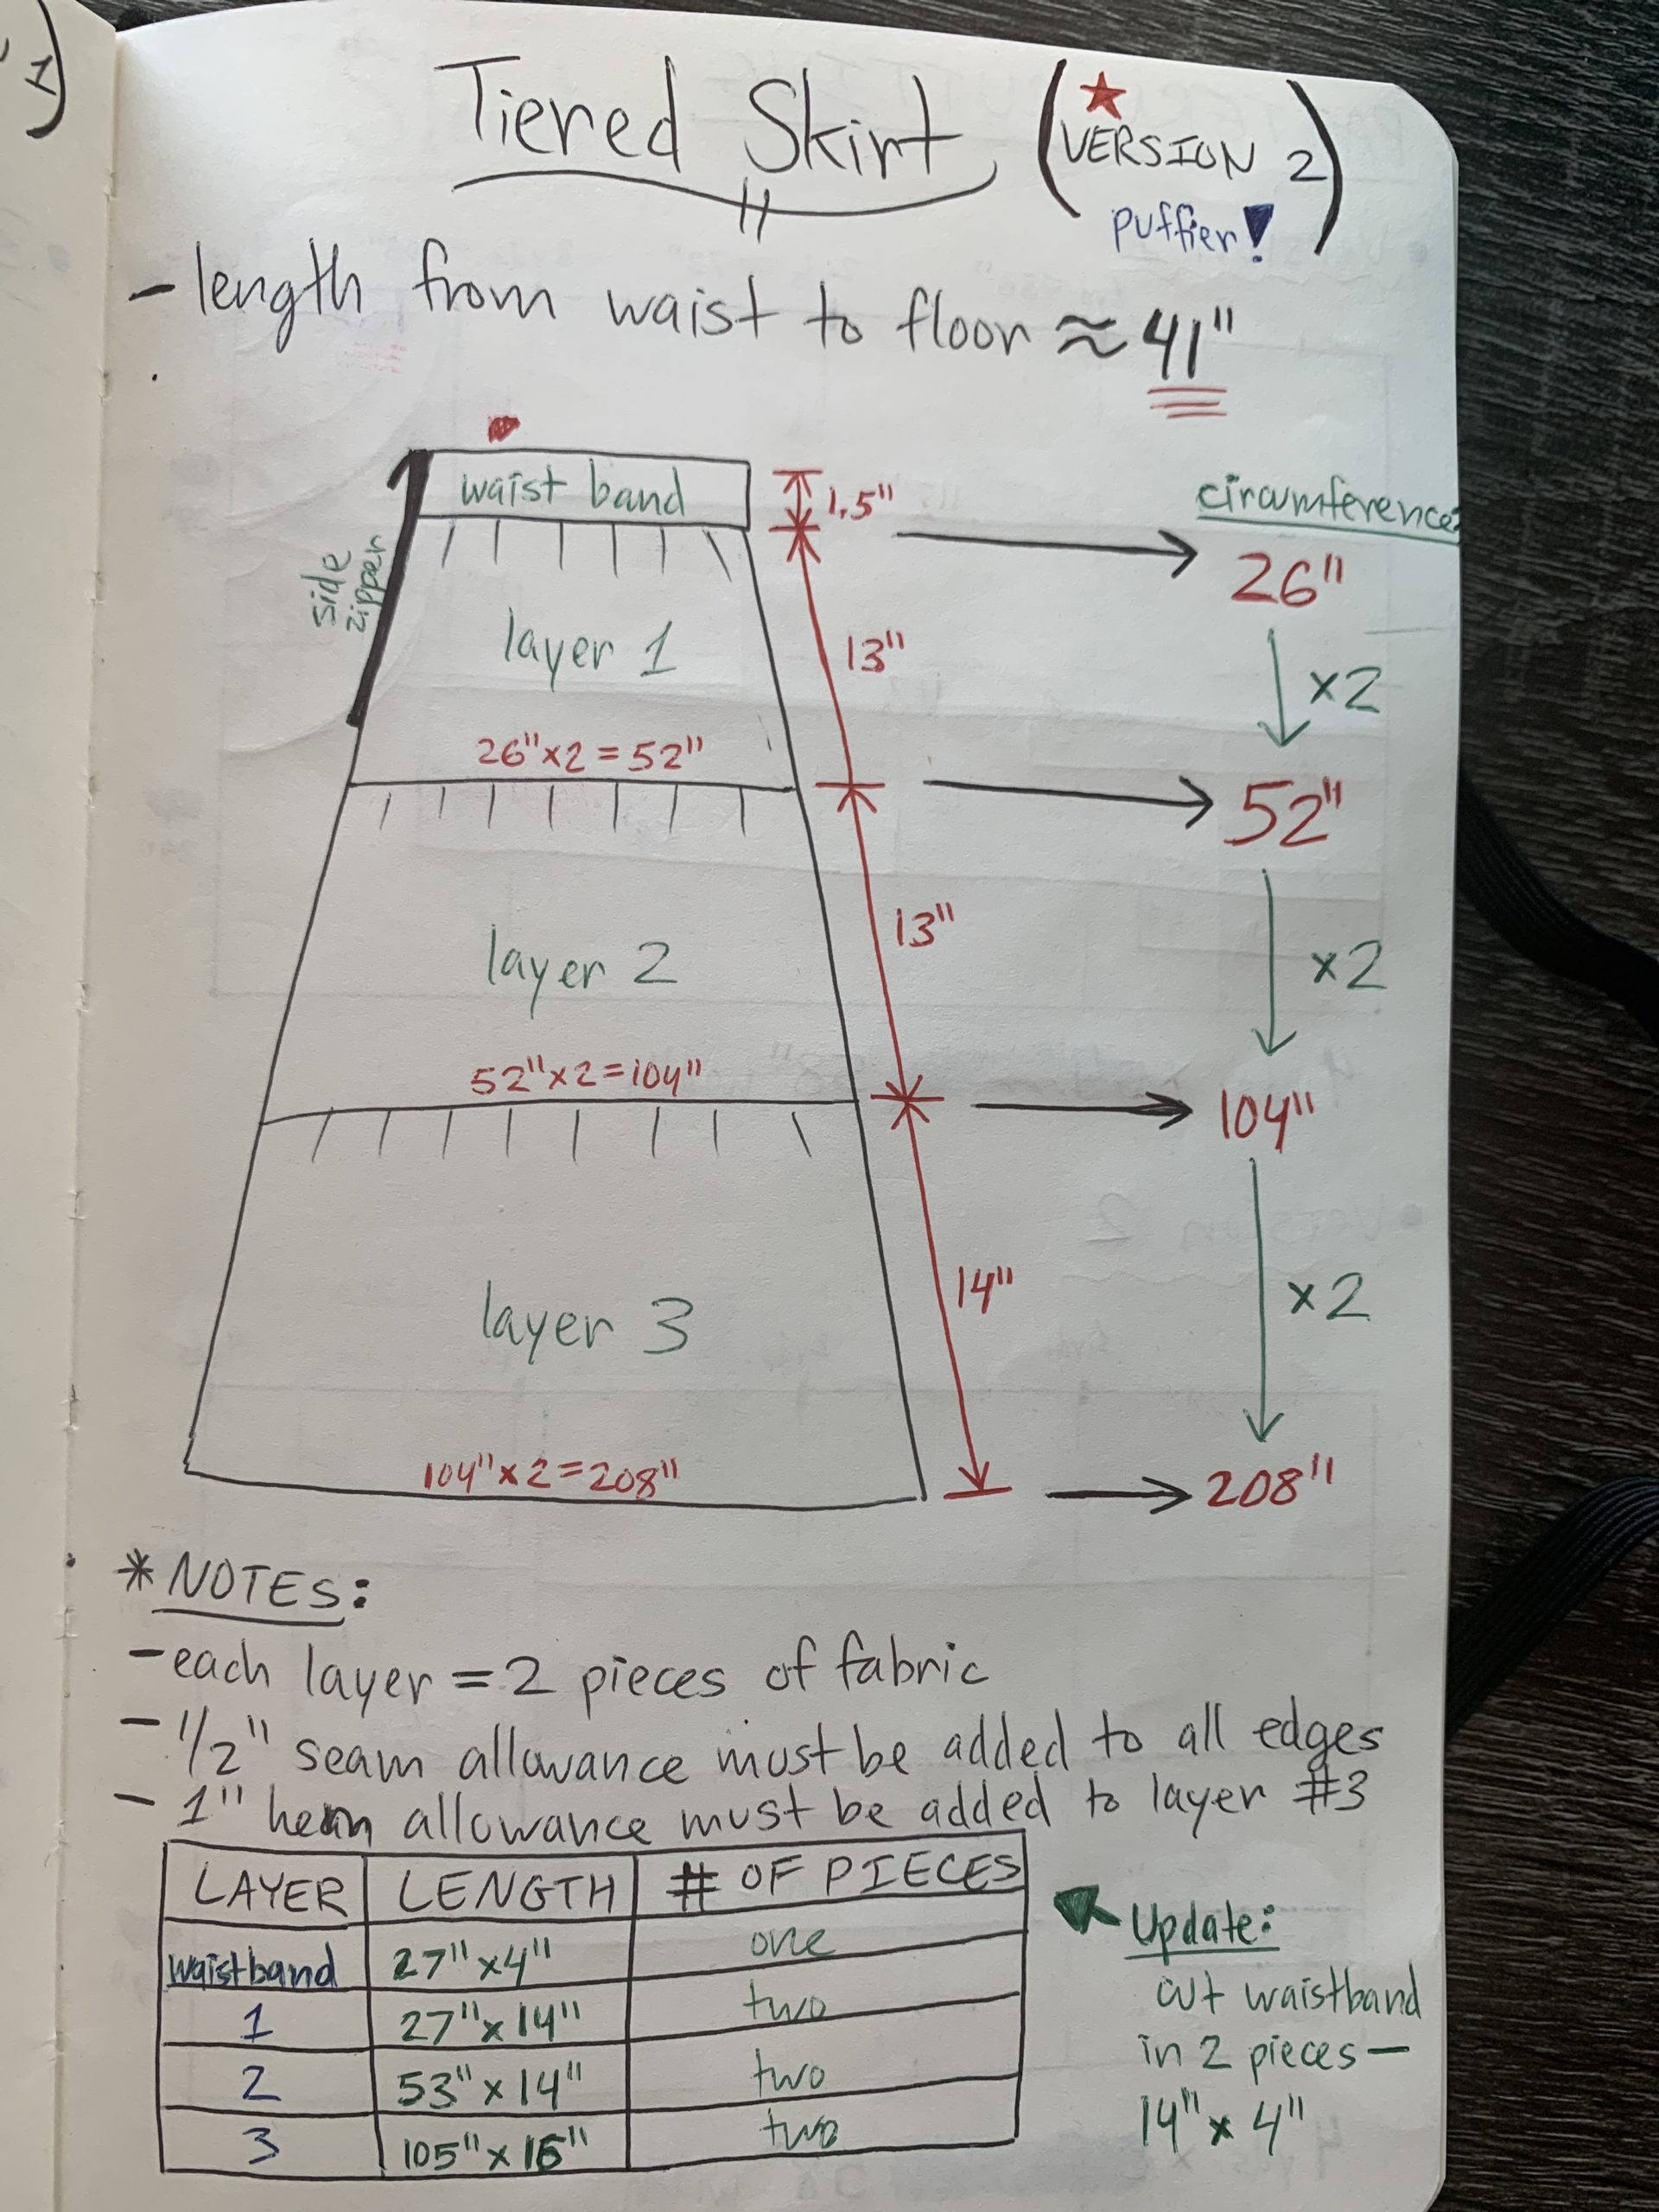
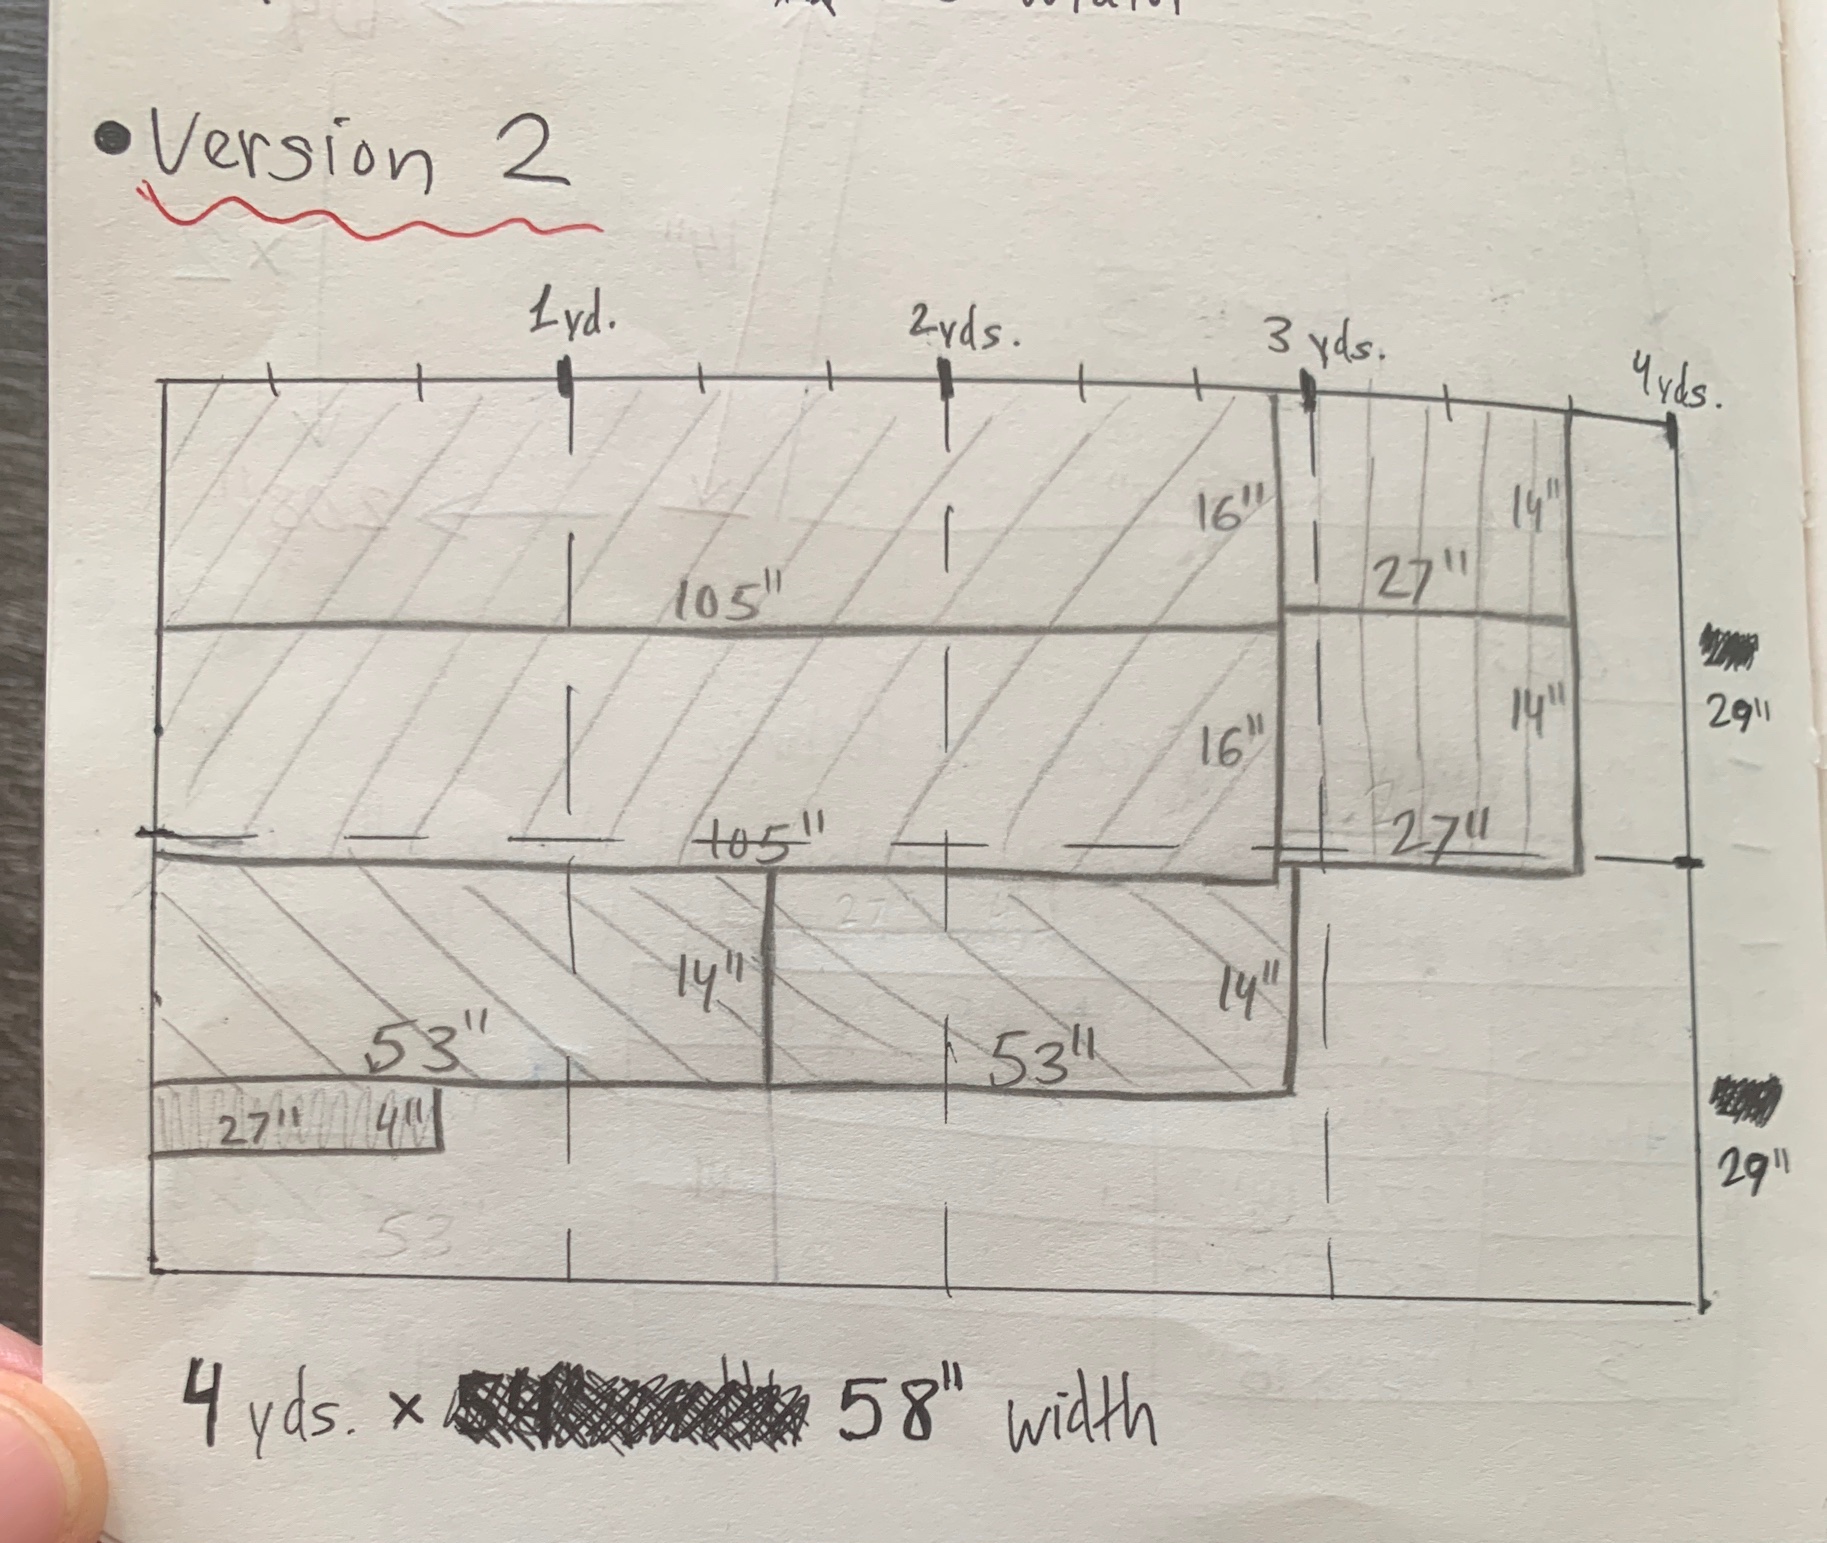
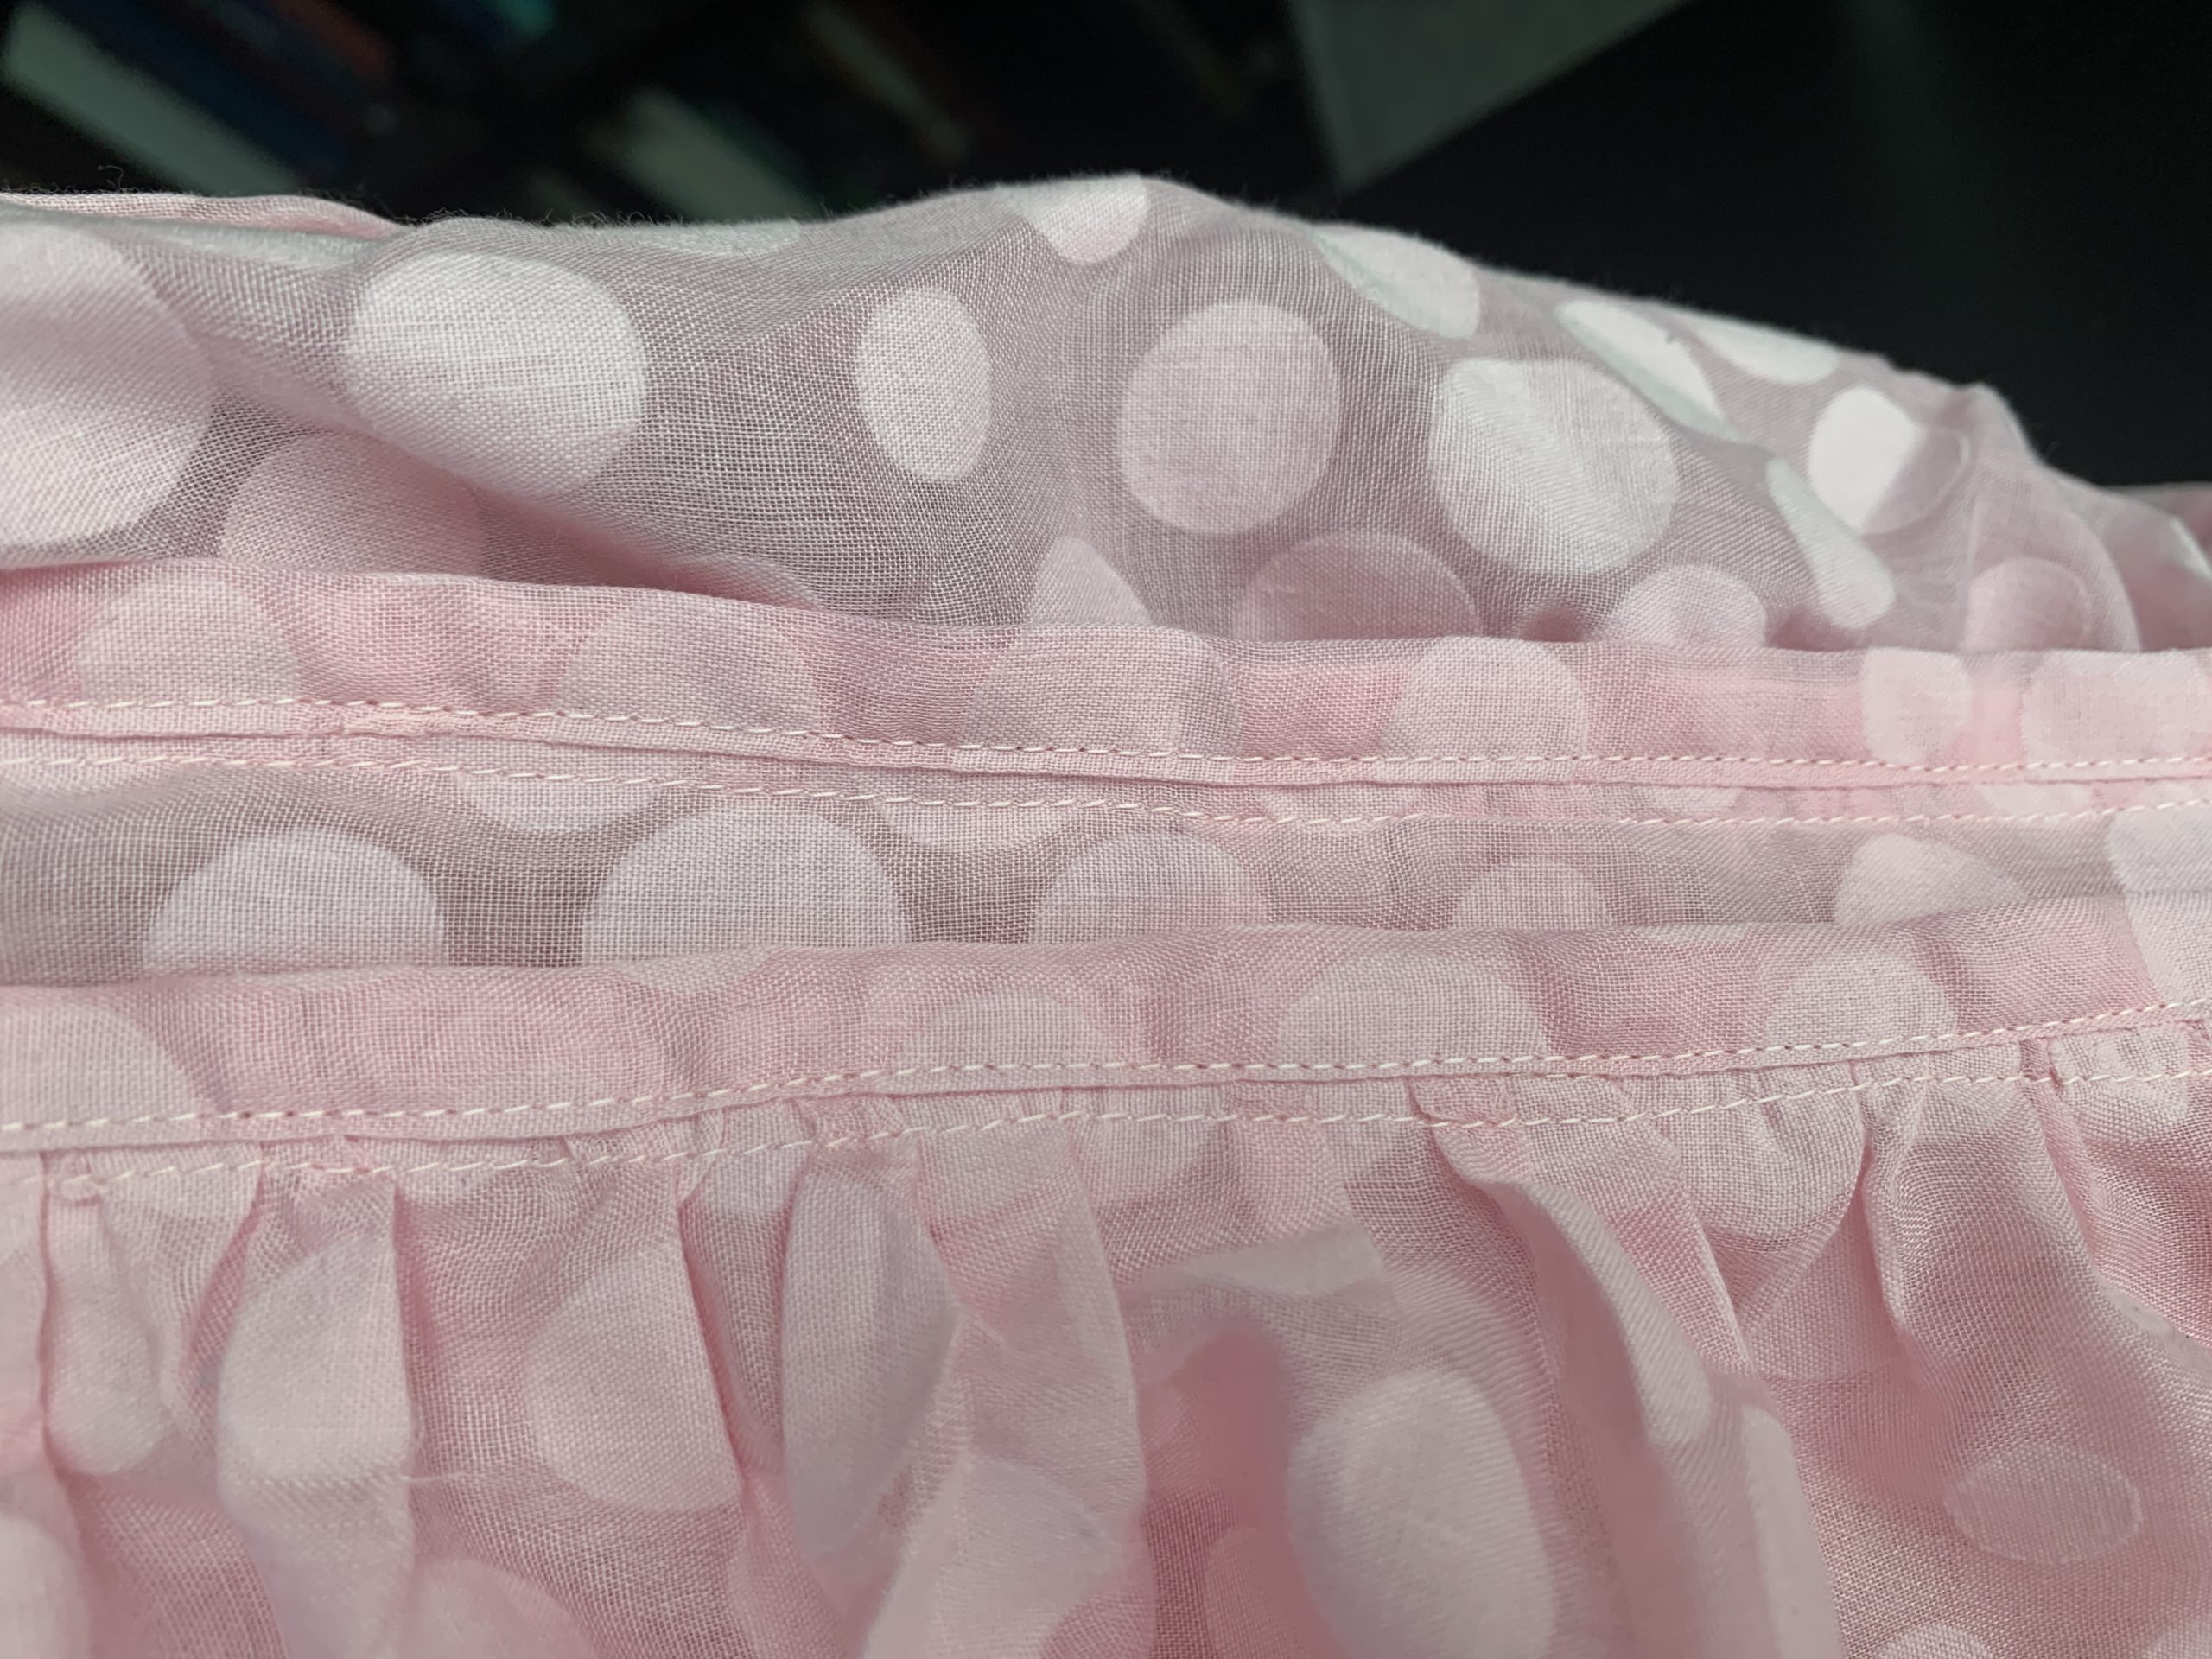
Next I used french seams to sew the edges of the bottom two tiers together to create two massive ‘loops’ of sorts. I then used a gathering stitch (use longest stitch length on sewing machine) on bottom tier, and gathered the fabric into the middle tier as shown below.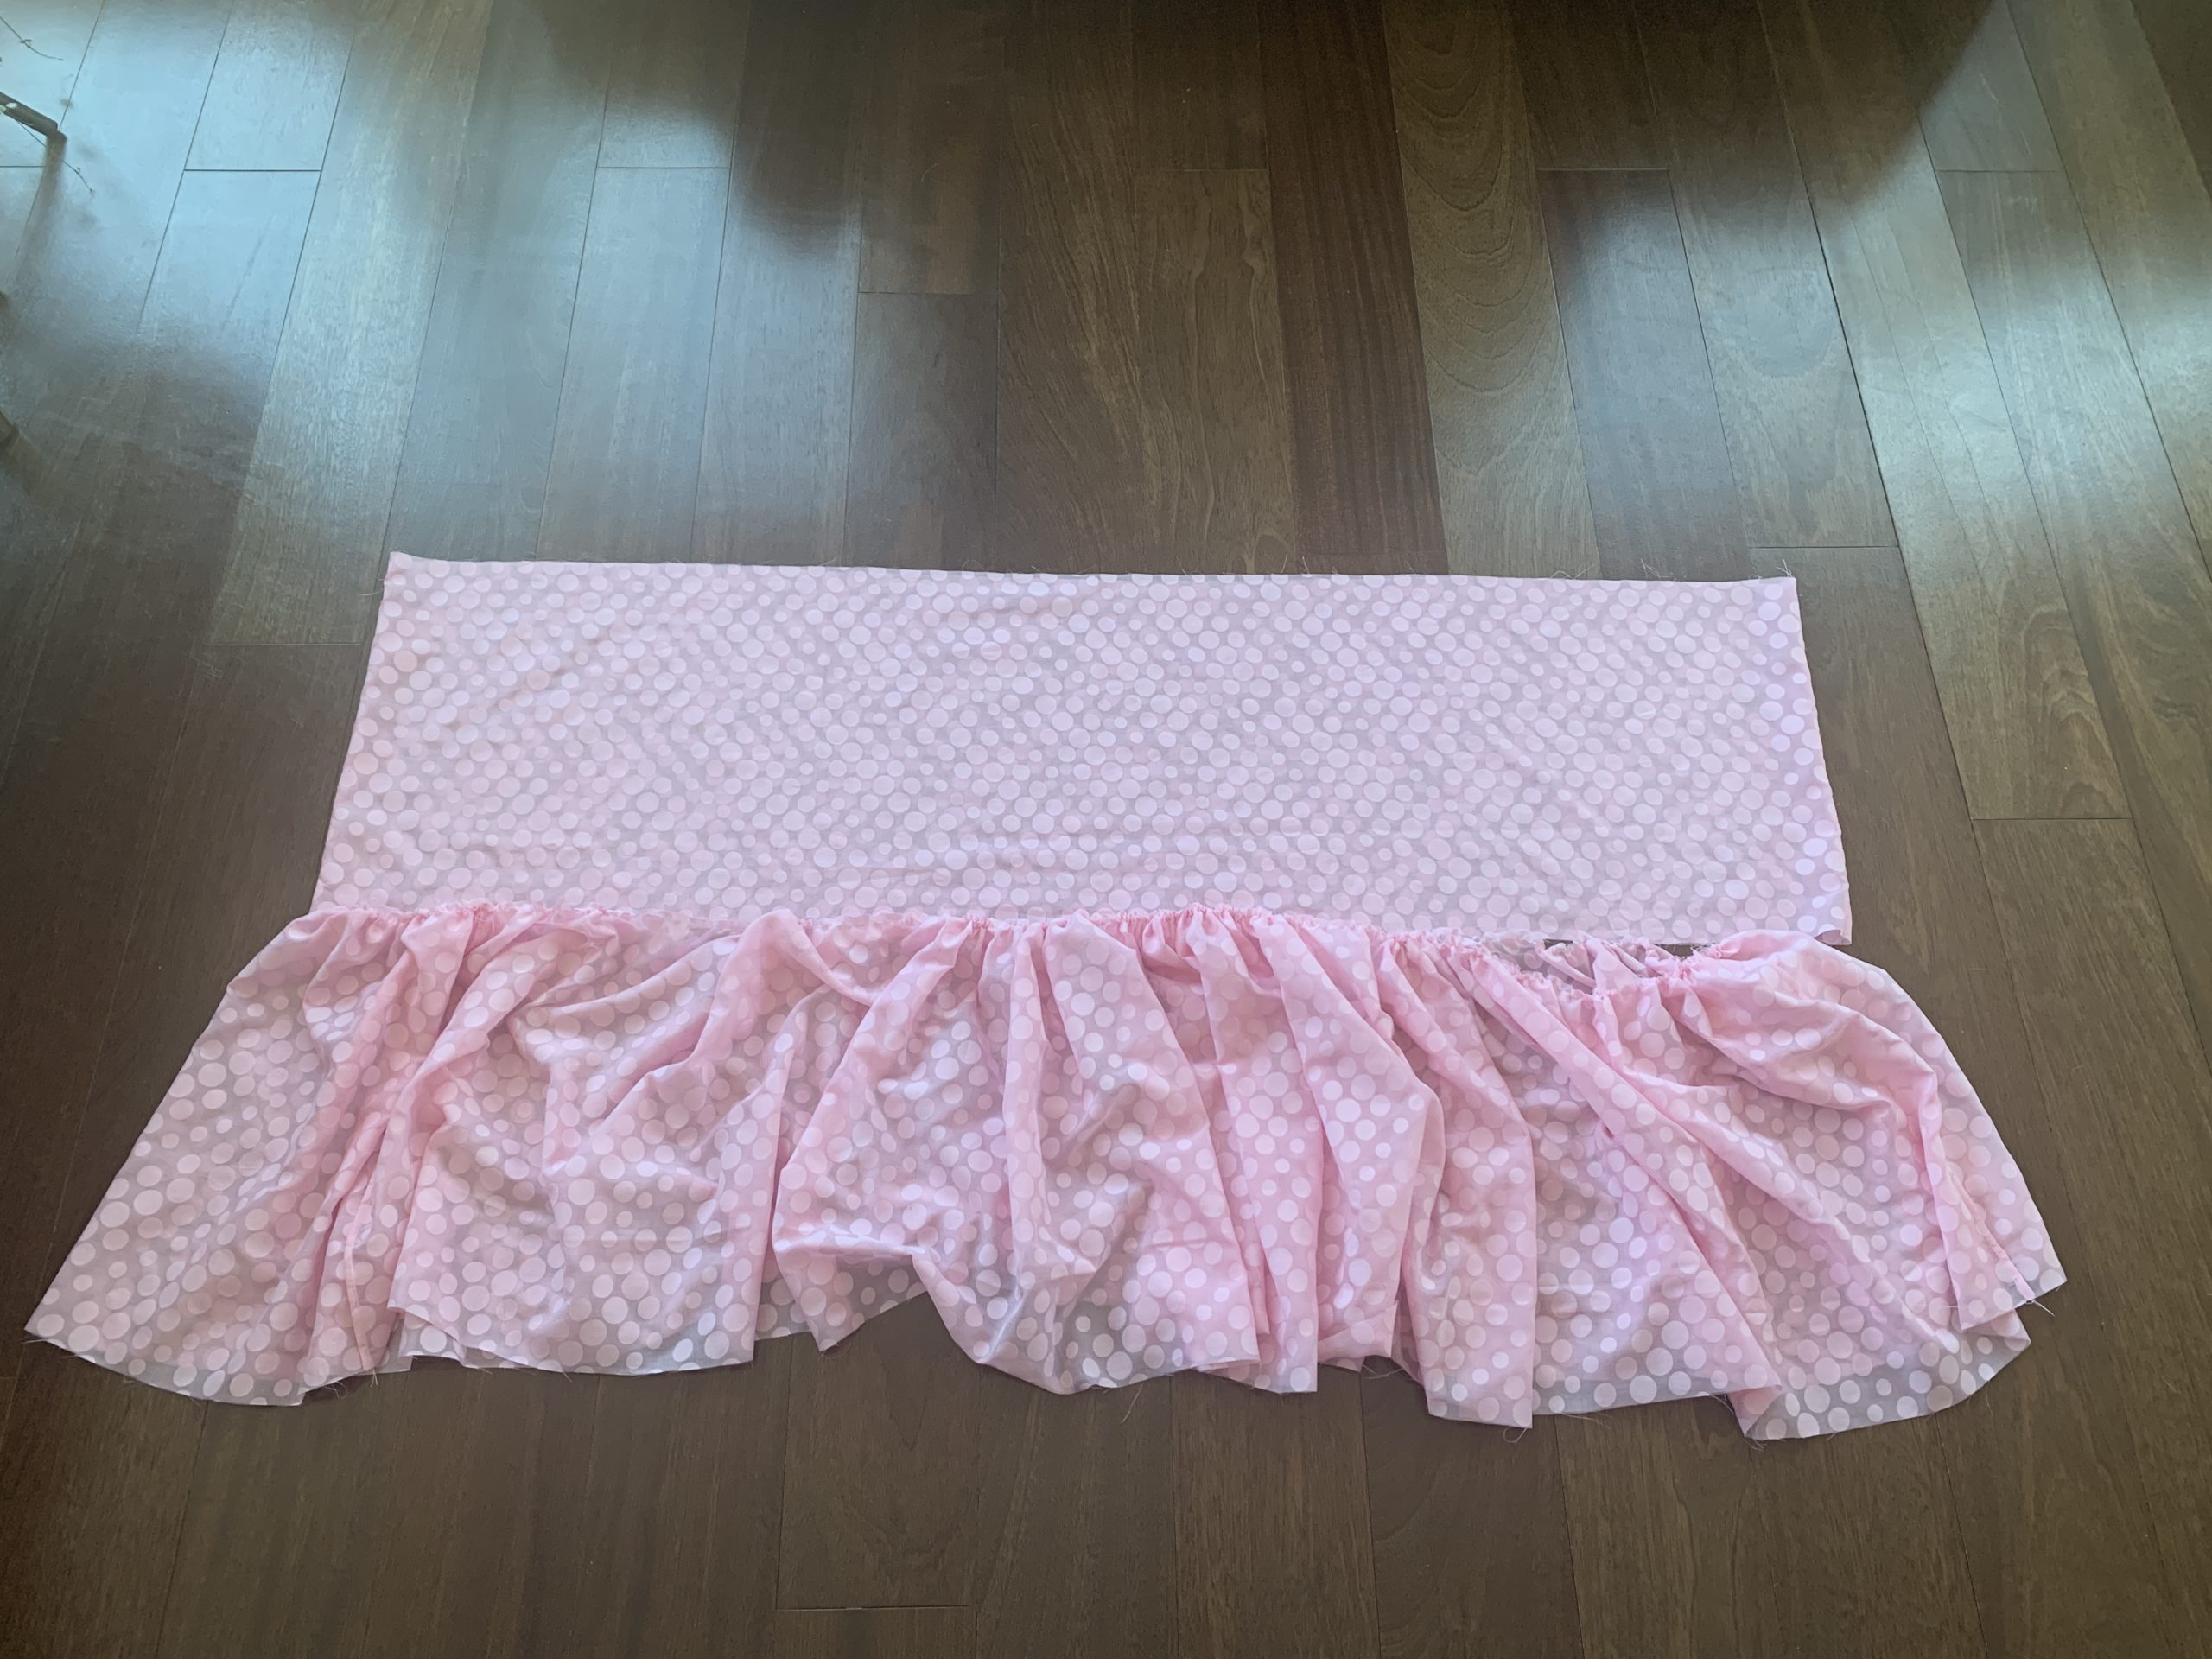
I pinned the layers and carefully sewed them together.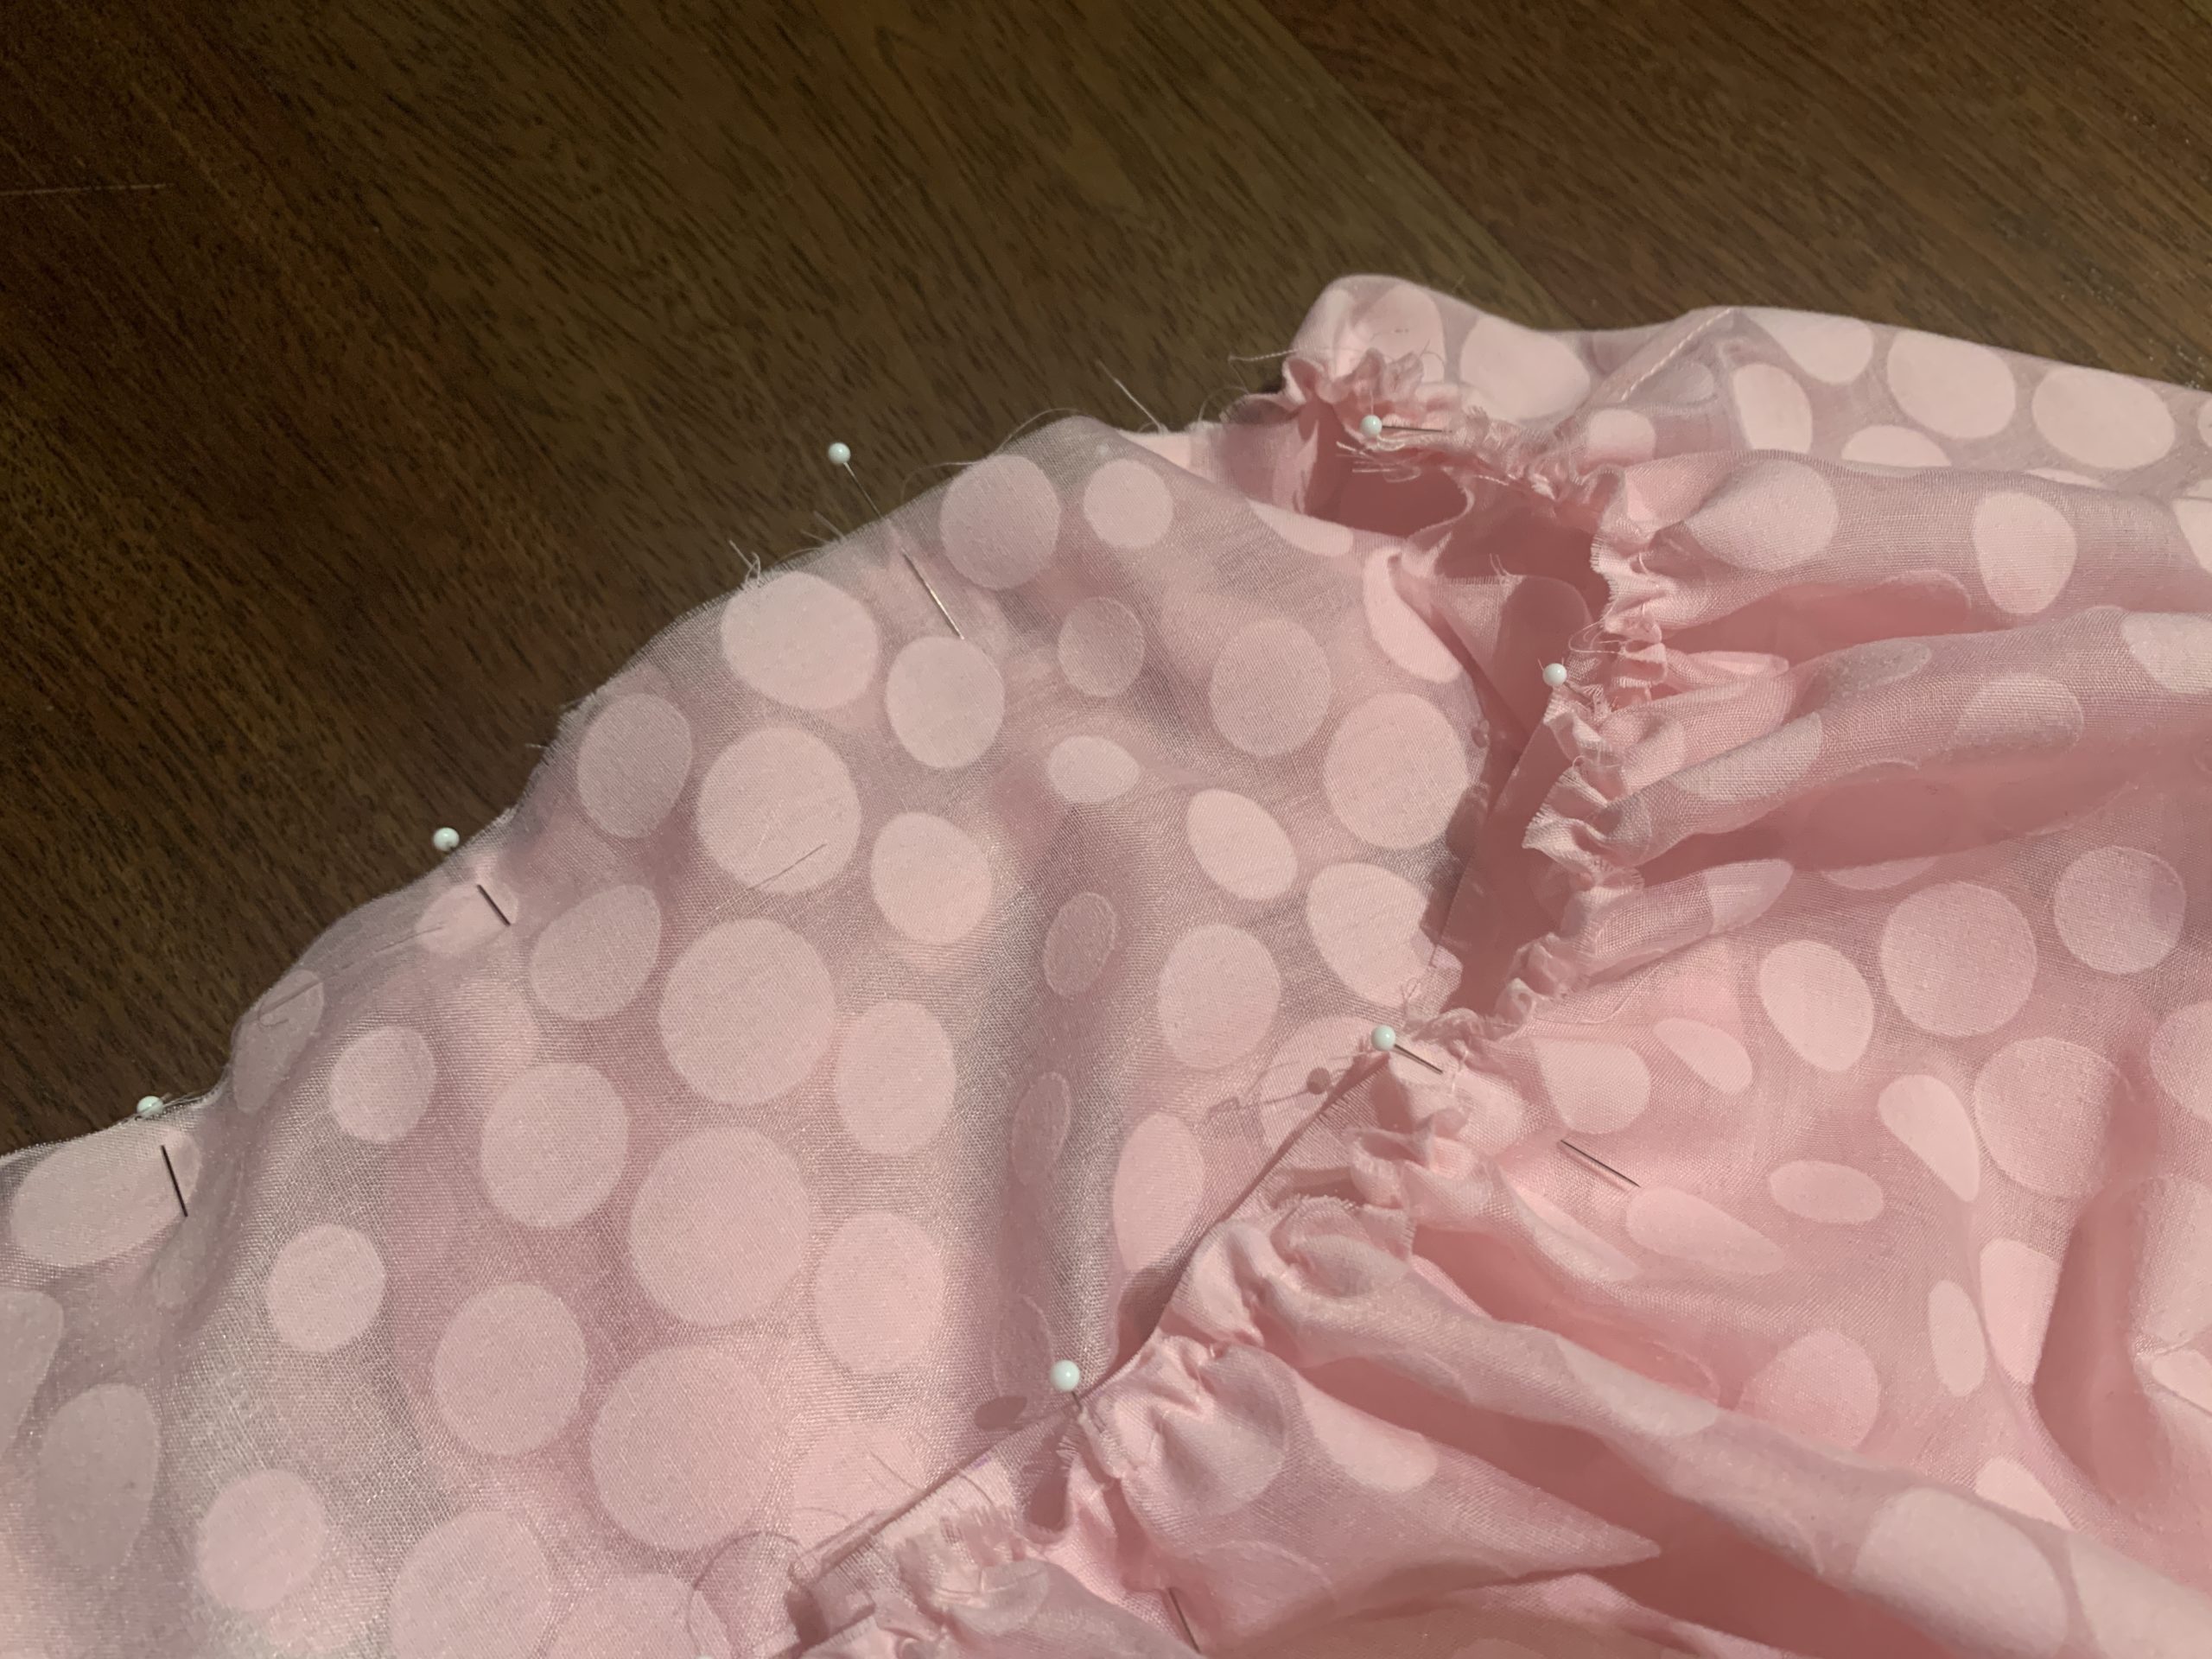


Next, I worked on creating the waistband. My waistband consisted of two strips of fabric sewn together. Because the cotton voile is so thin, I lined it with a layer of light pink cotton. I essentially treated the two fabric pieces as one.
To attach the waistband to the skirt, I first sewed one edge of the smallest (top) tier together using french seams, leaving the other edge open since it will have a zipper. I gathered the top of the skirt layer into the waistband, leaving space for the seam allowance + zipper, and sewed them together.

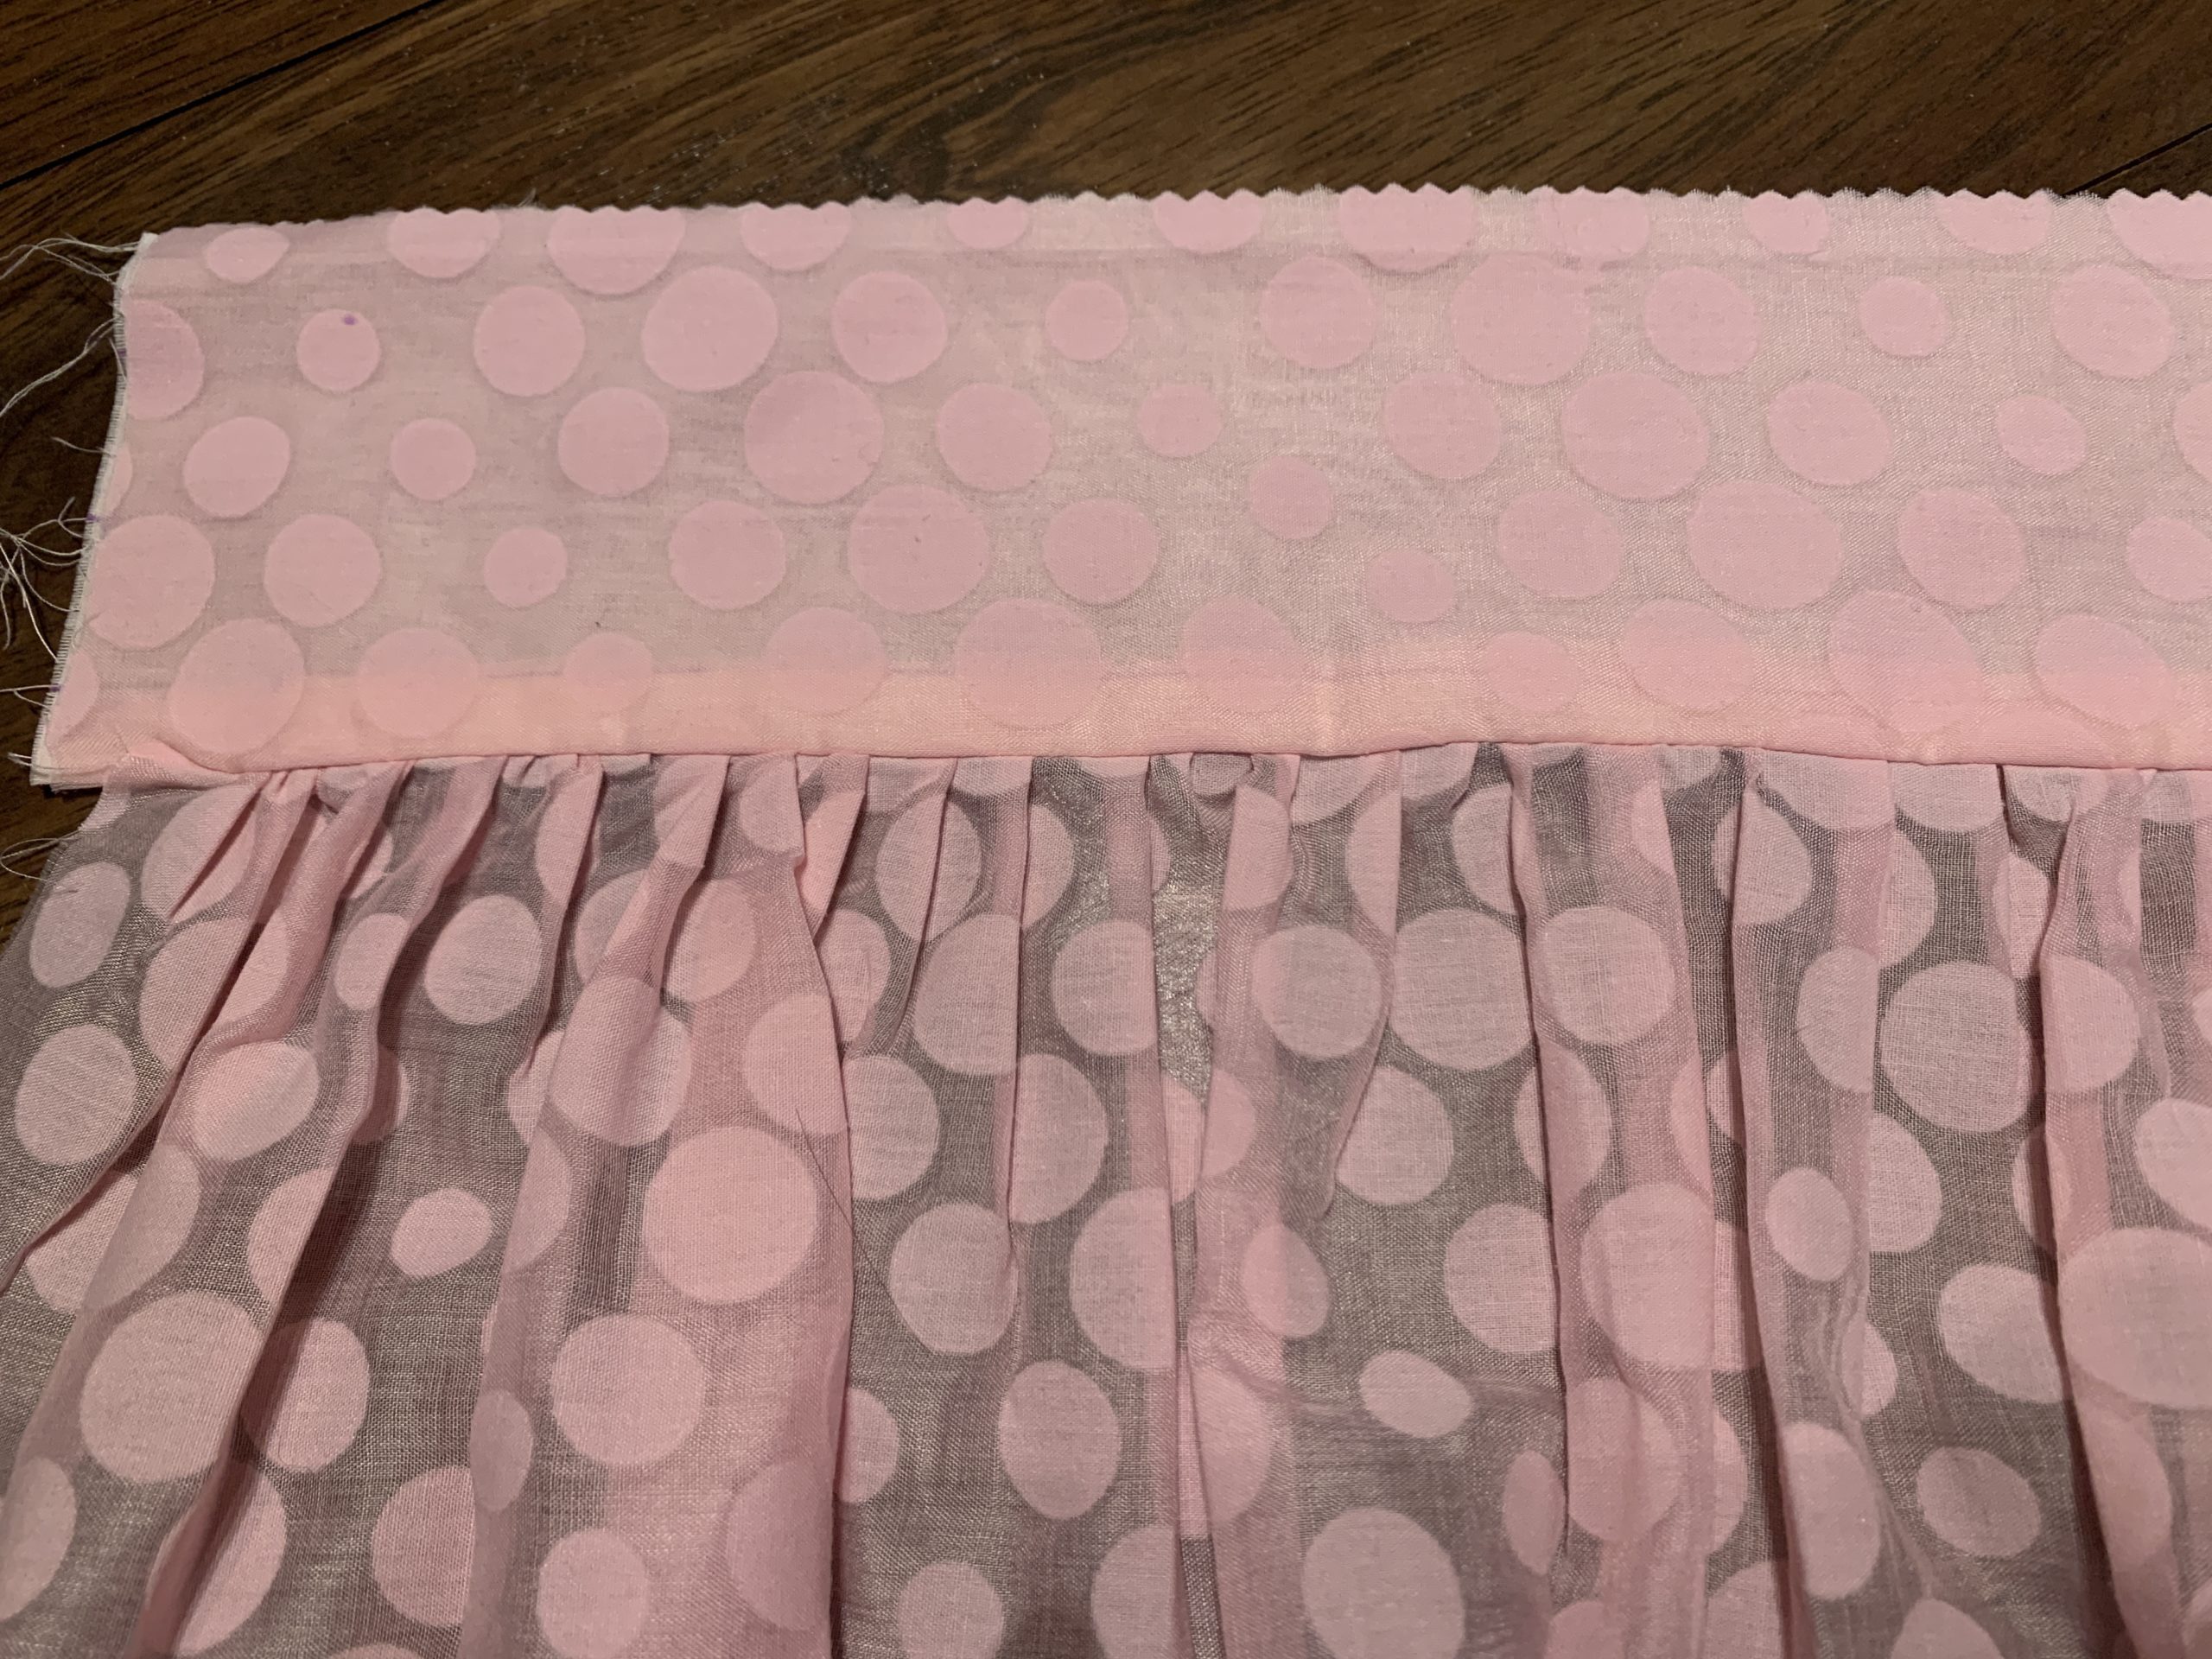
I finished off the edges with pinking shears to prevent fraying. My waistband ended up being 1.5″ thick.

Next, it was time to sew in the invisible zipper! To prepare the zipper I bent down and sewed the top of the zipper. The next part was tricky – I first marked the top tier with where the zipper will end. I then sewed the top tier right sides together up to that zipper point end. Basically I sewed the first step of the two-step french seam process. Then I sewed in the invisible zipper per the normal process.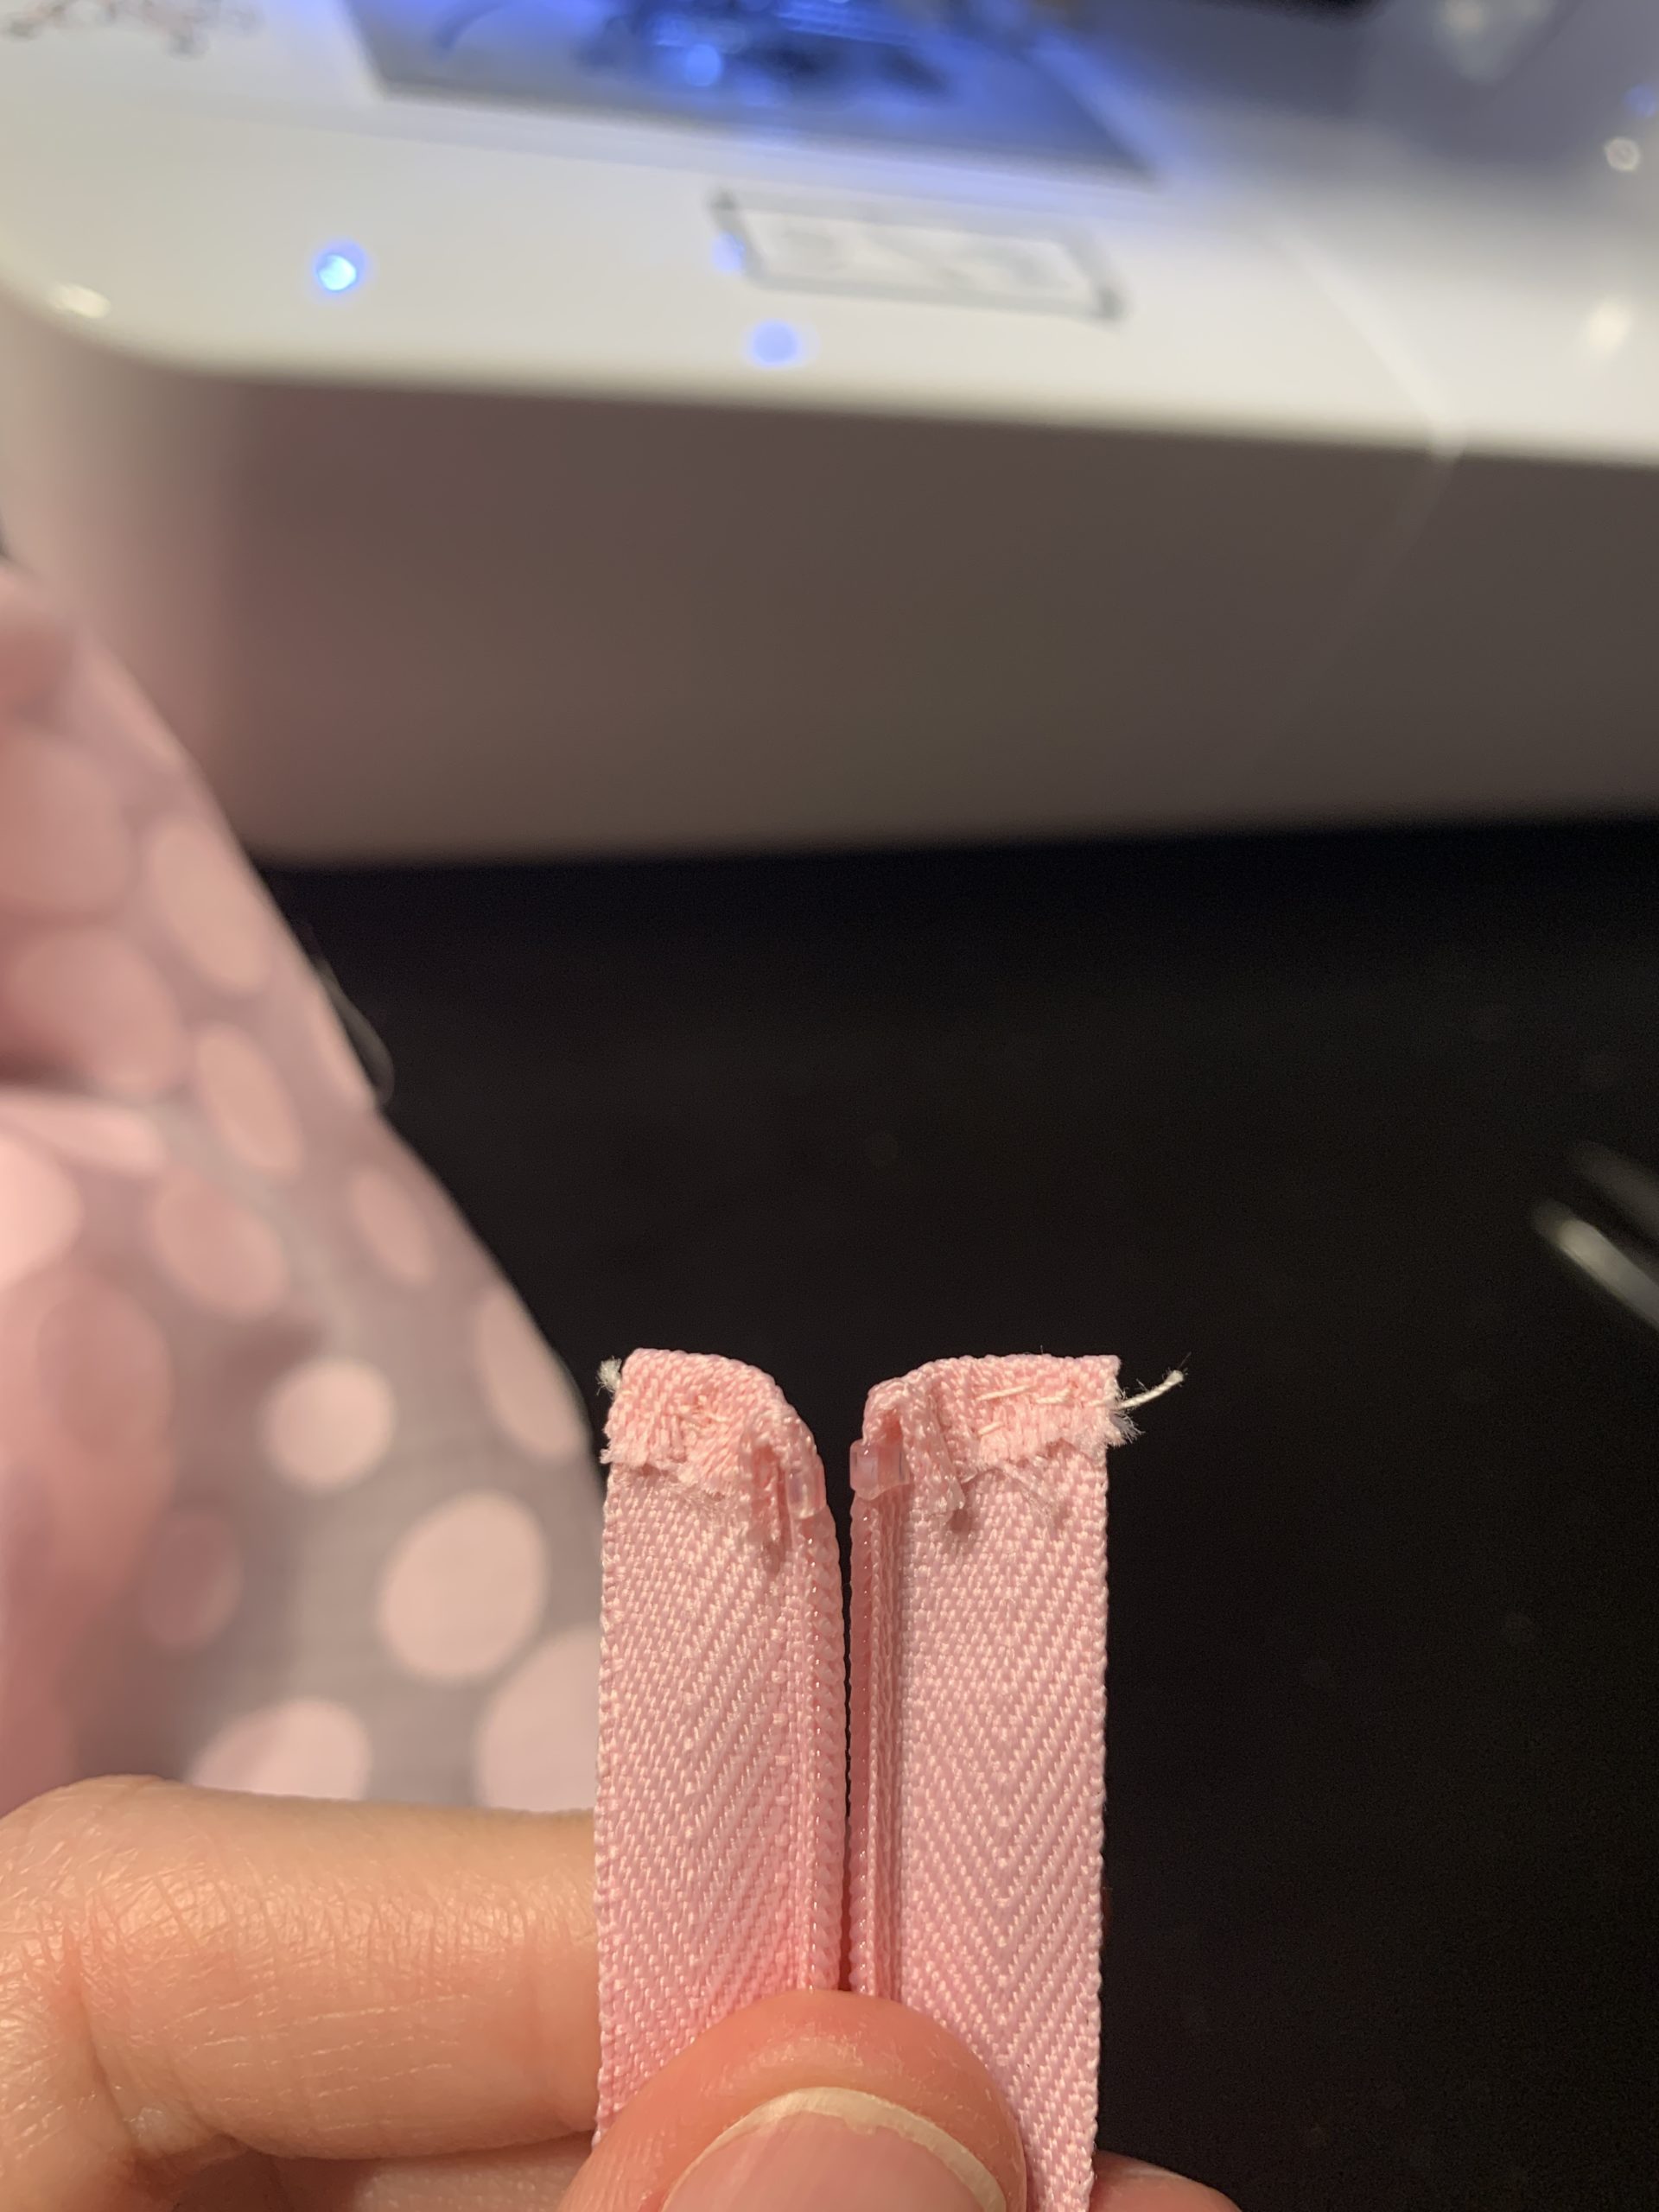
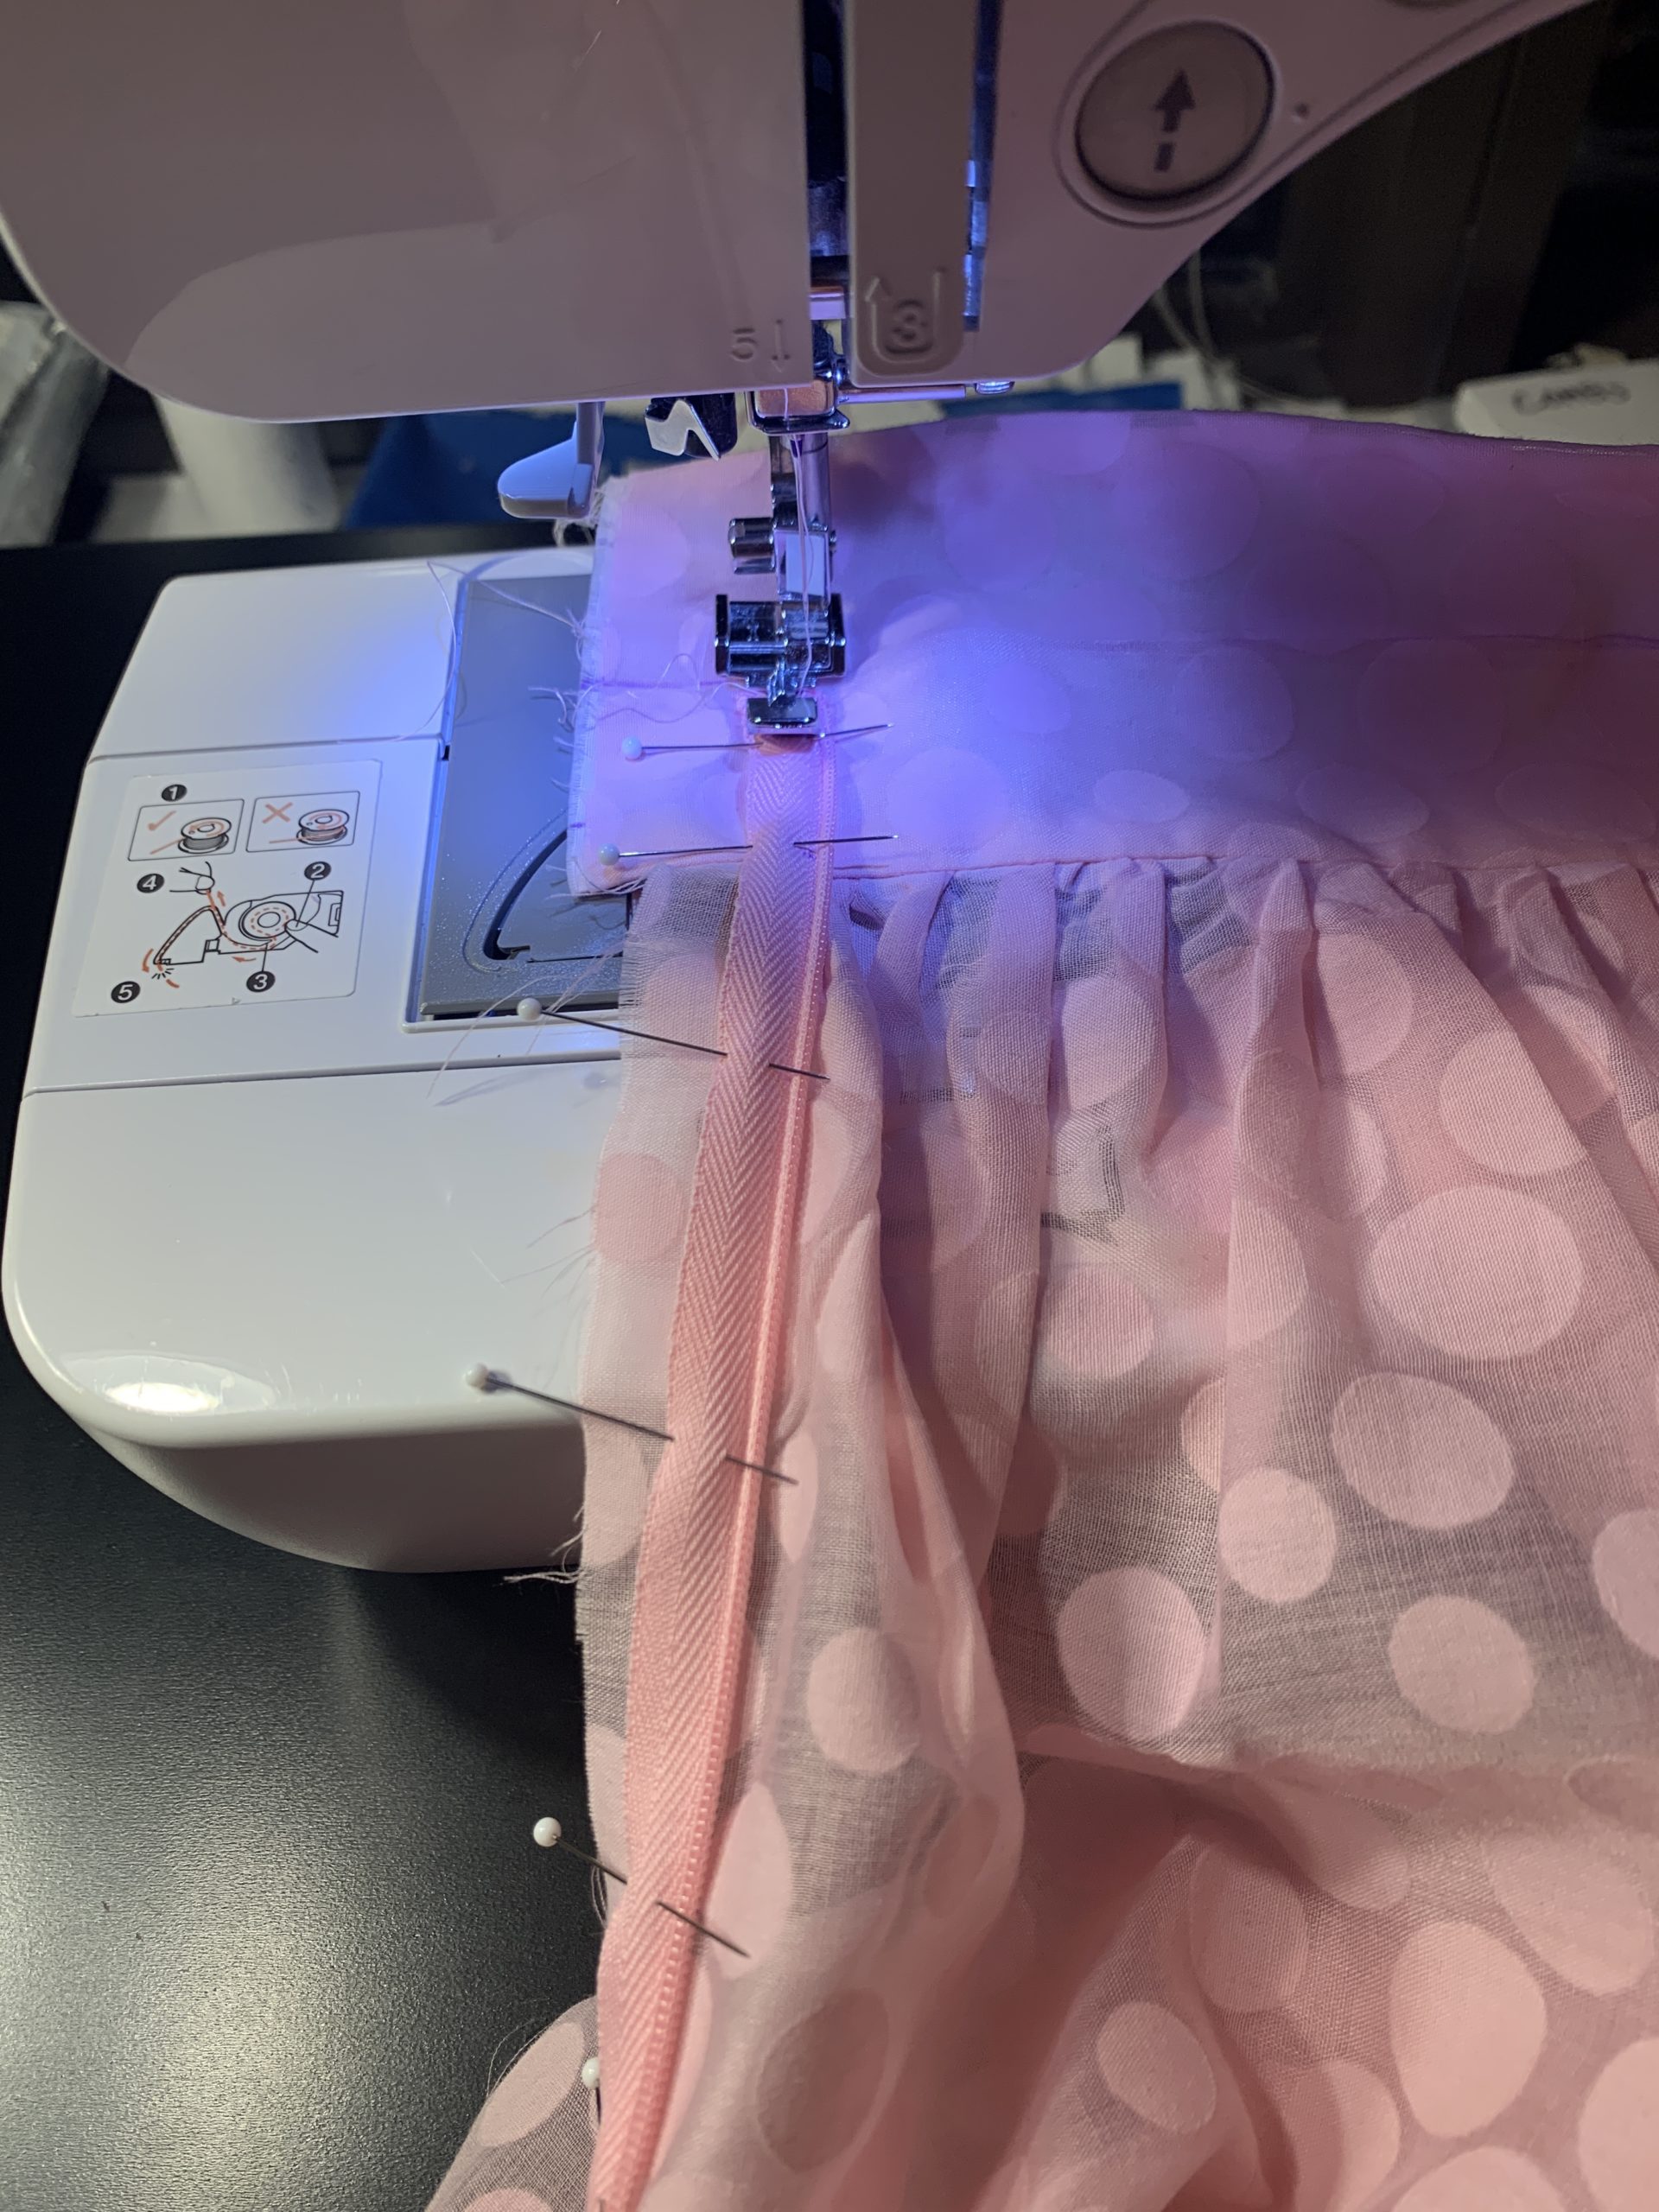
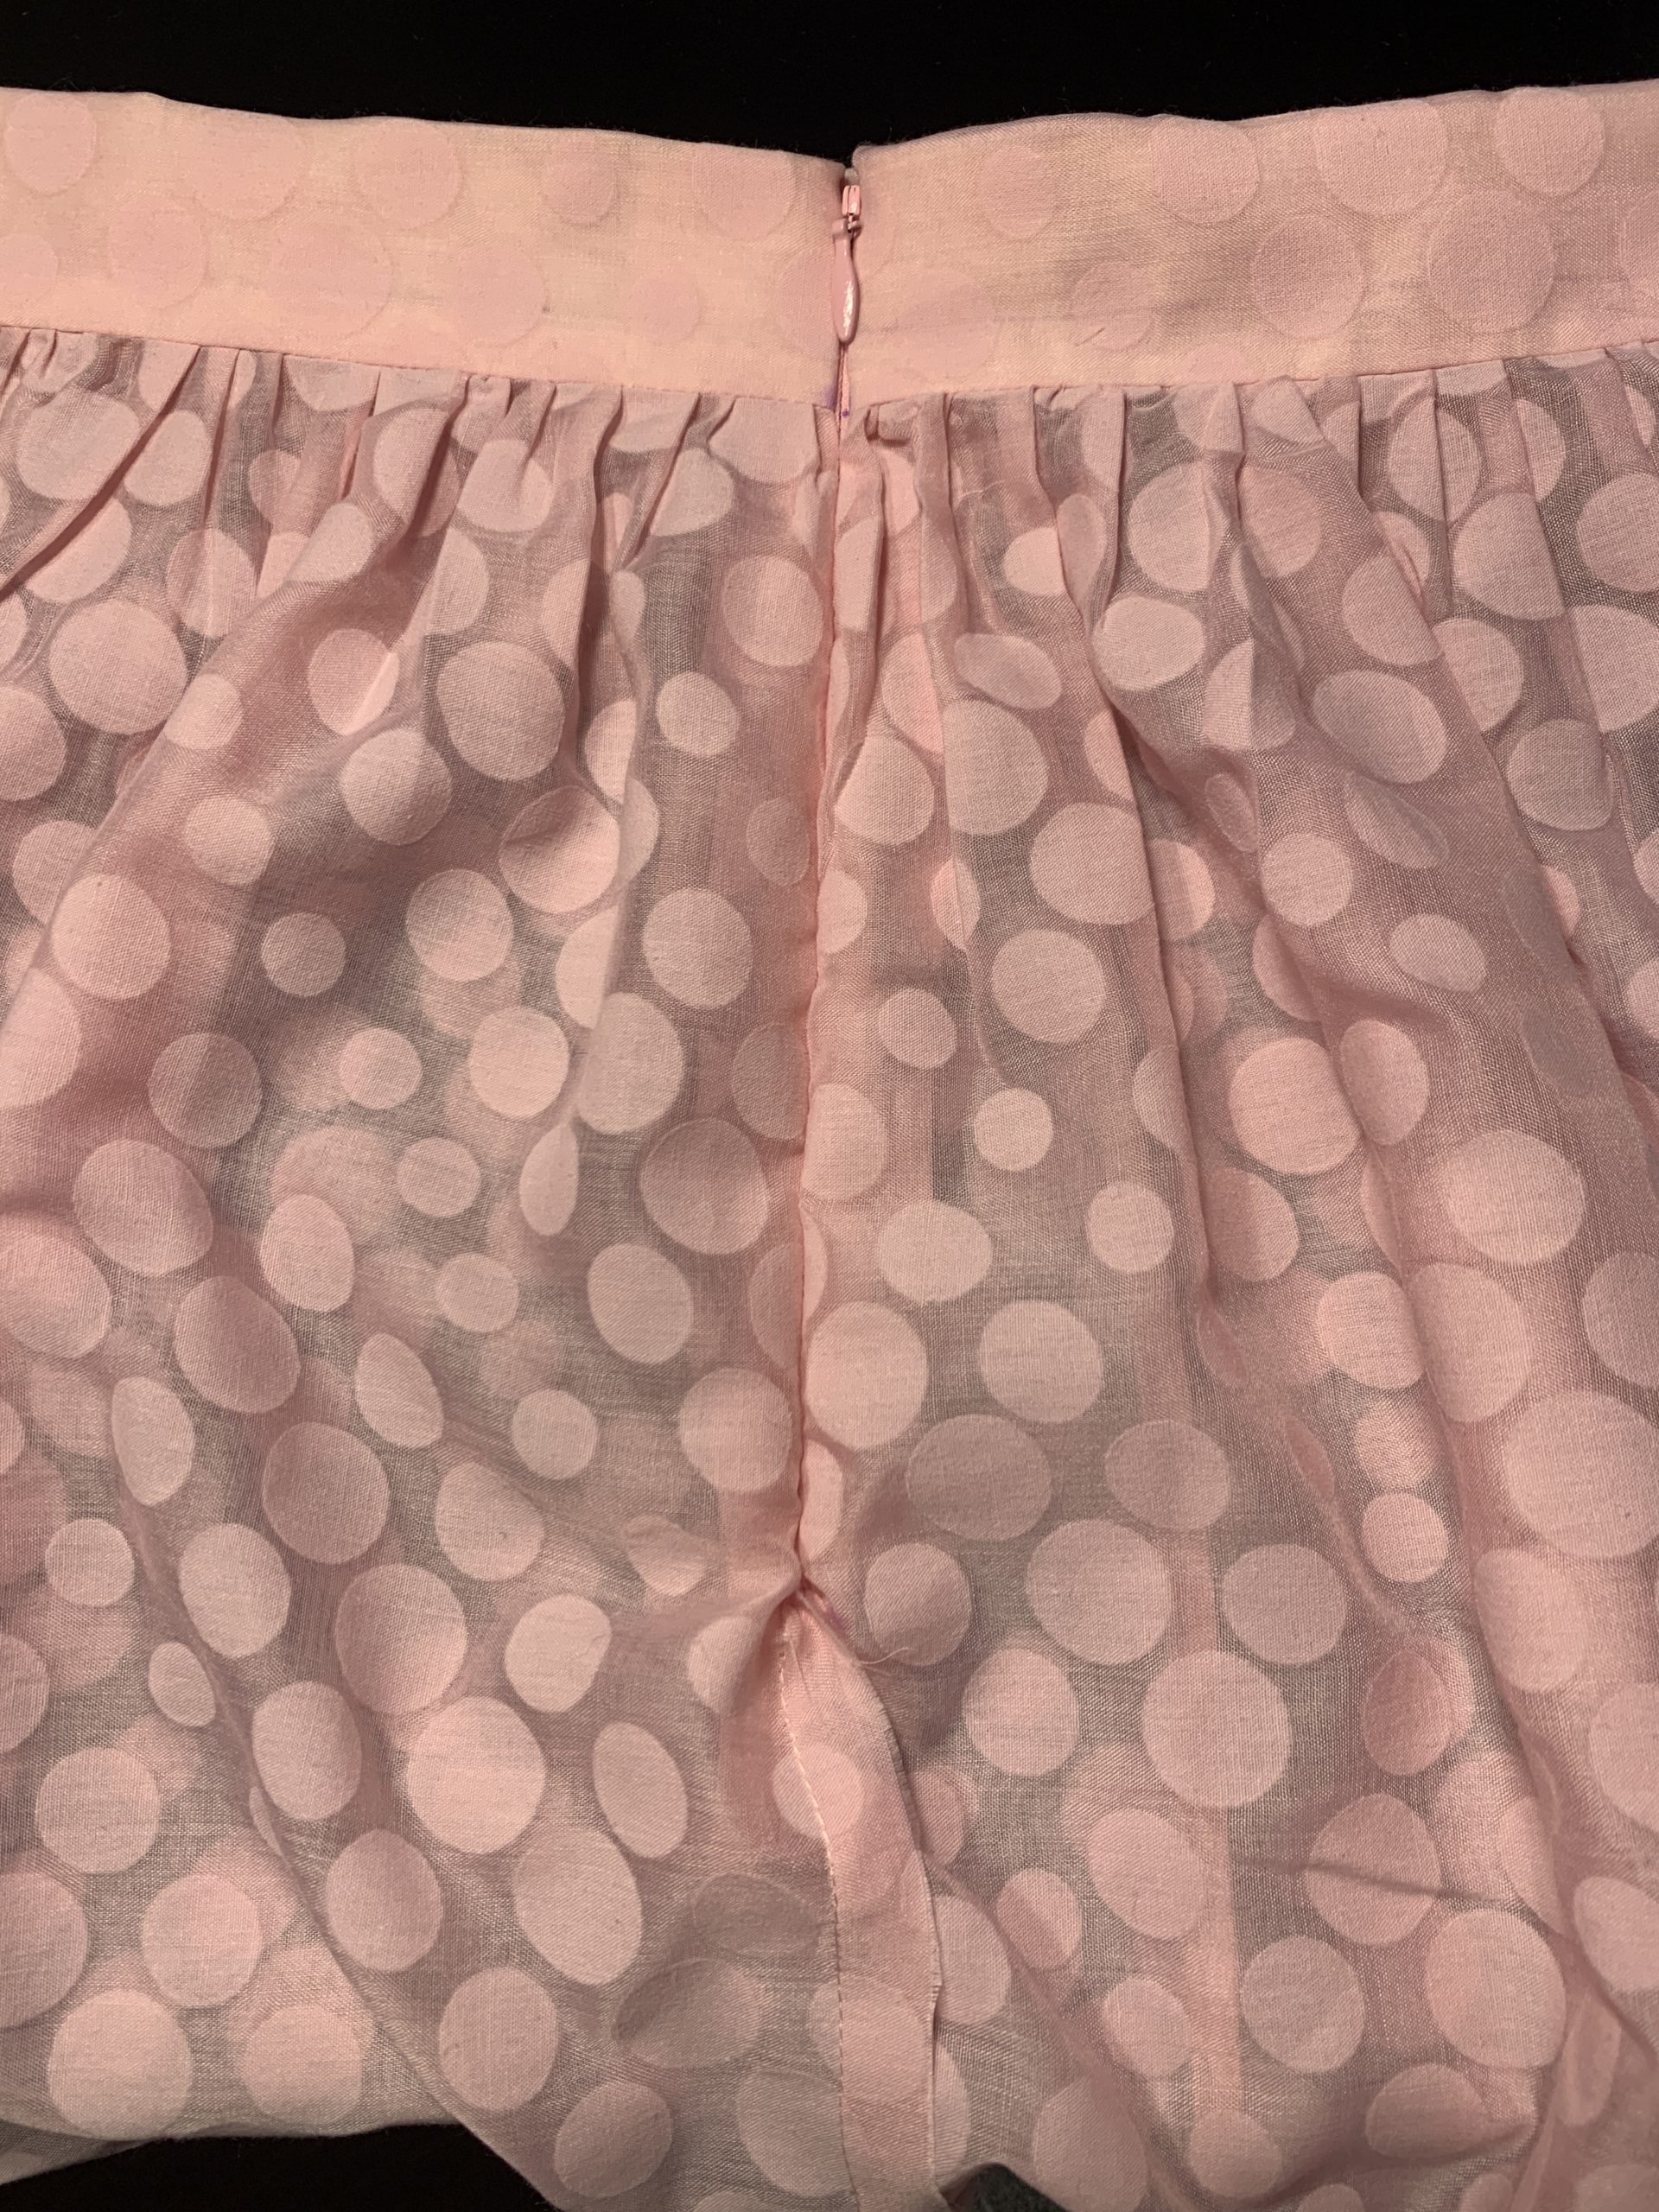
Then I finished off the side french seam, which created a nice smooth invisible zipper!
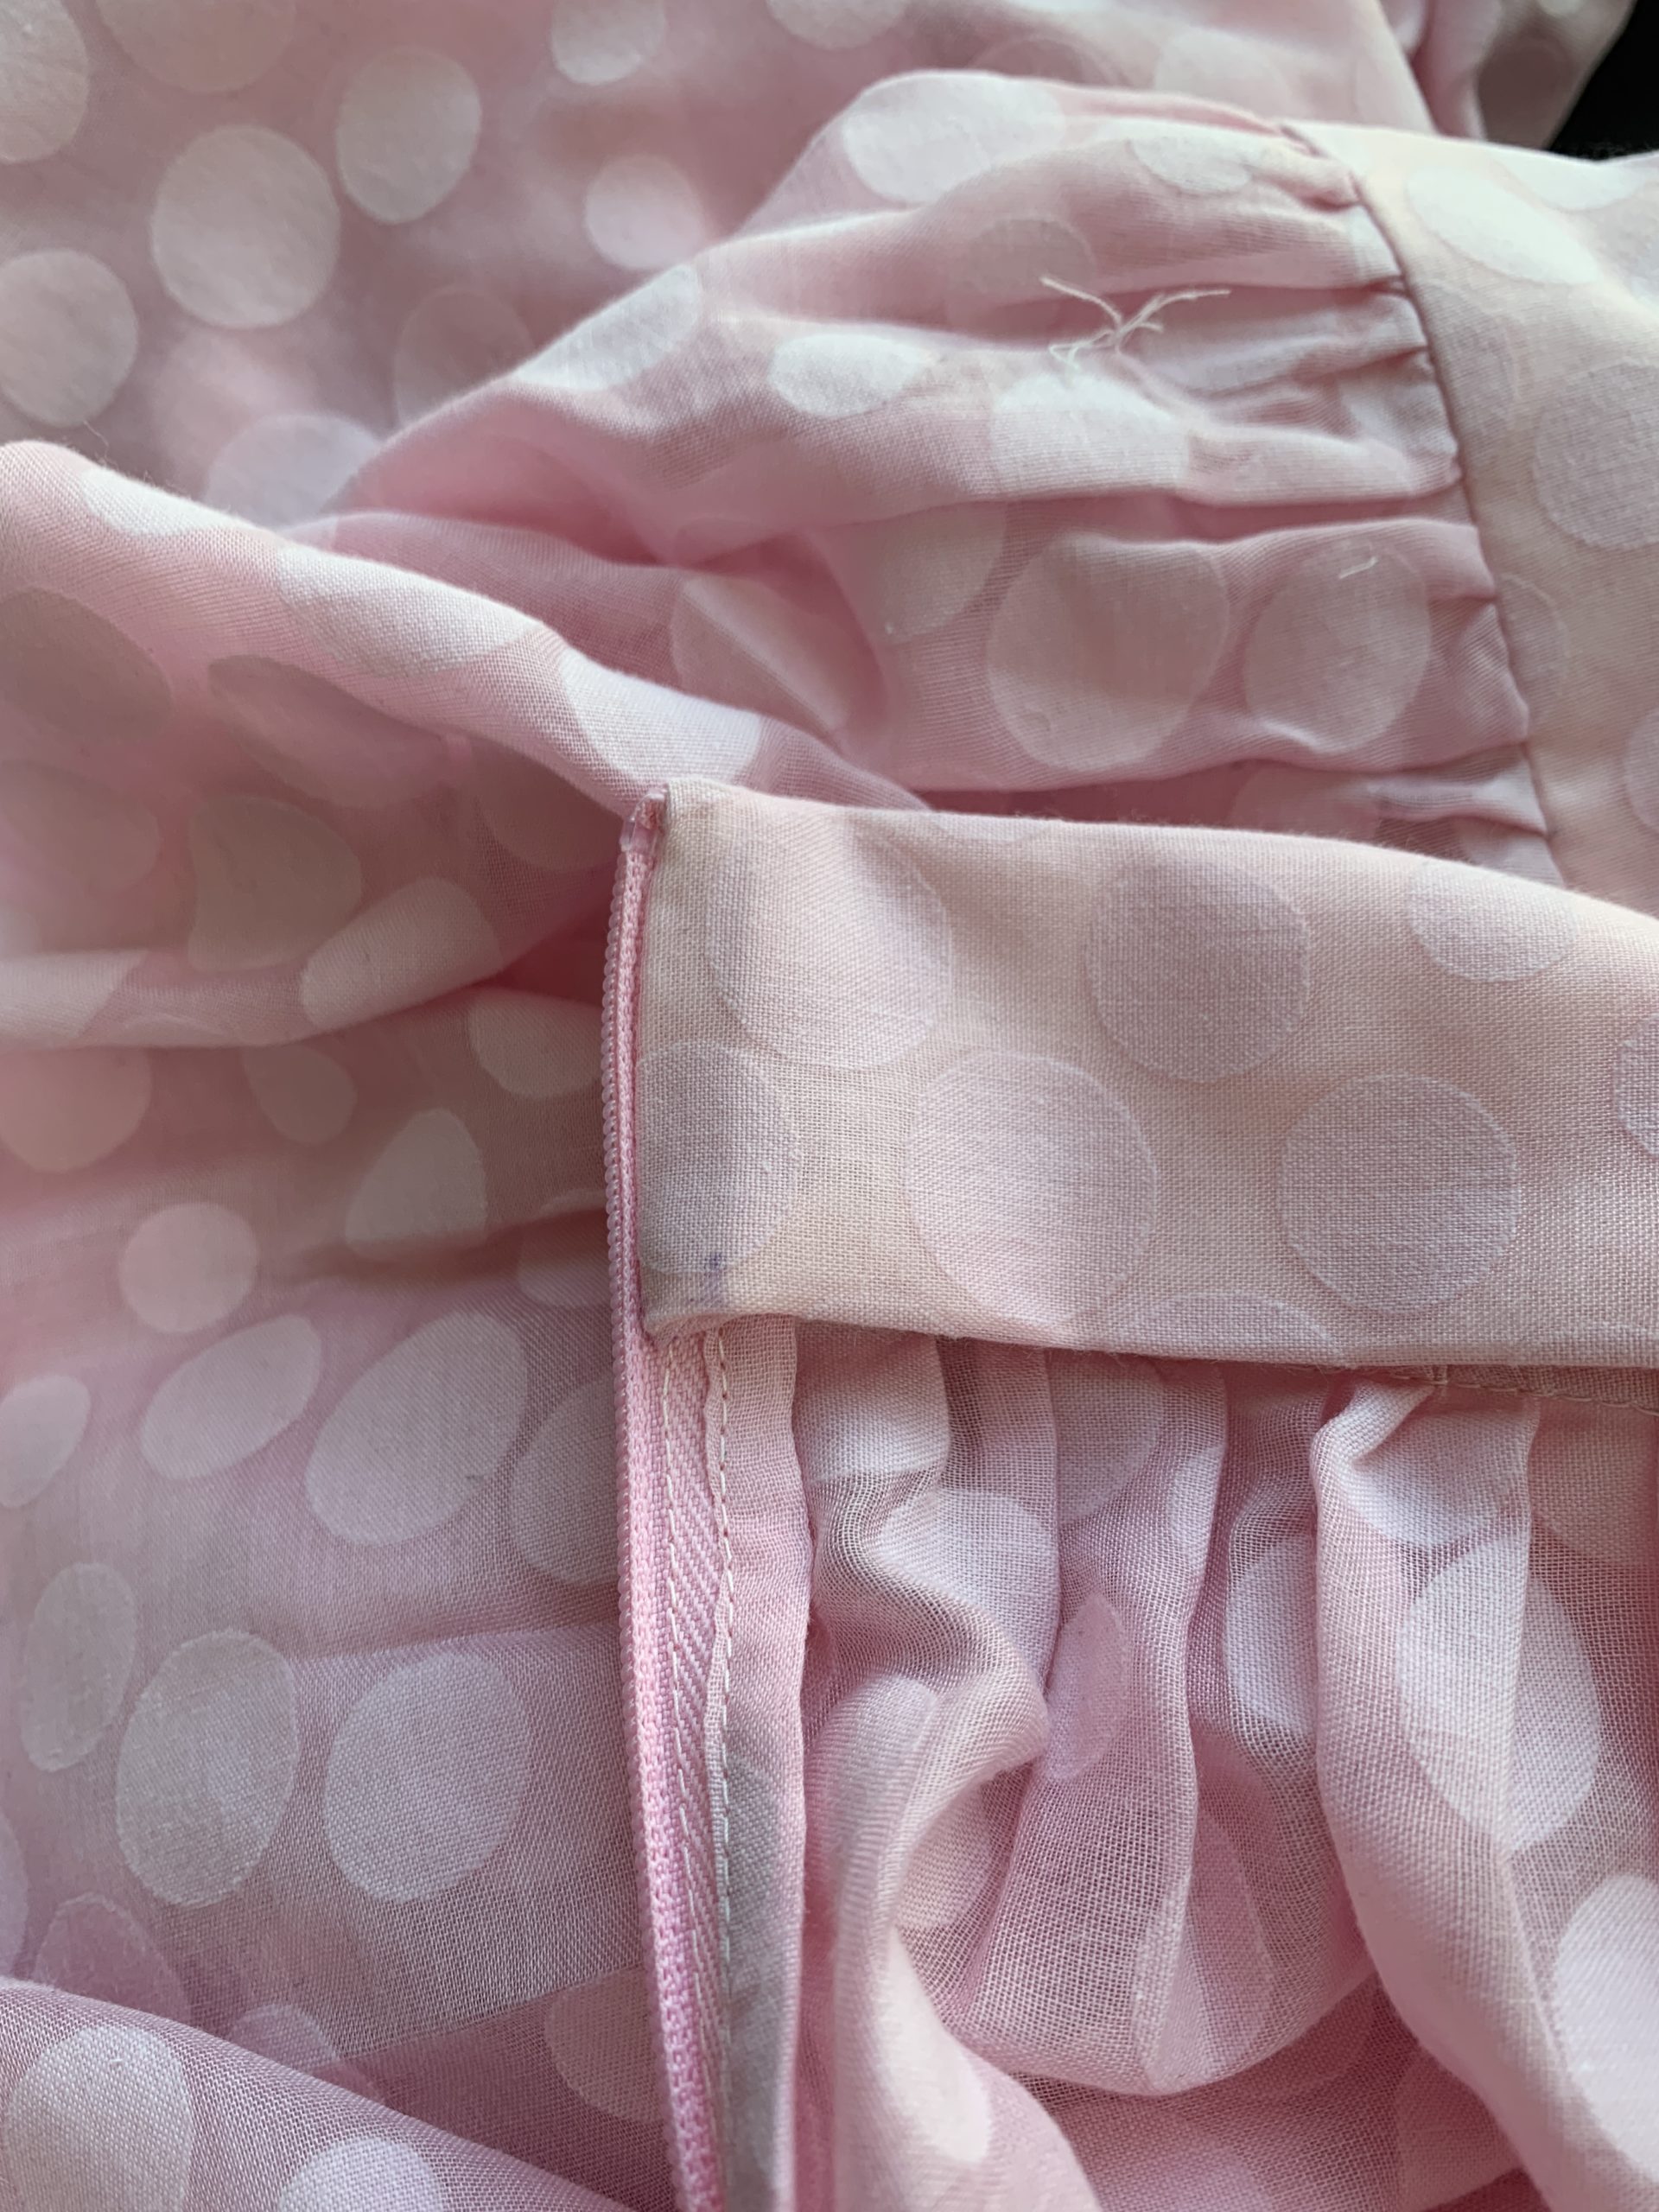
I like to close the zipper sides with bias tape for a nicer appearance, which is what I did here. I basted the bias tape along the zipper then sewed it on using my sewing machine. The result was a little…crooked but still looked nicer than it would’ve had I left the zipper edges uncovered.


Finally, it was time to finish off the waistband! I sewed closed the edge along the zipper, flipped over the fabric, basted down the waistband, and sewed along the edge.
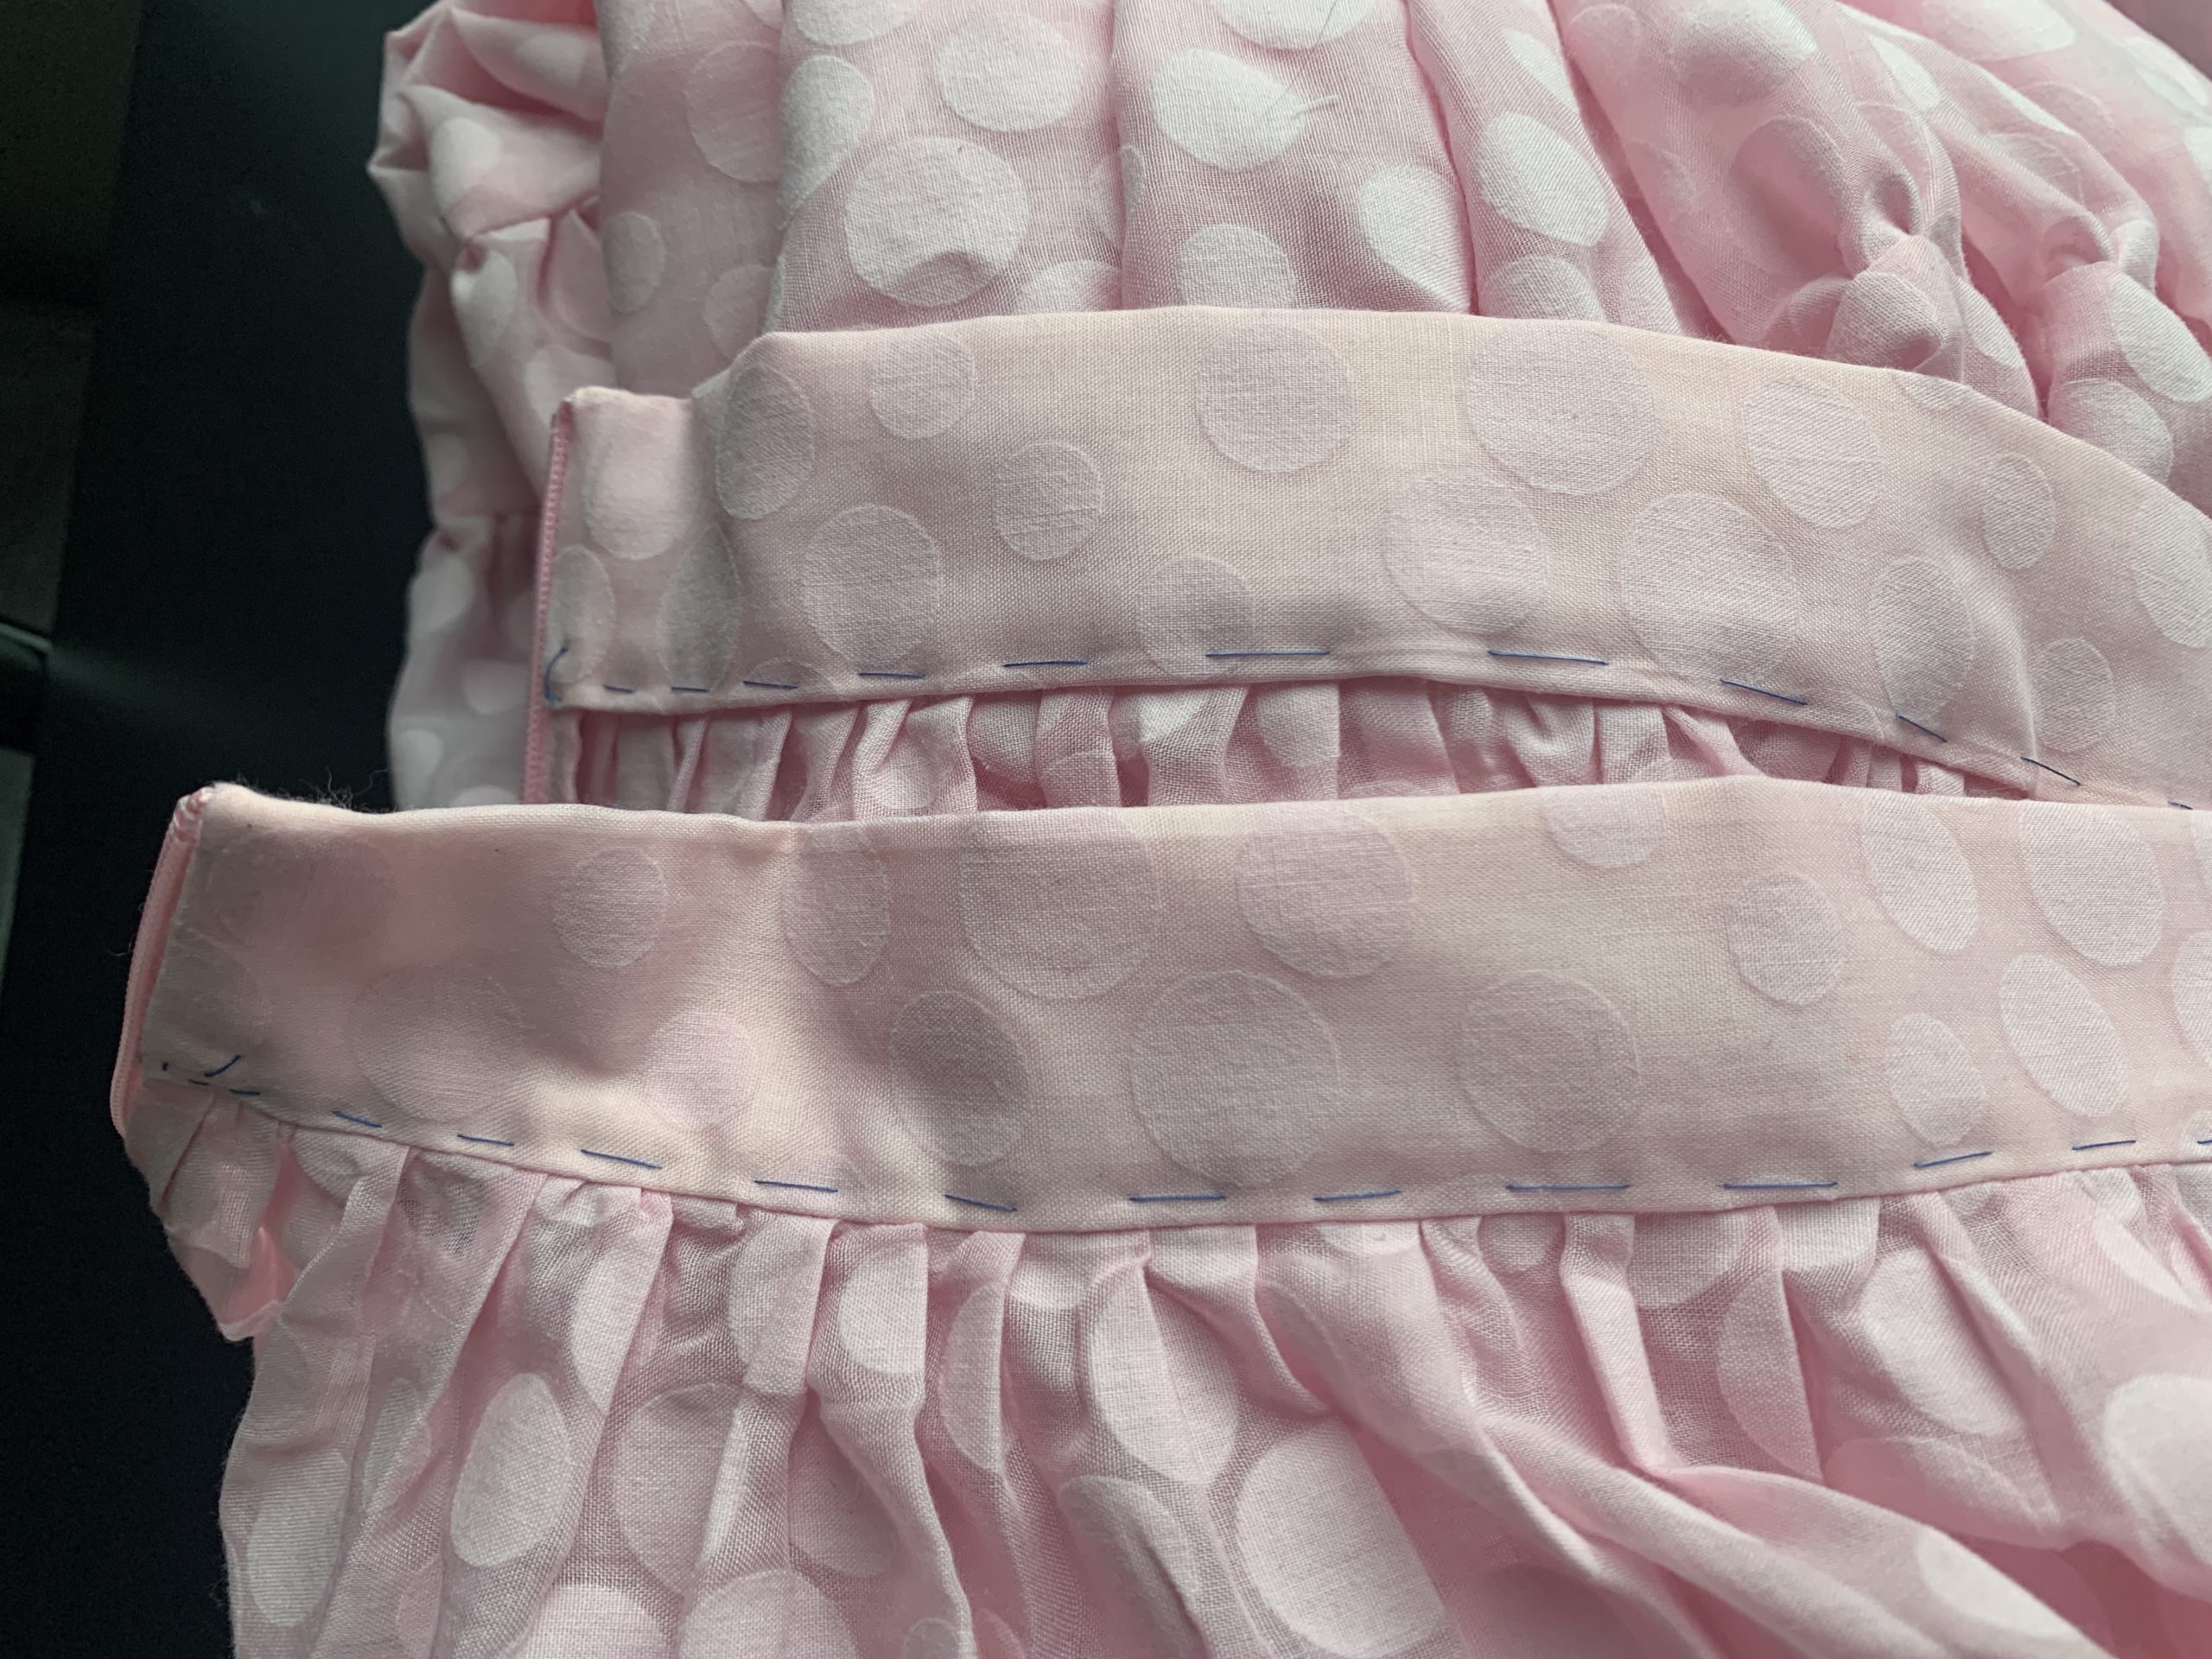

To attach the top tier of the skirt to the bottom two tiers, I used a gathering stitch once again to gather the middle tier into the top tier. And then the skirt was (almost) complete!
The final step was to hem the bottom. I initially attempted to even out the hem but decided to just skip this step since the skirt was so large and flowy. I carefully hemmed the bottom using a narrow hem.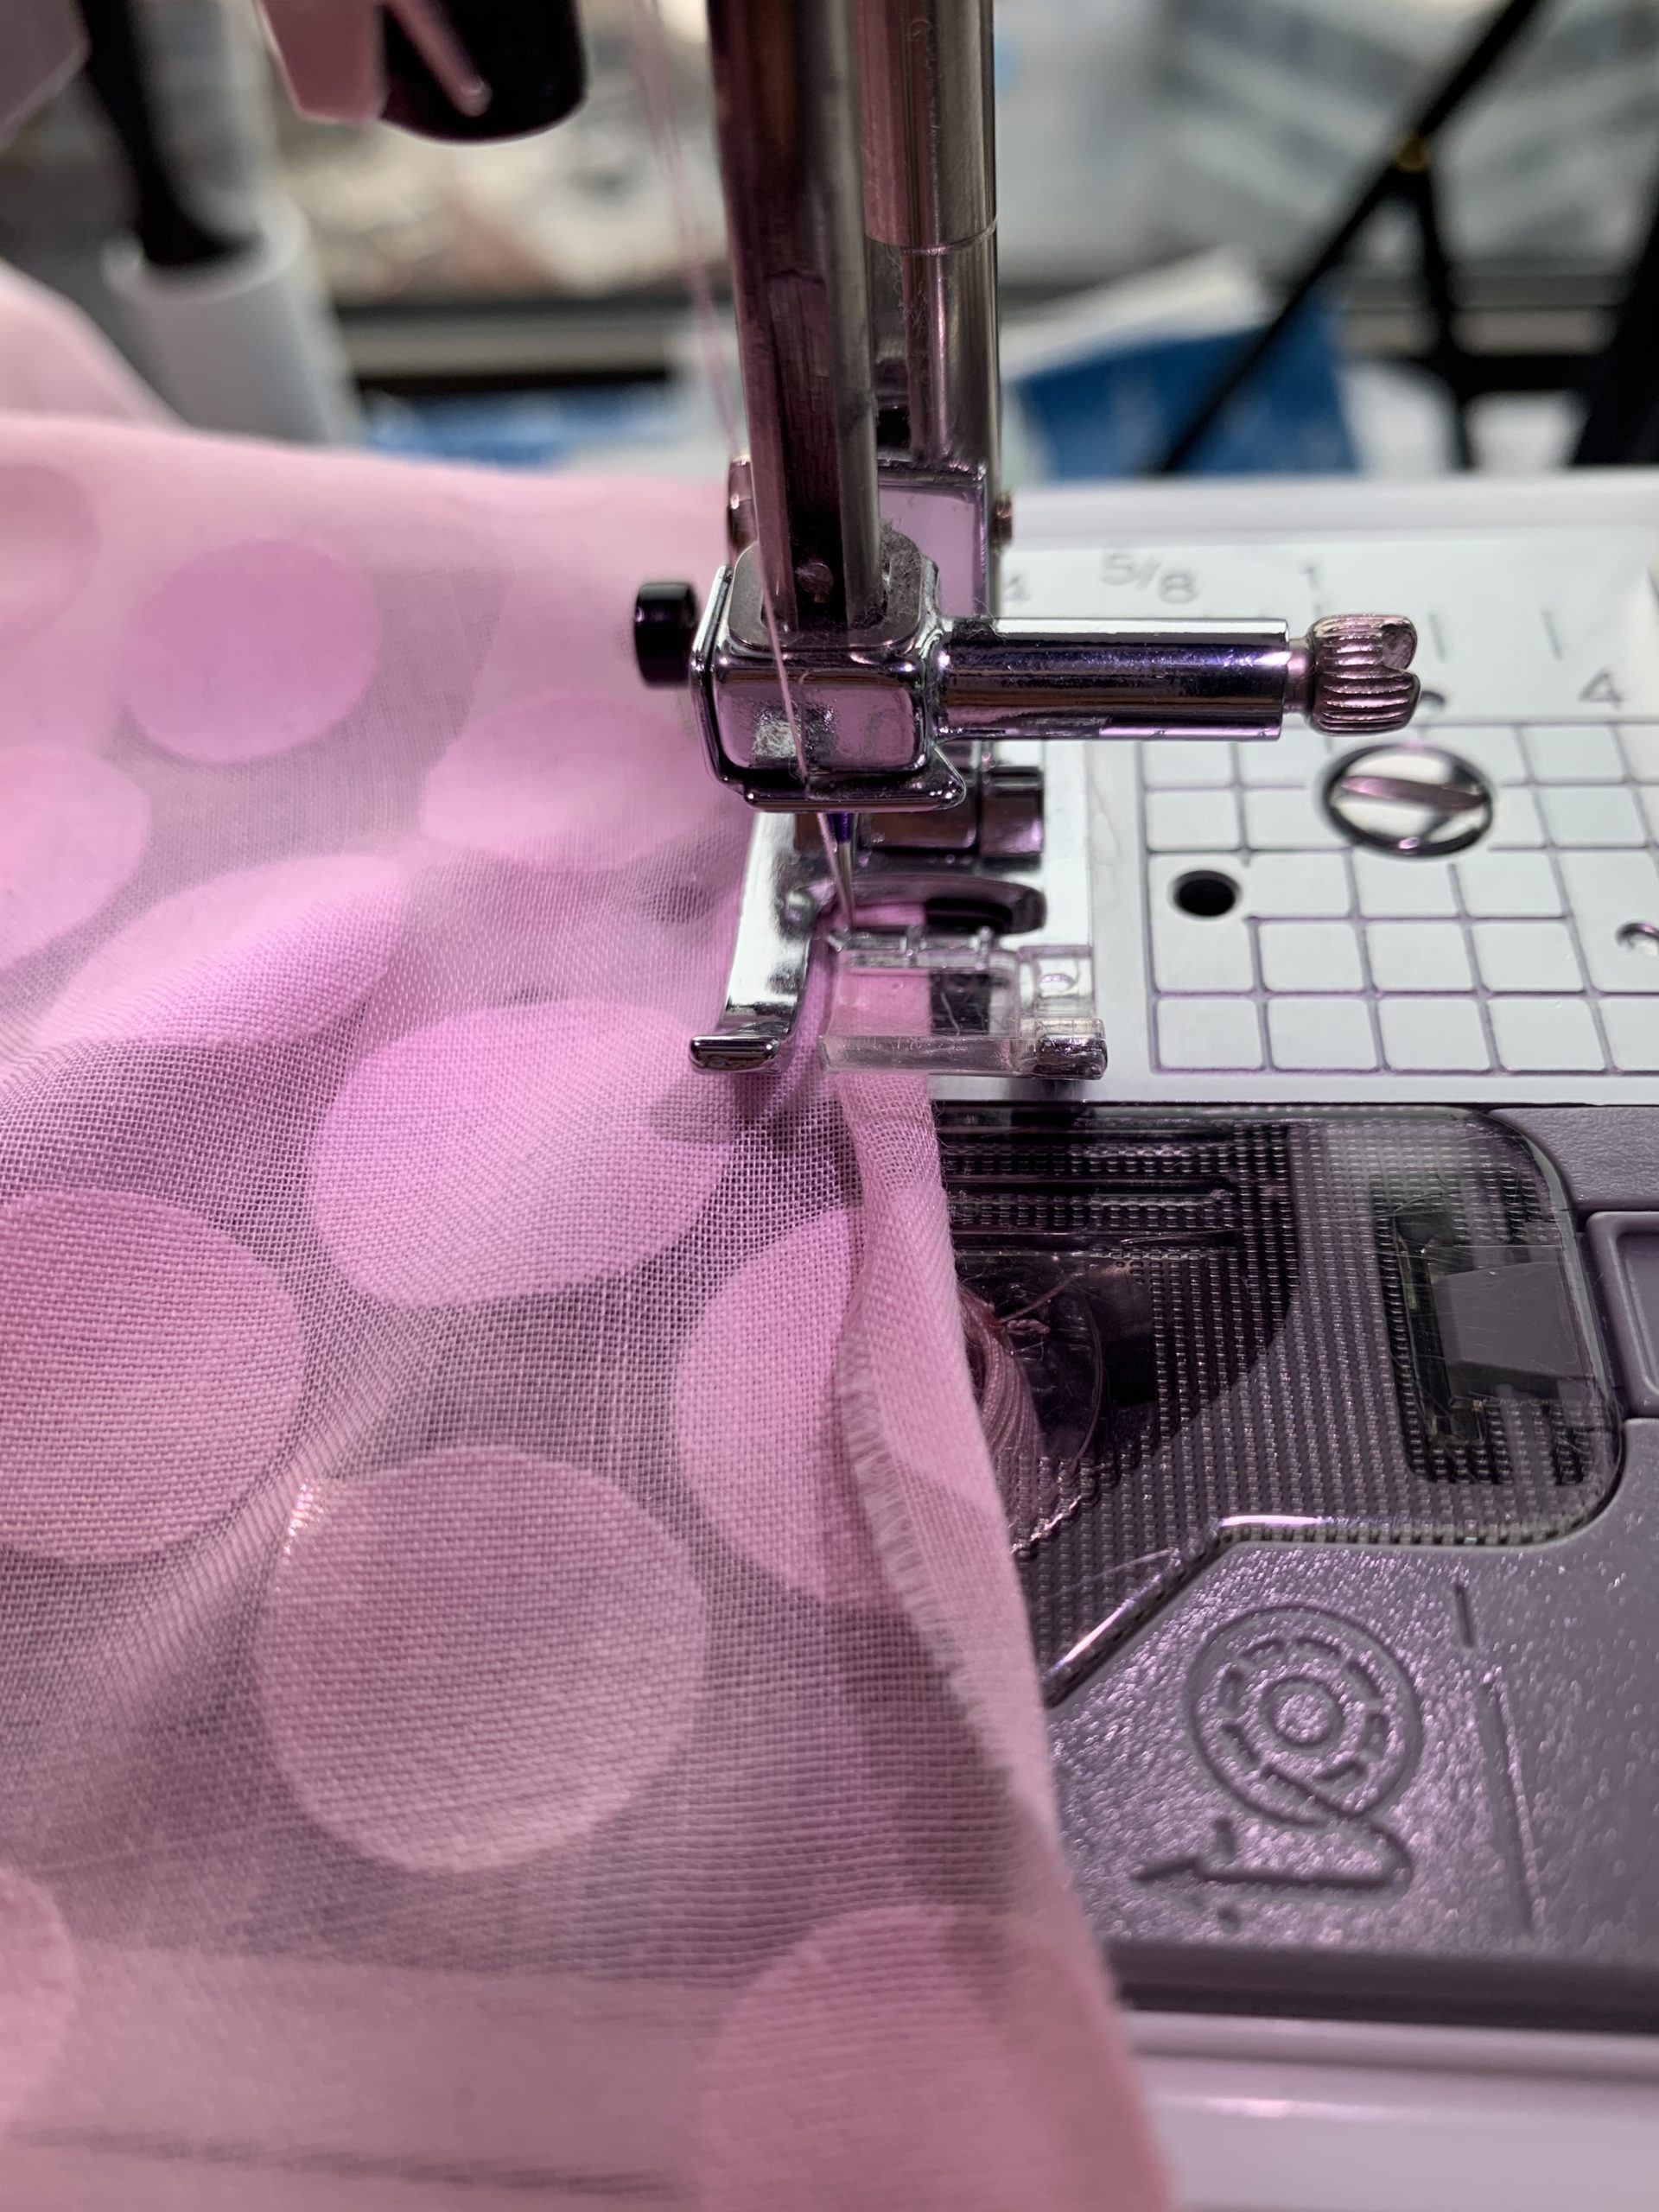
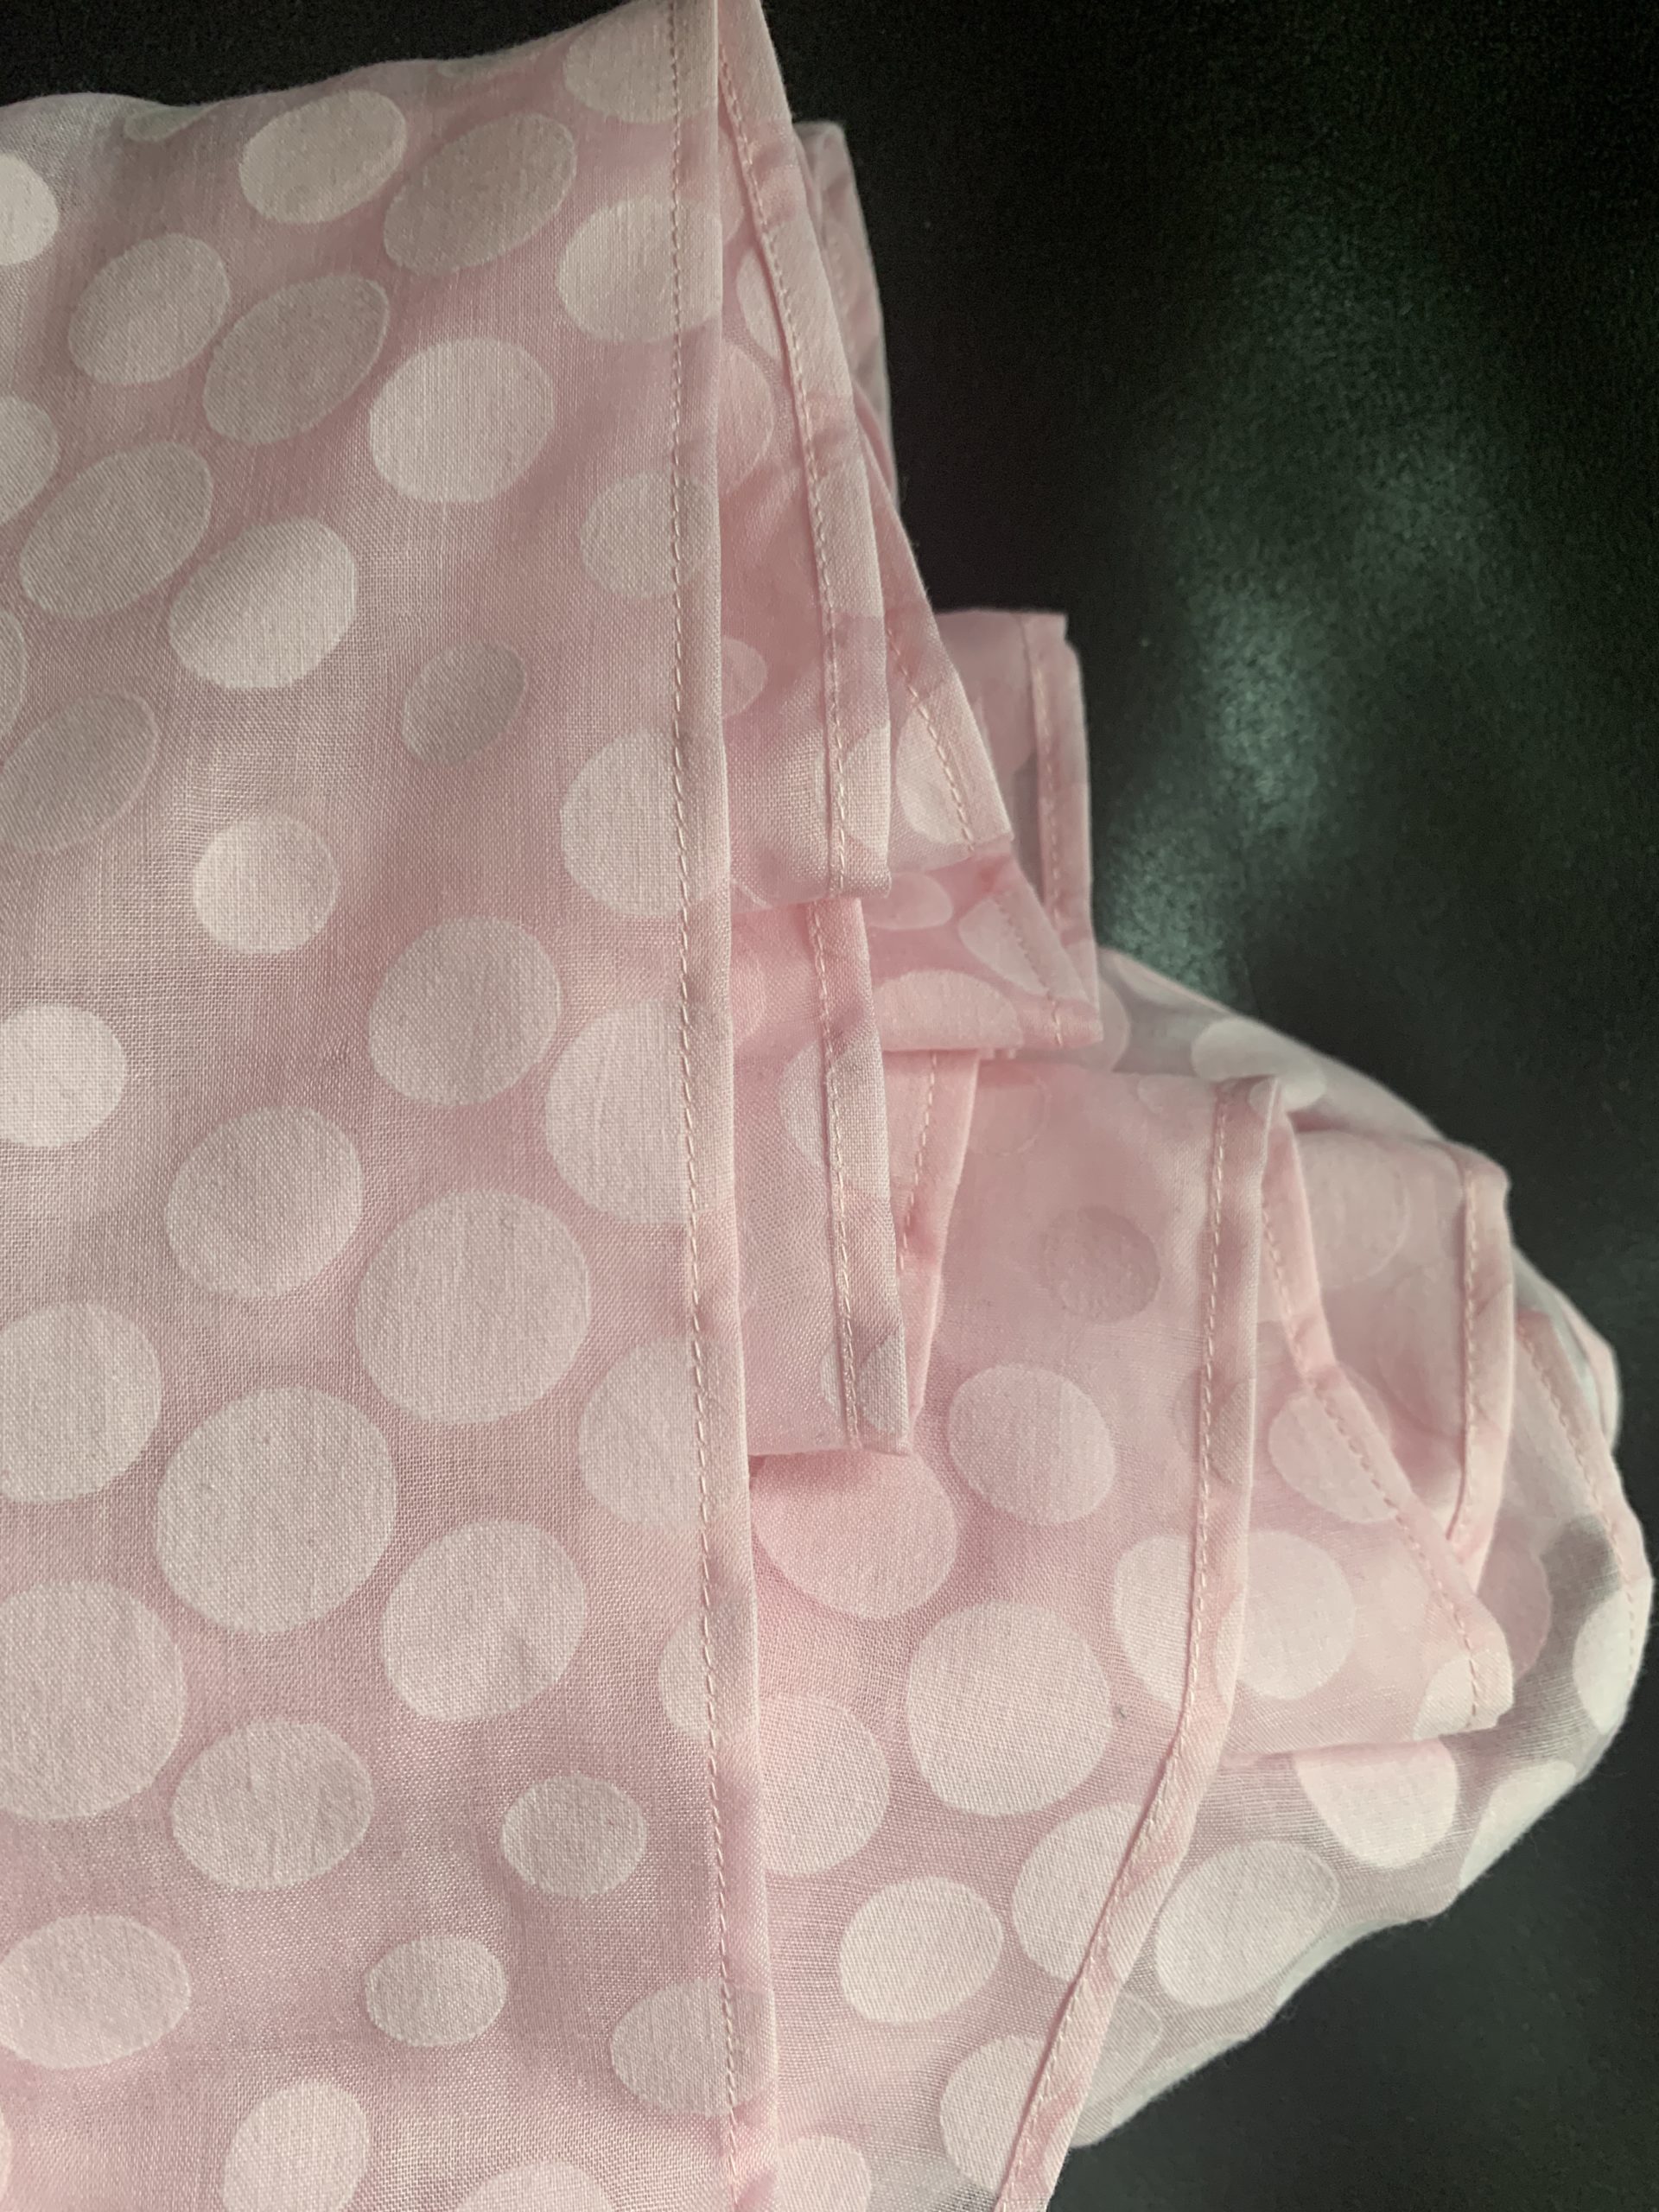
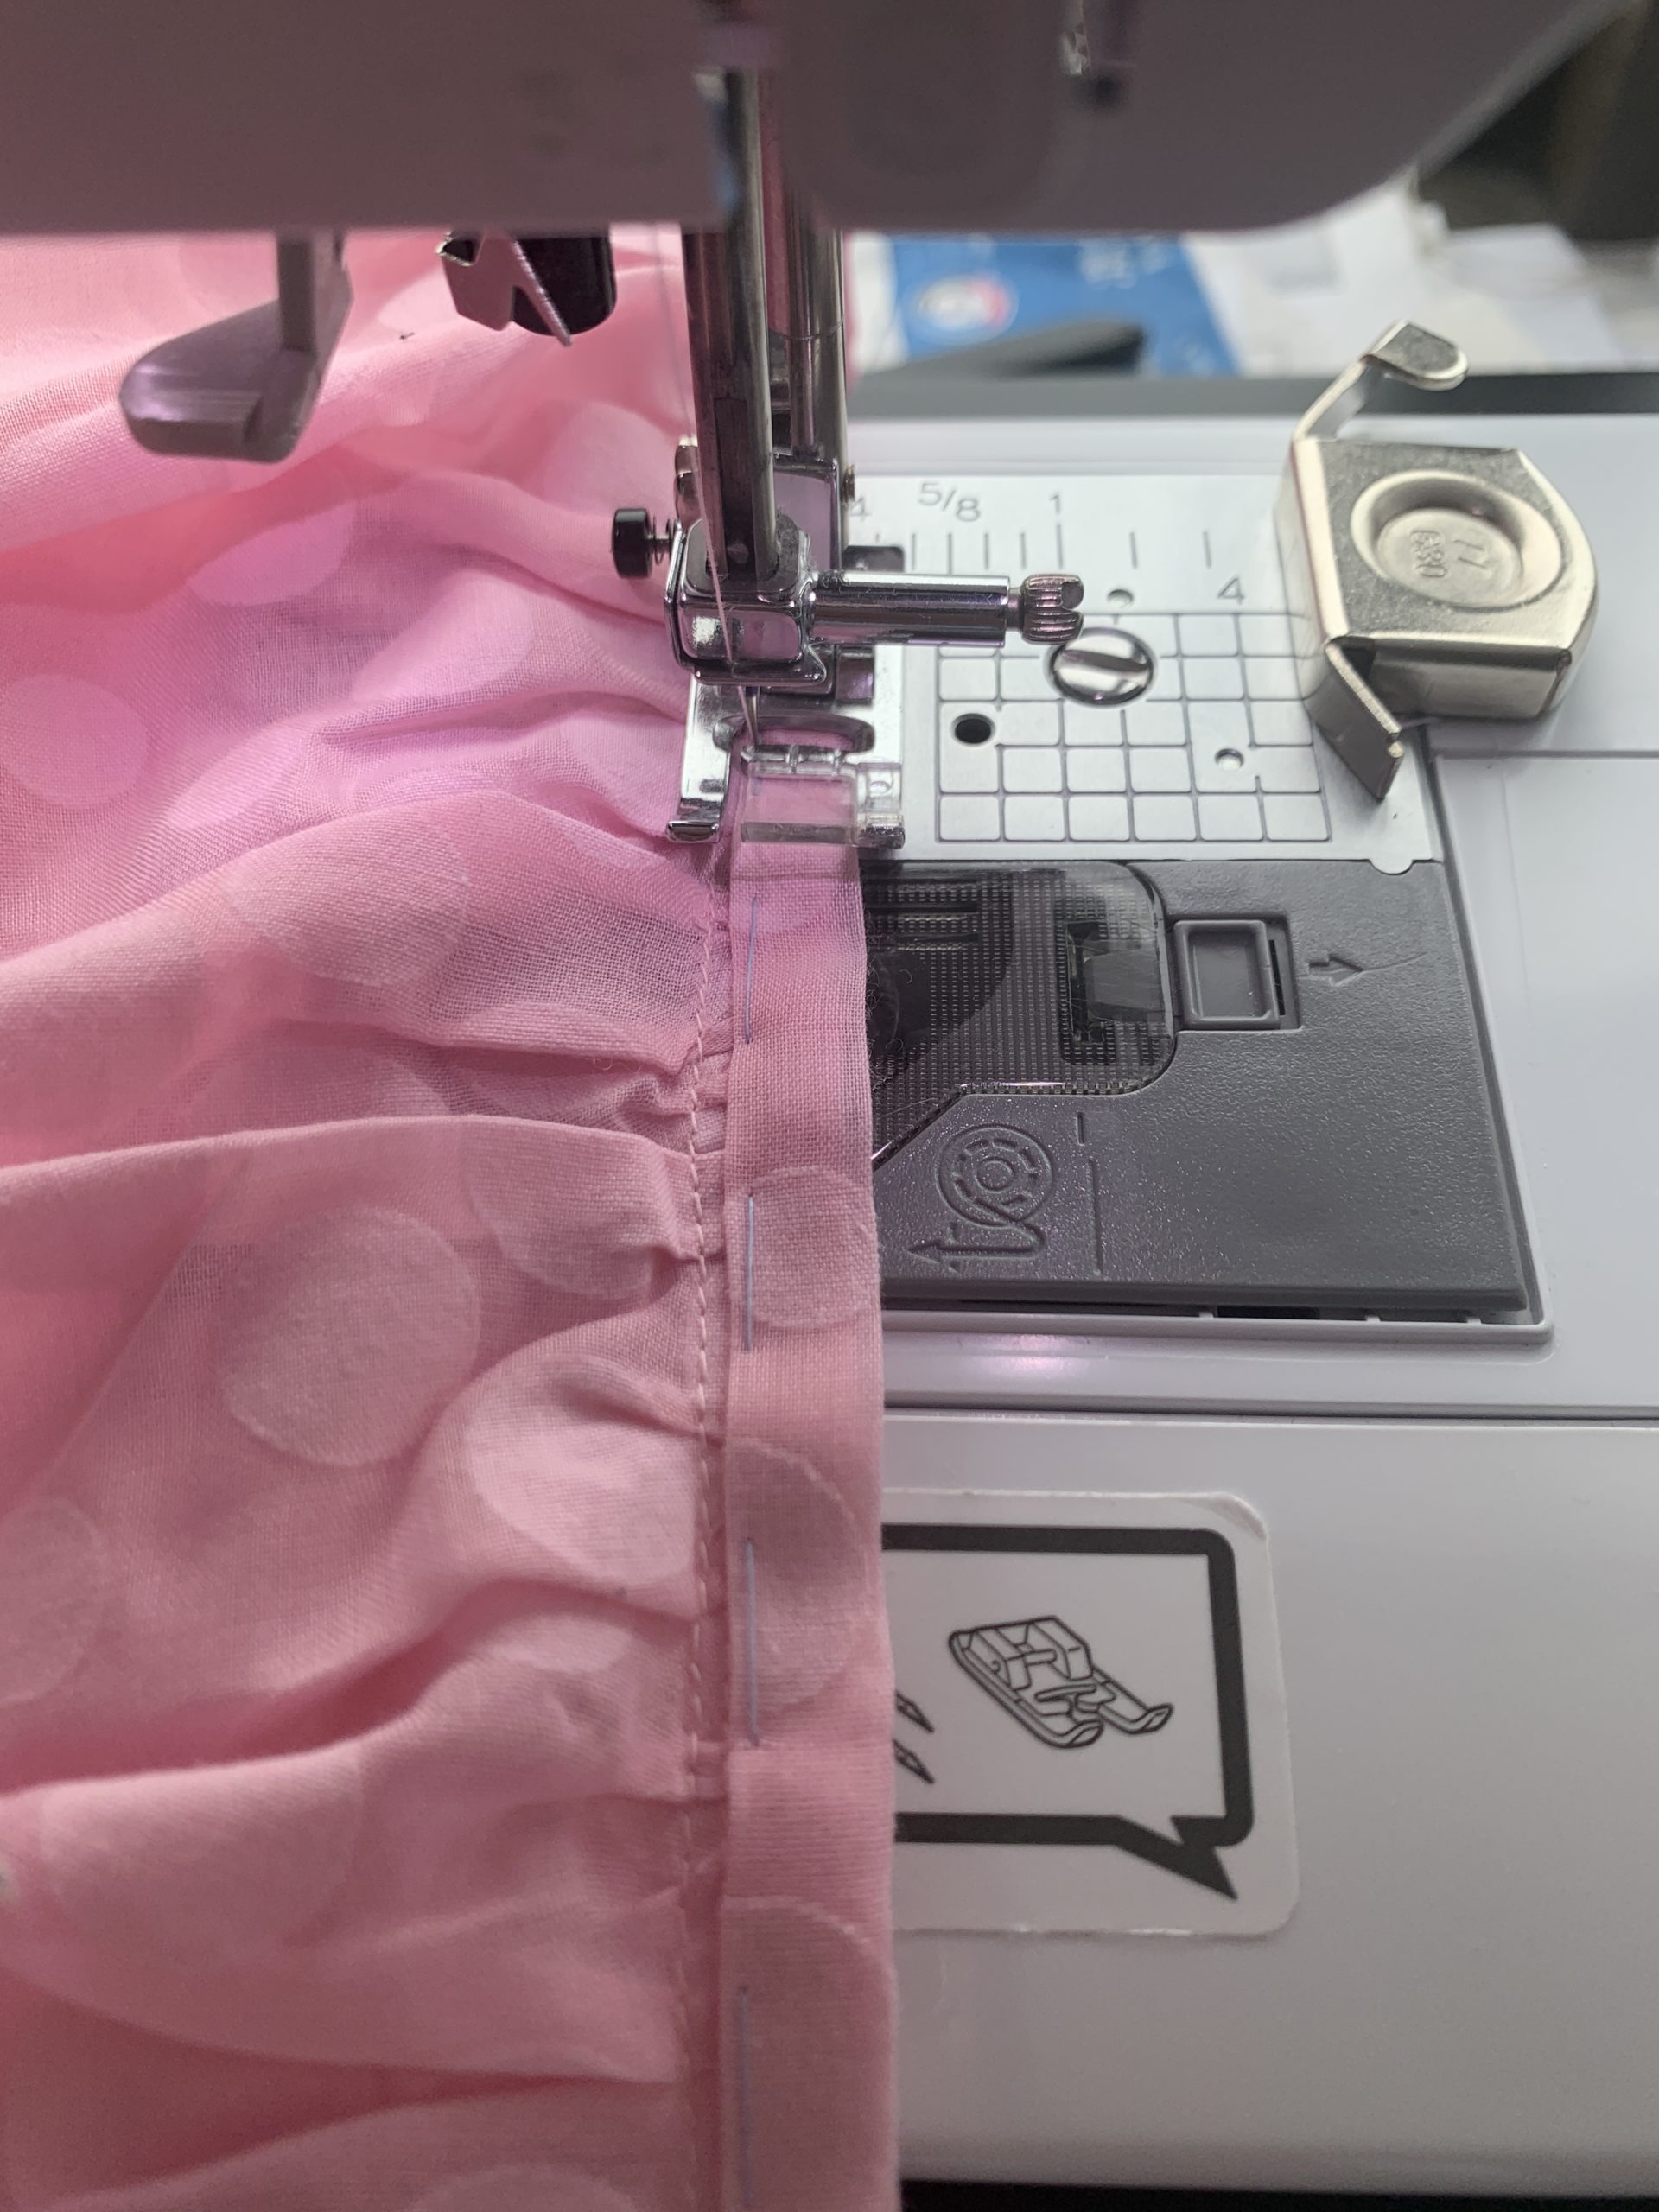
Because I did not yet own a serger at this time, I decided to hide the inner raw edges of where the skirt layers were sewn together using bias tape. I created this bias tape myself, basted it onto the skirt, then carefully sewed it on my machine. I highly suggest using a serger if you have one, because this took much longer than I hoped!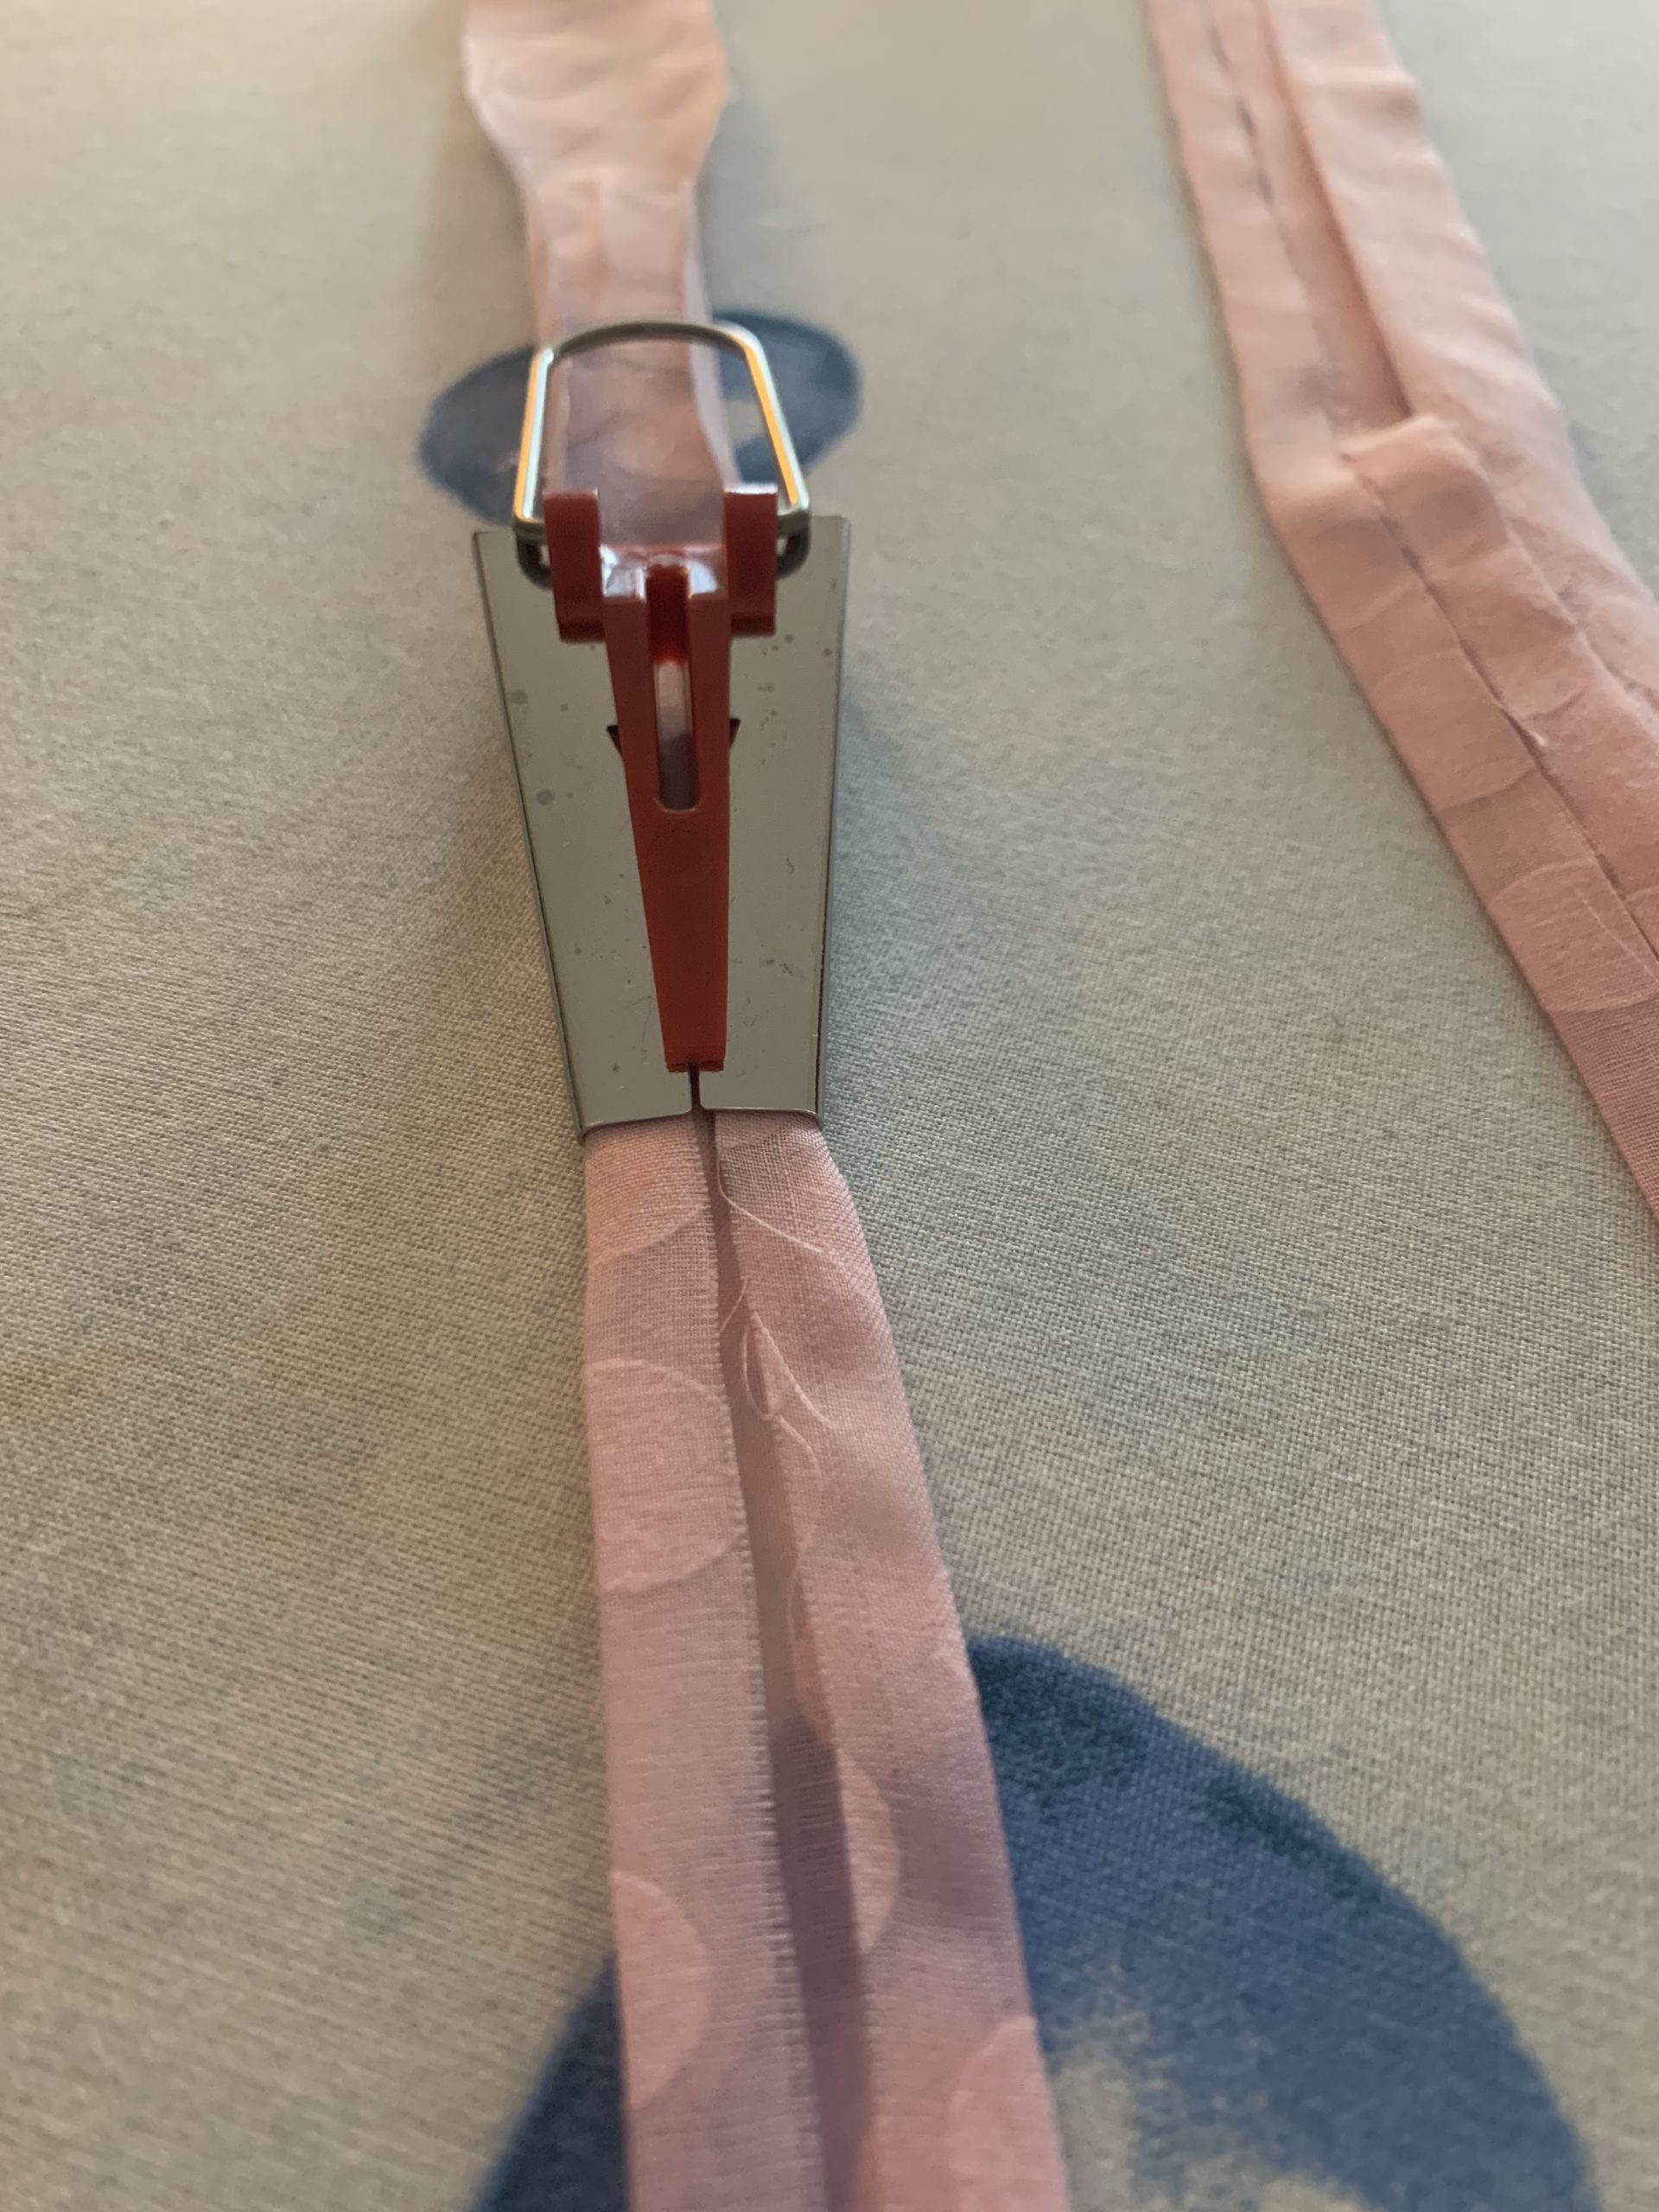

And then the skirt was done! I.am.in.love! It’s such a gorgeous flowy romantic piece perfect for my honeymoon.
But I wasn’t done yet…I wanted to create a matching top! I ended up buying/downloading this bralette pattern from Etsy. I HIGHLY recommend it! The instructions were super easy to follow and the sizing was perfect (I still created a muslin first).
I ended up lining the bralette with the same pink cotton I used to line the waistband, and I love the result. Below is a photographic view into how I sewed it.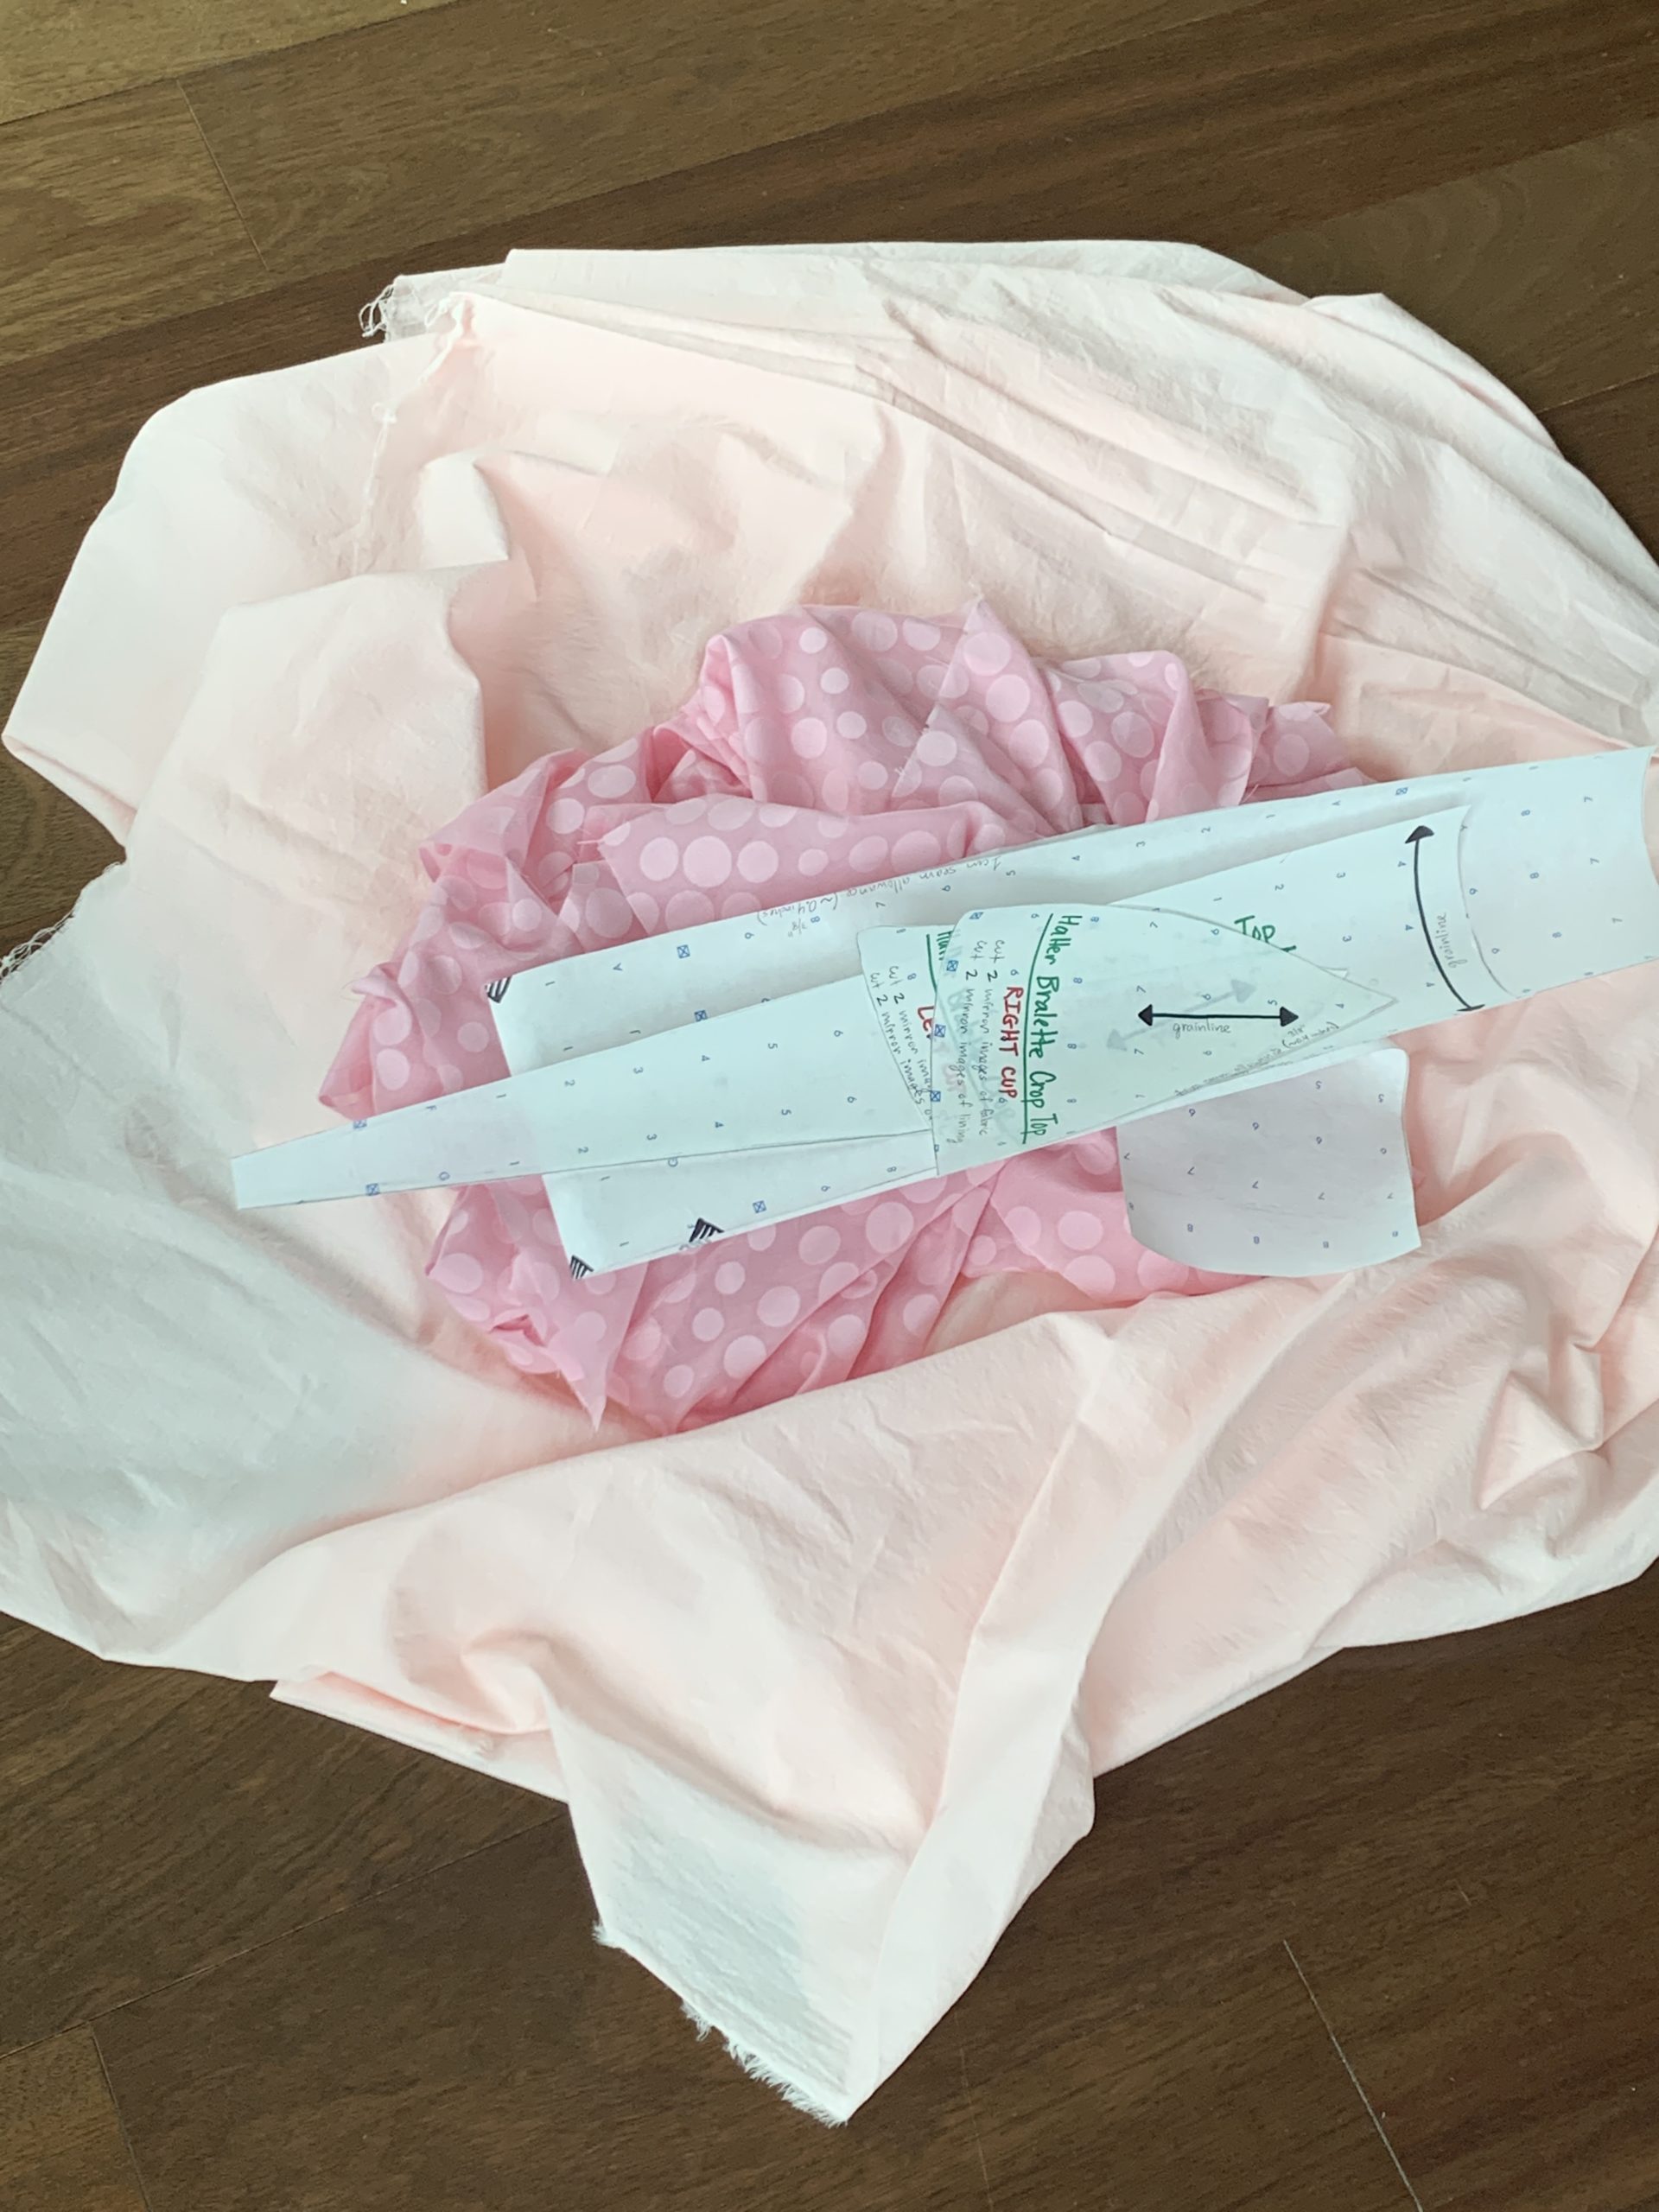
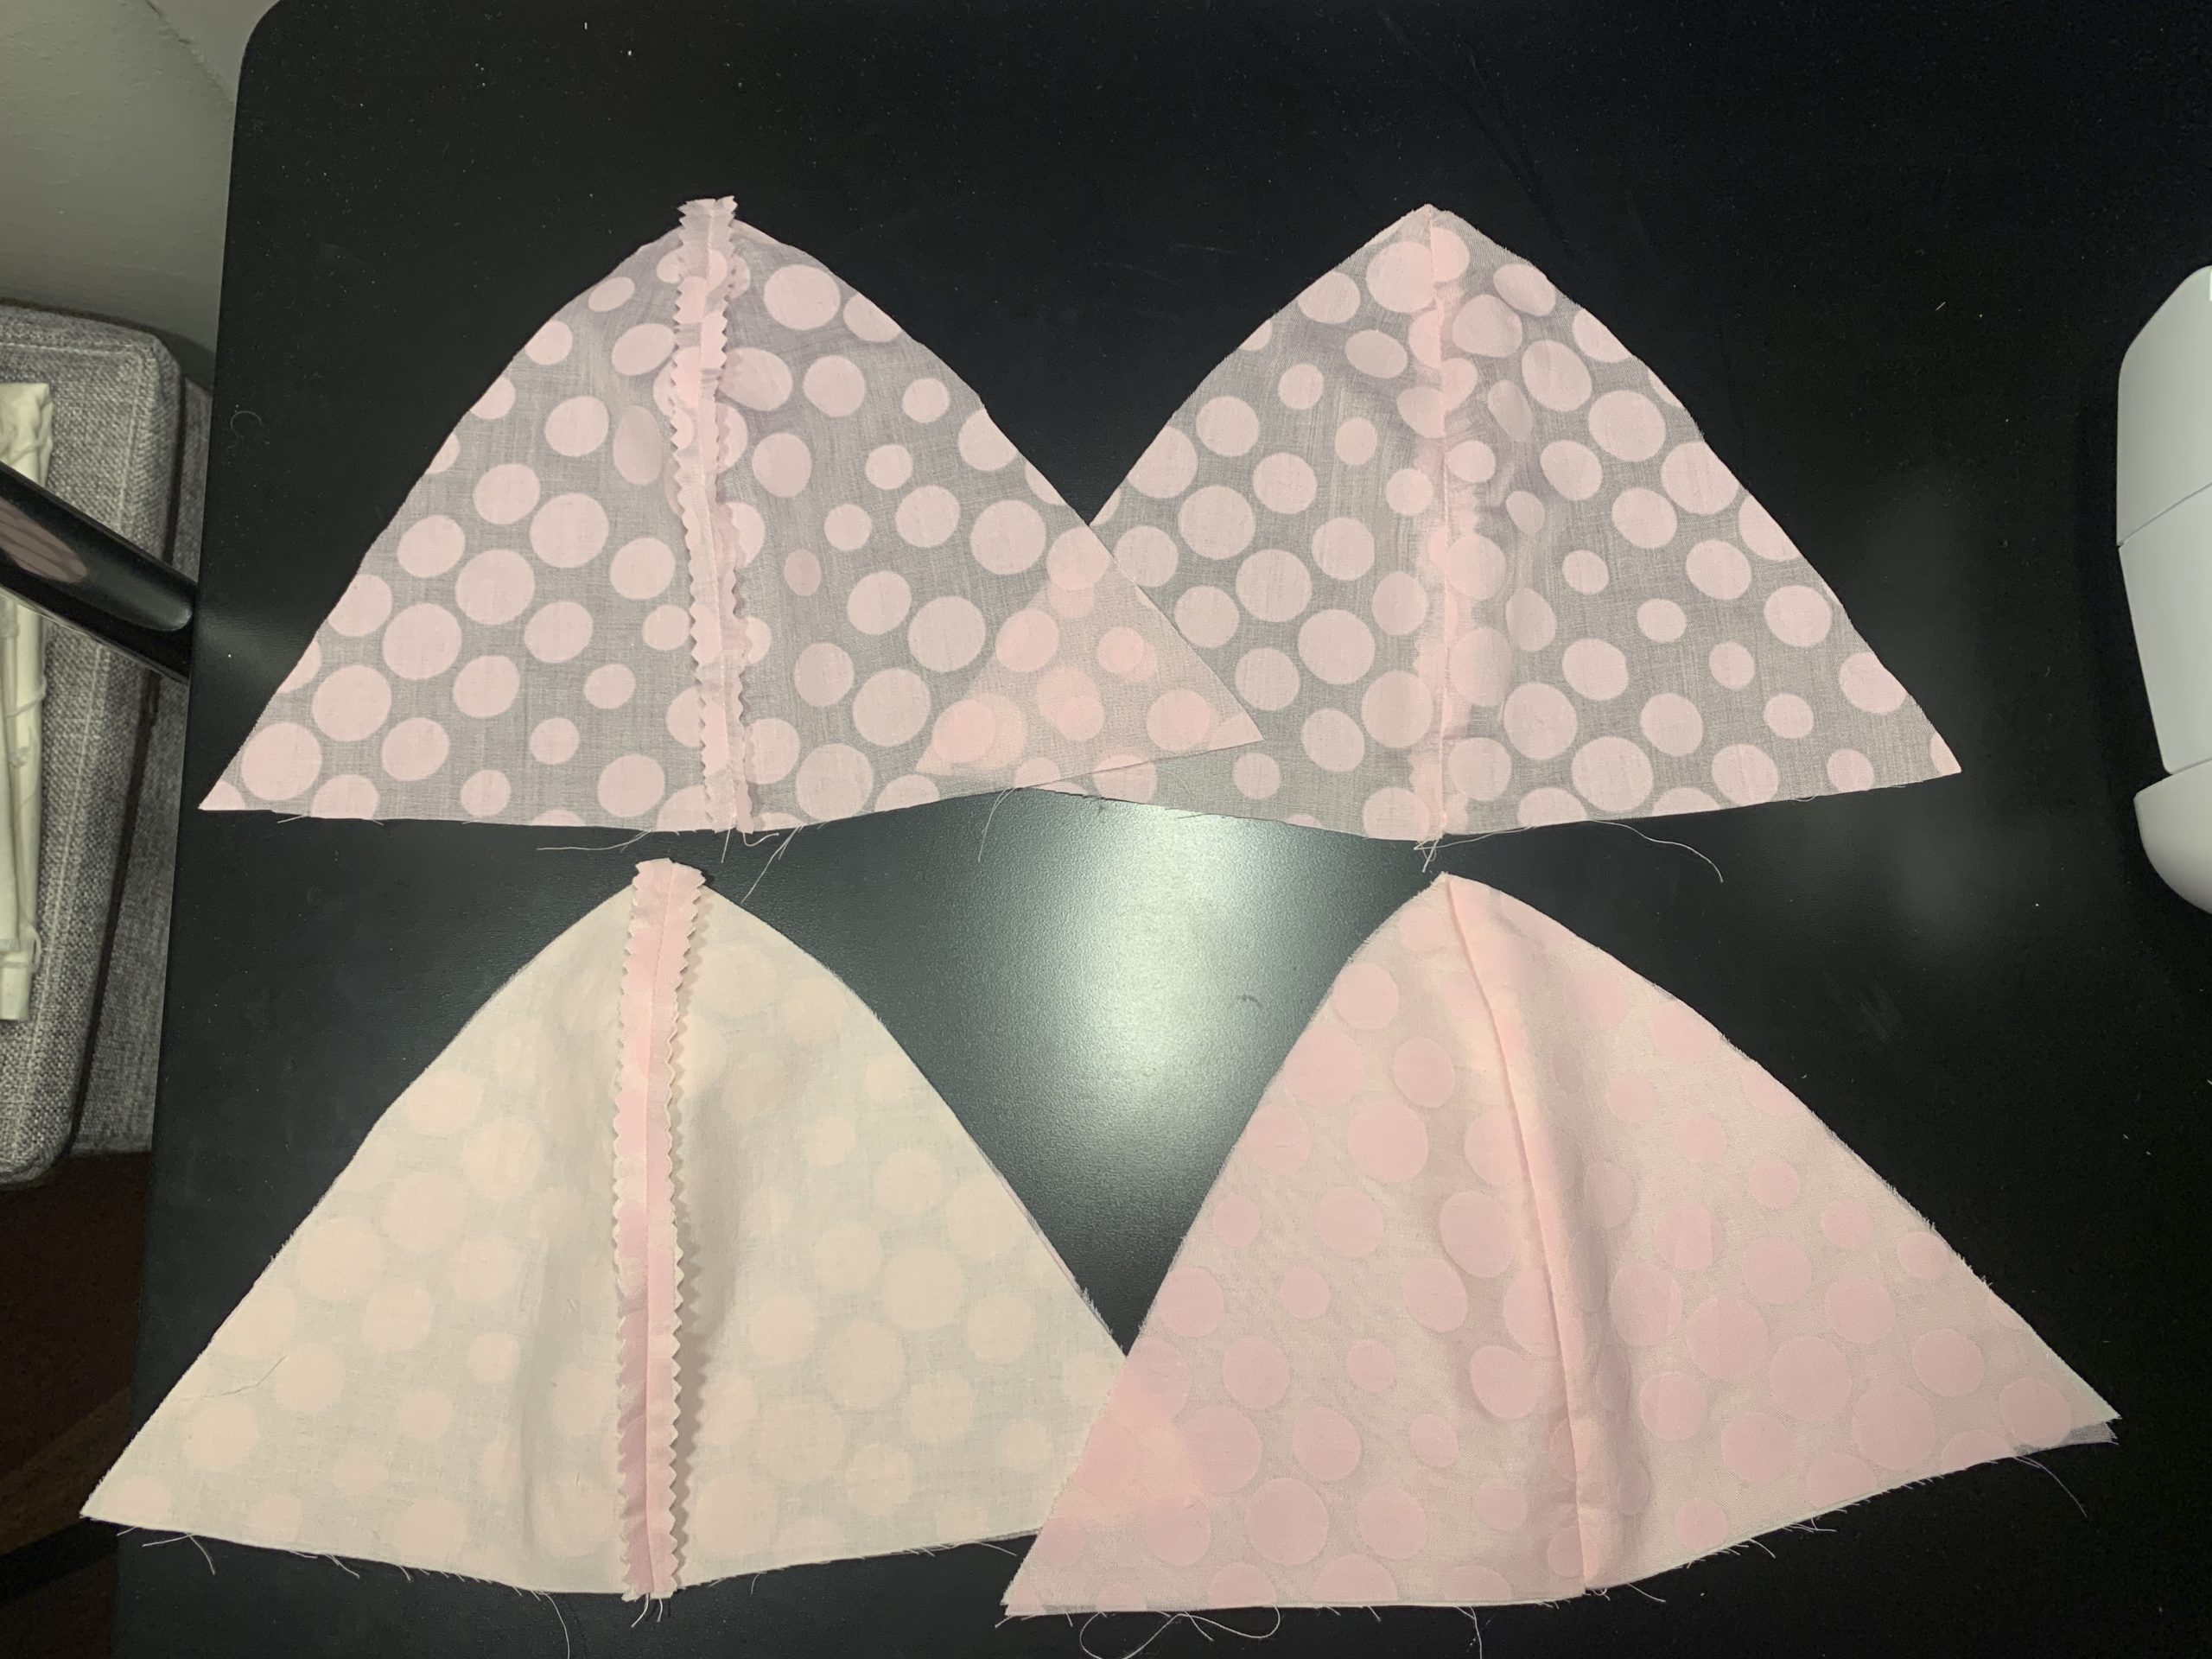


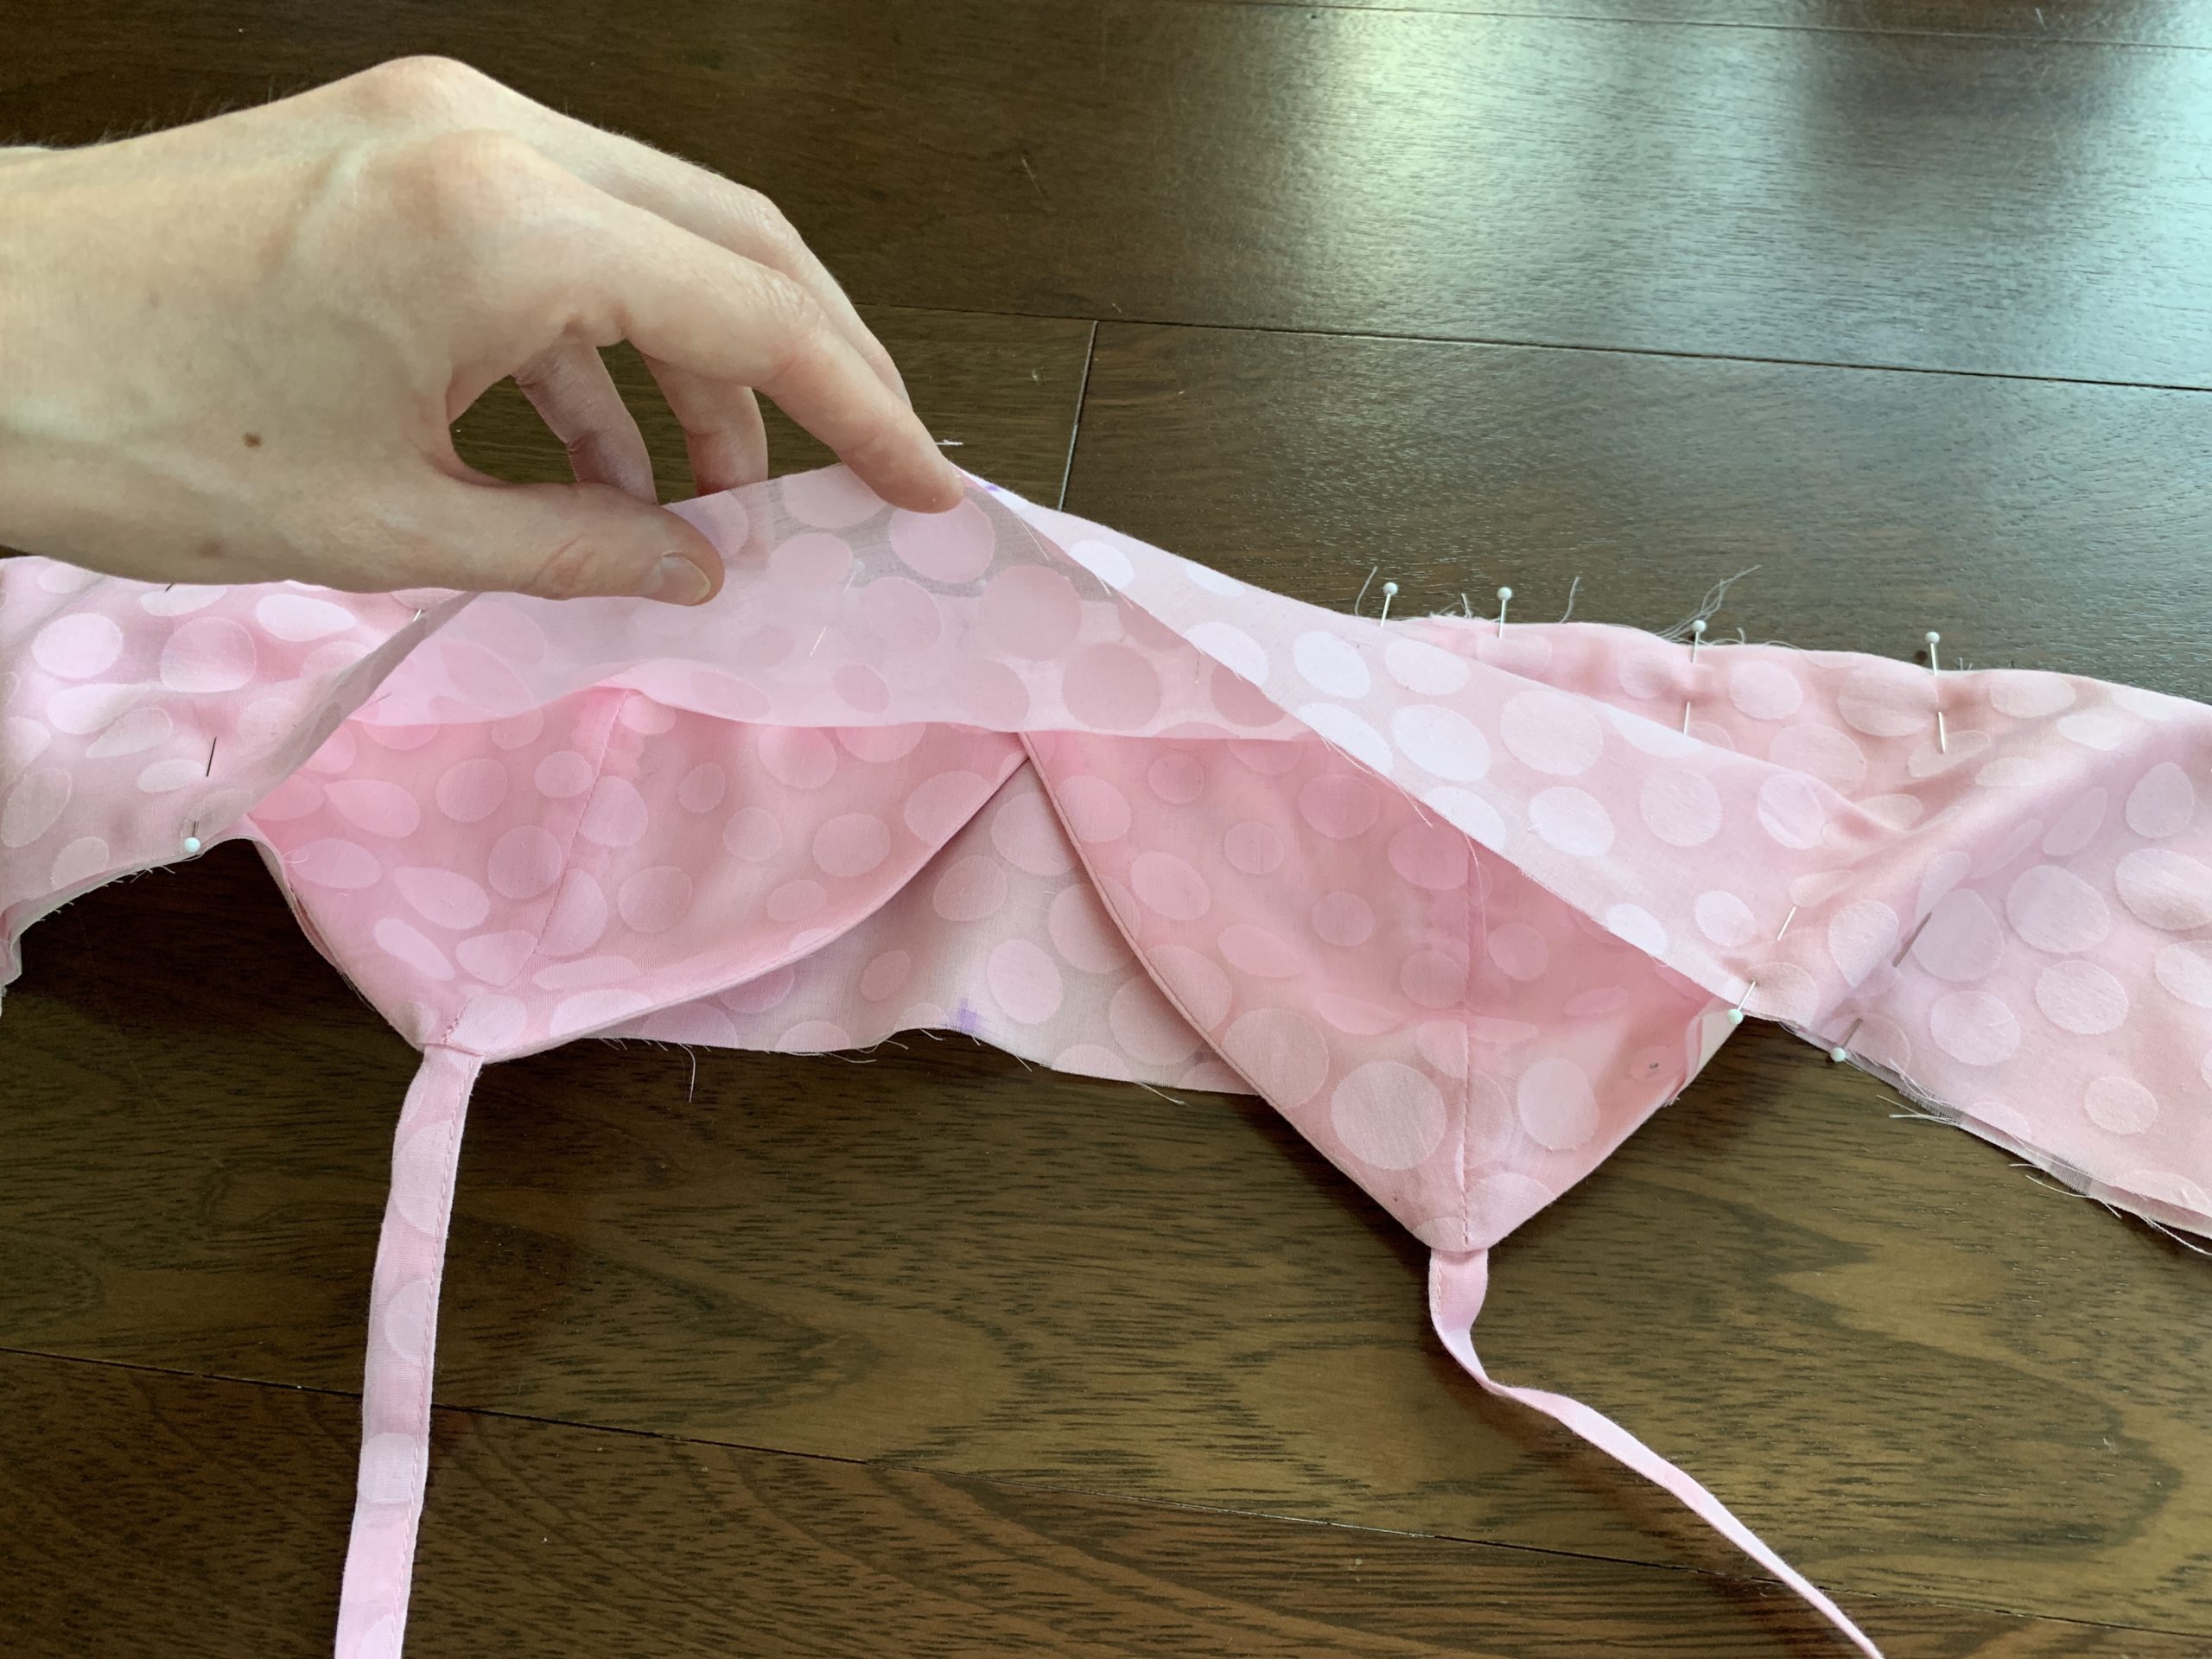
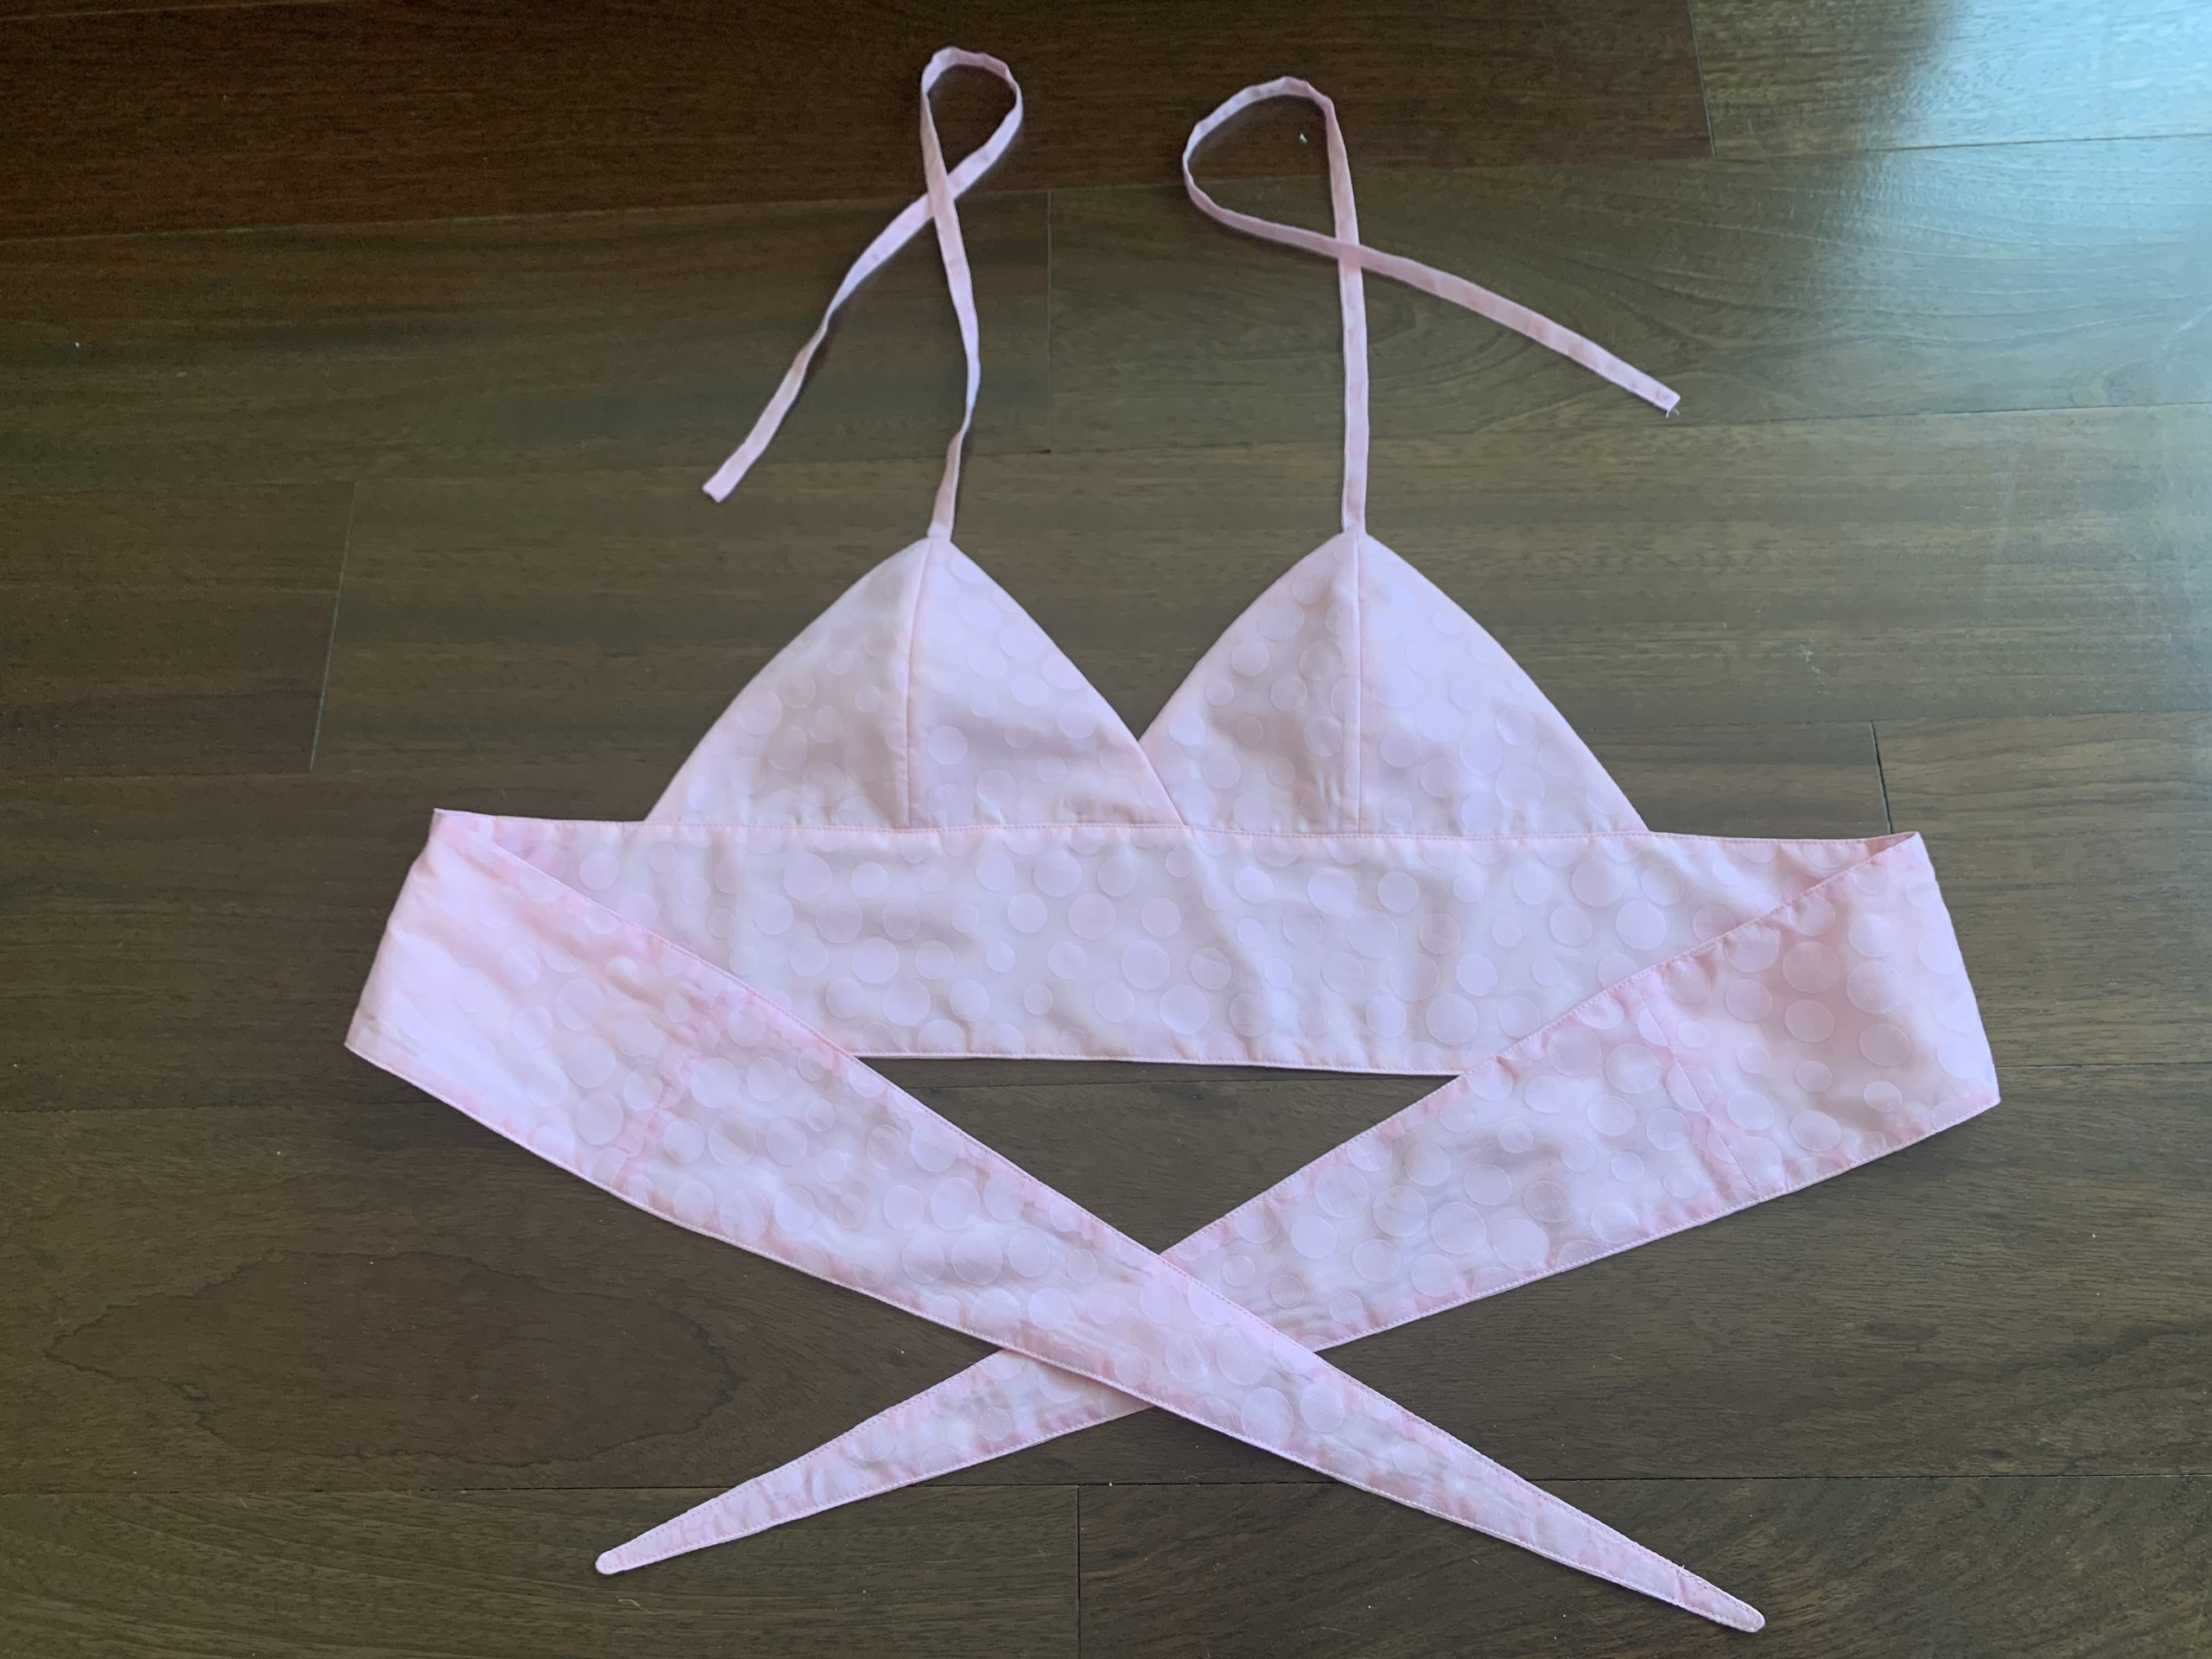
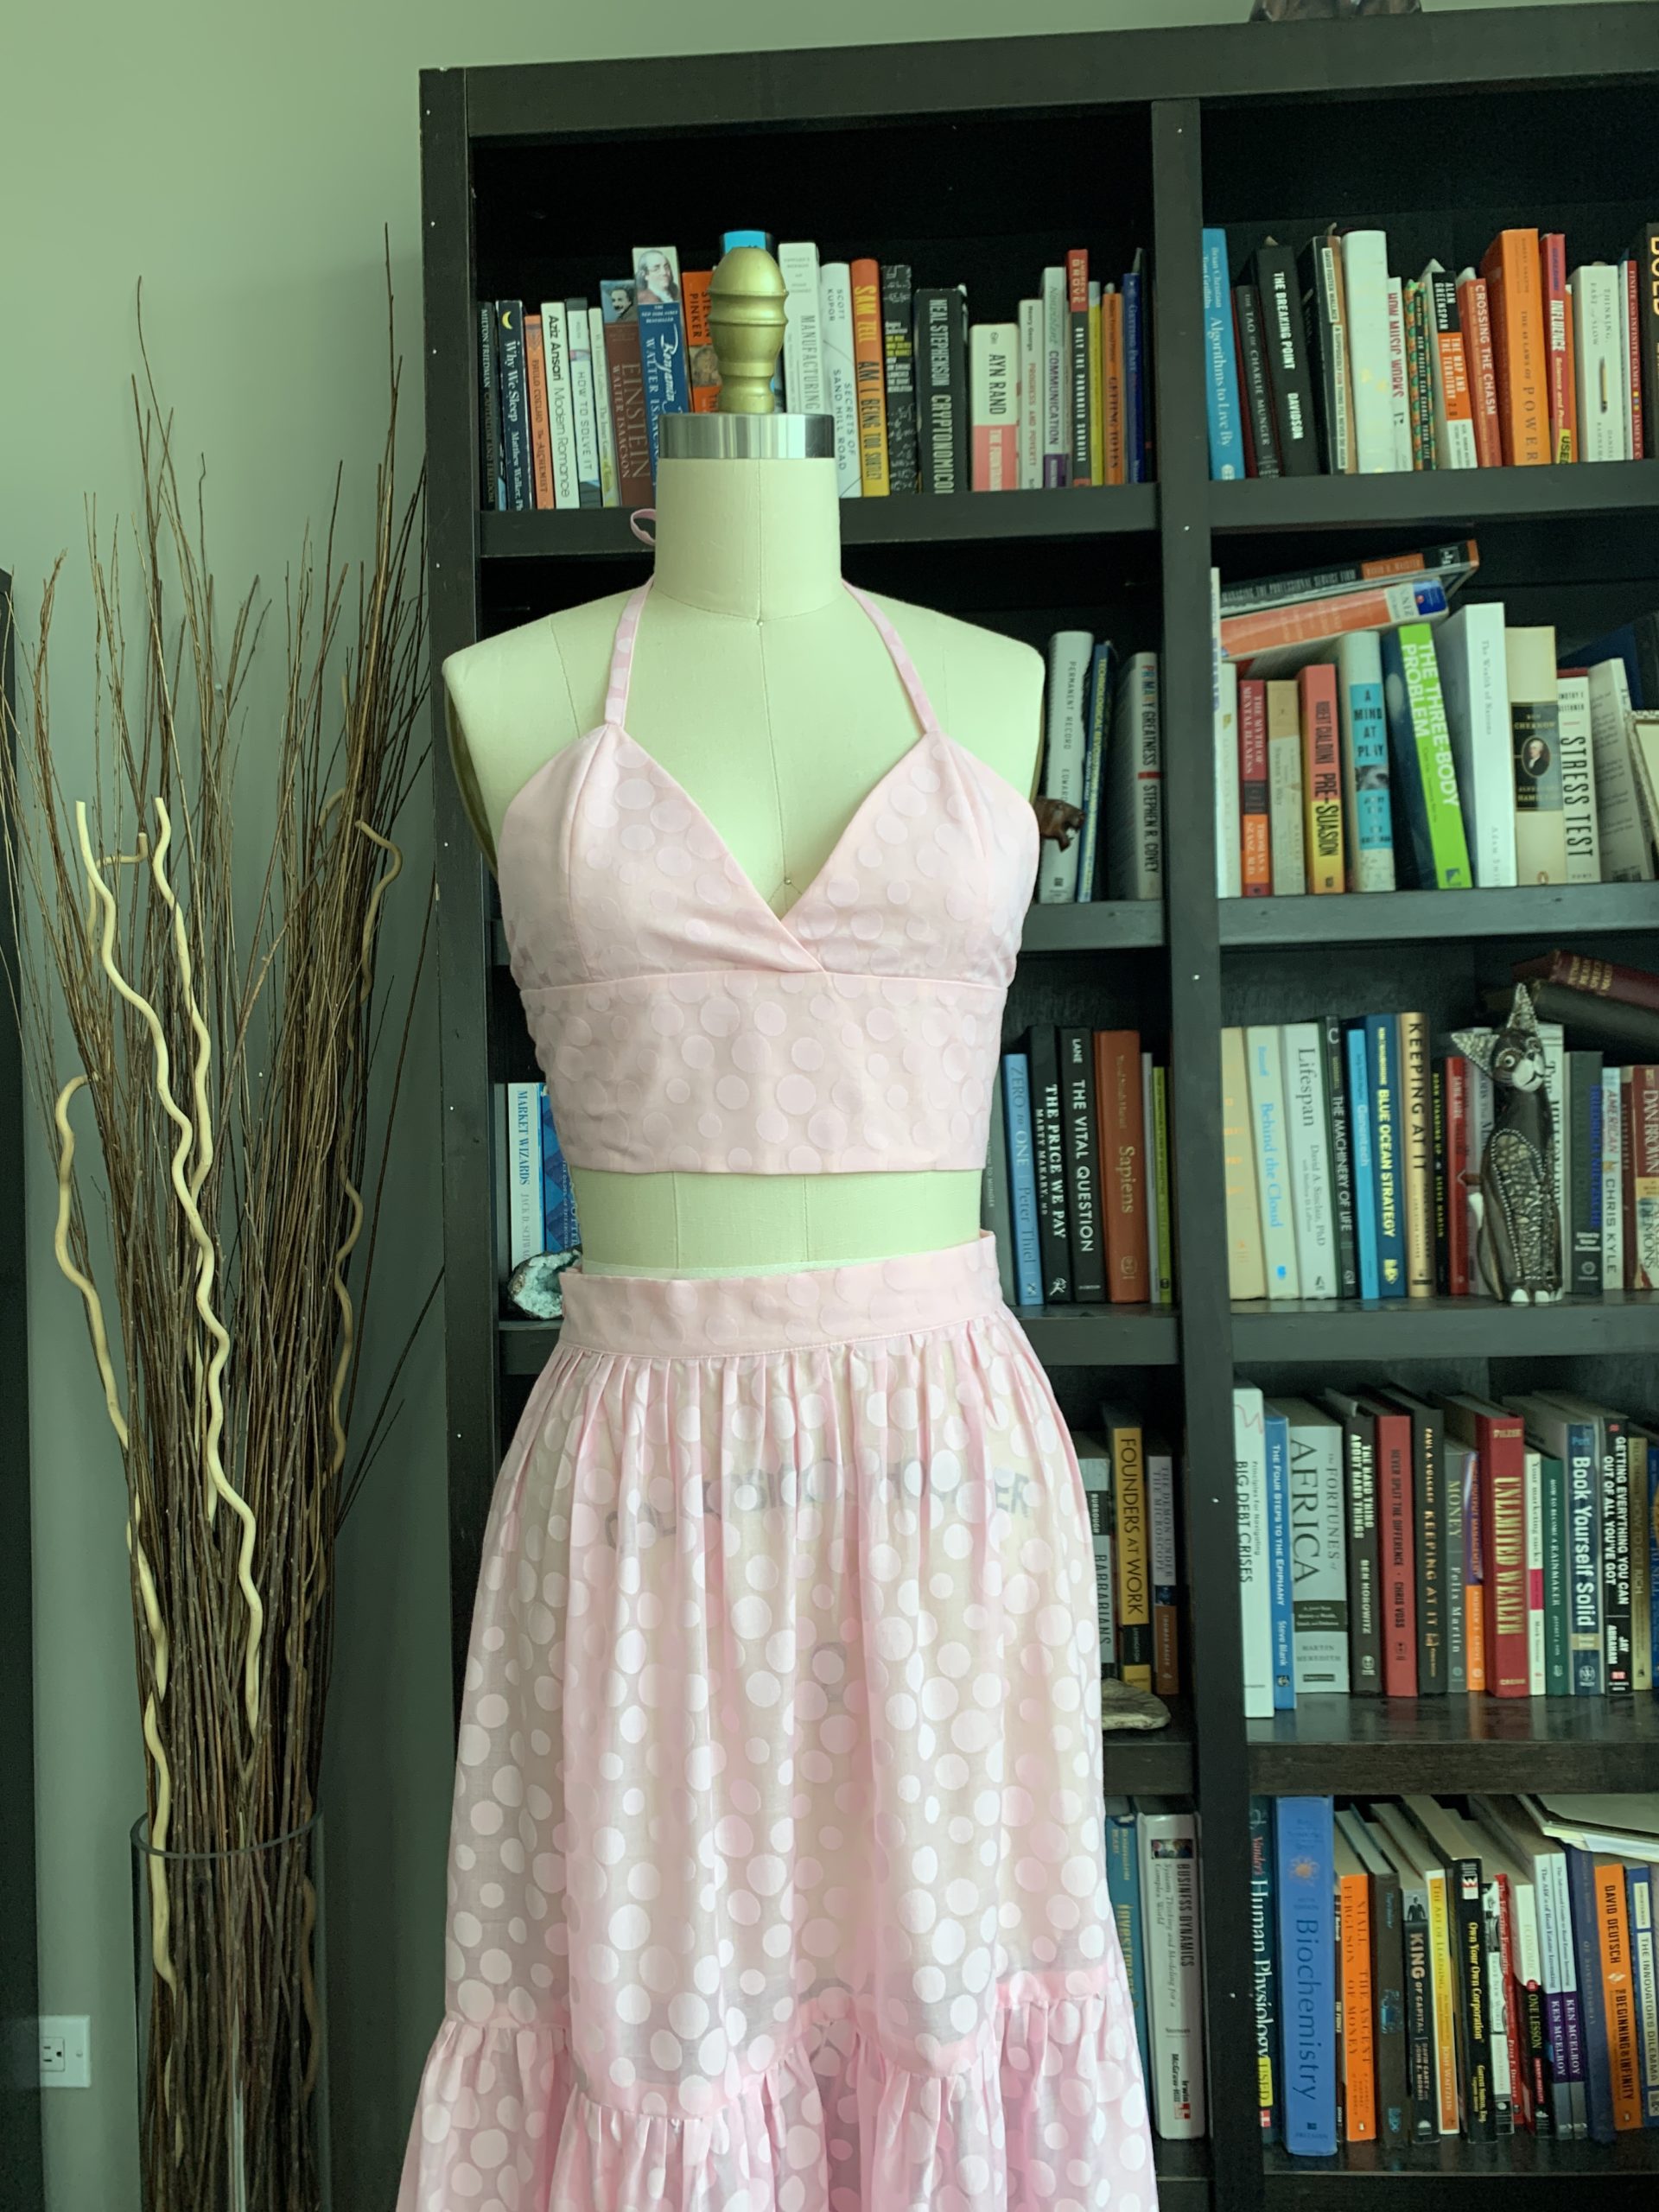
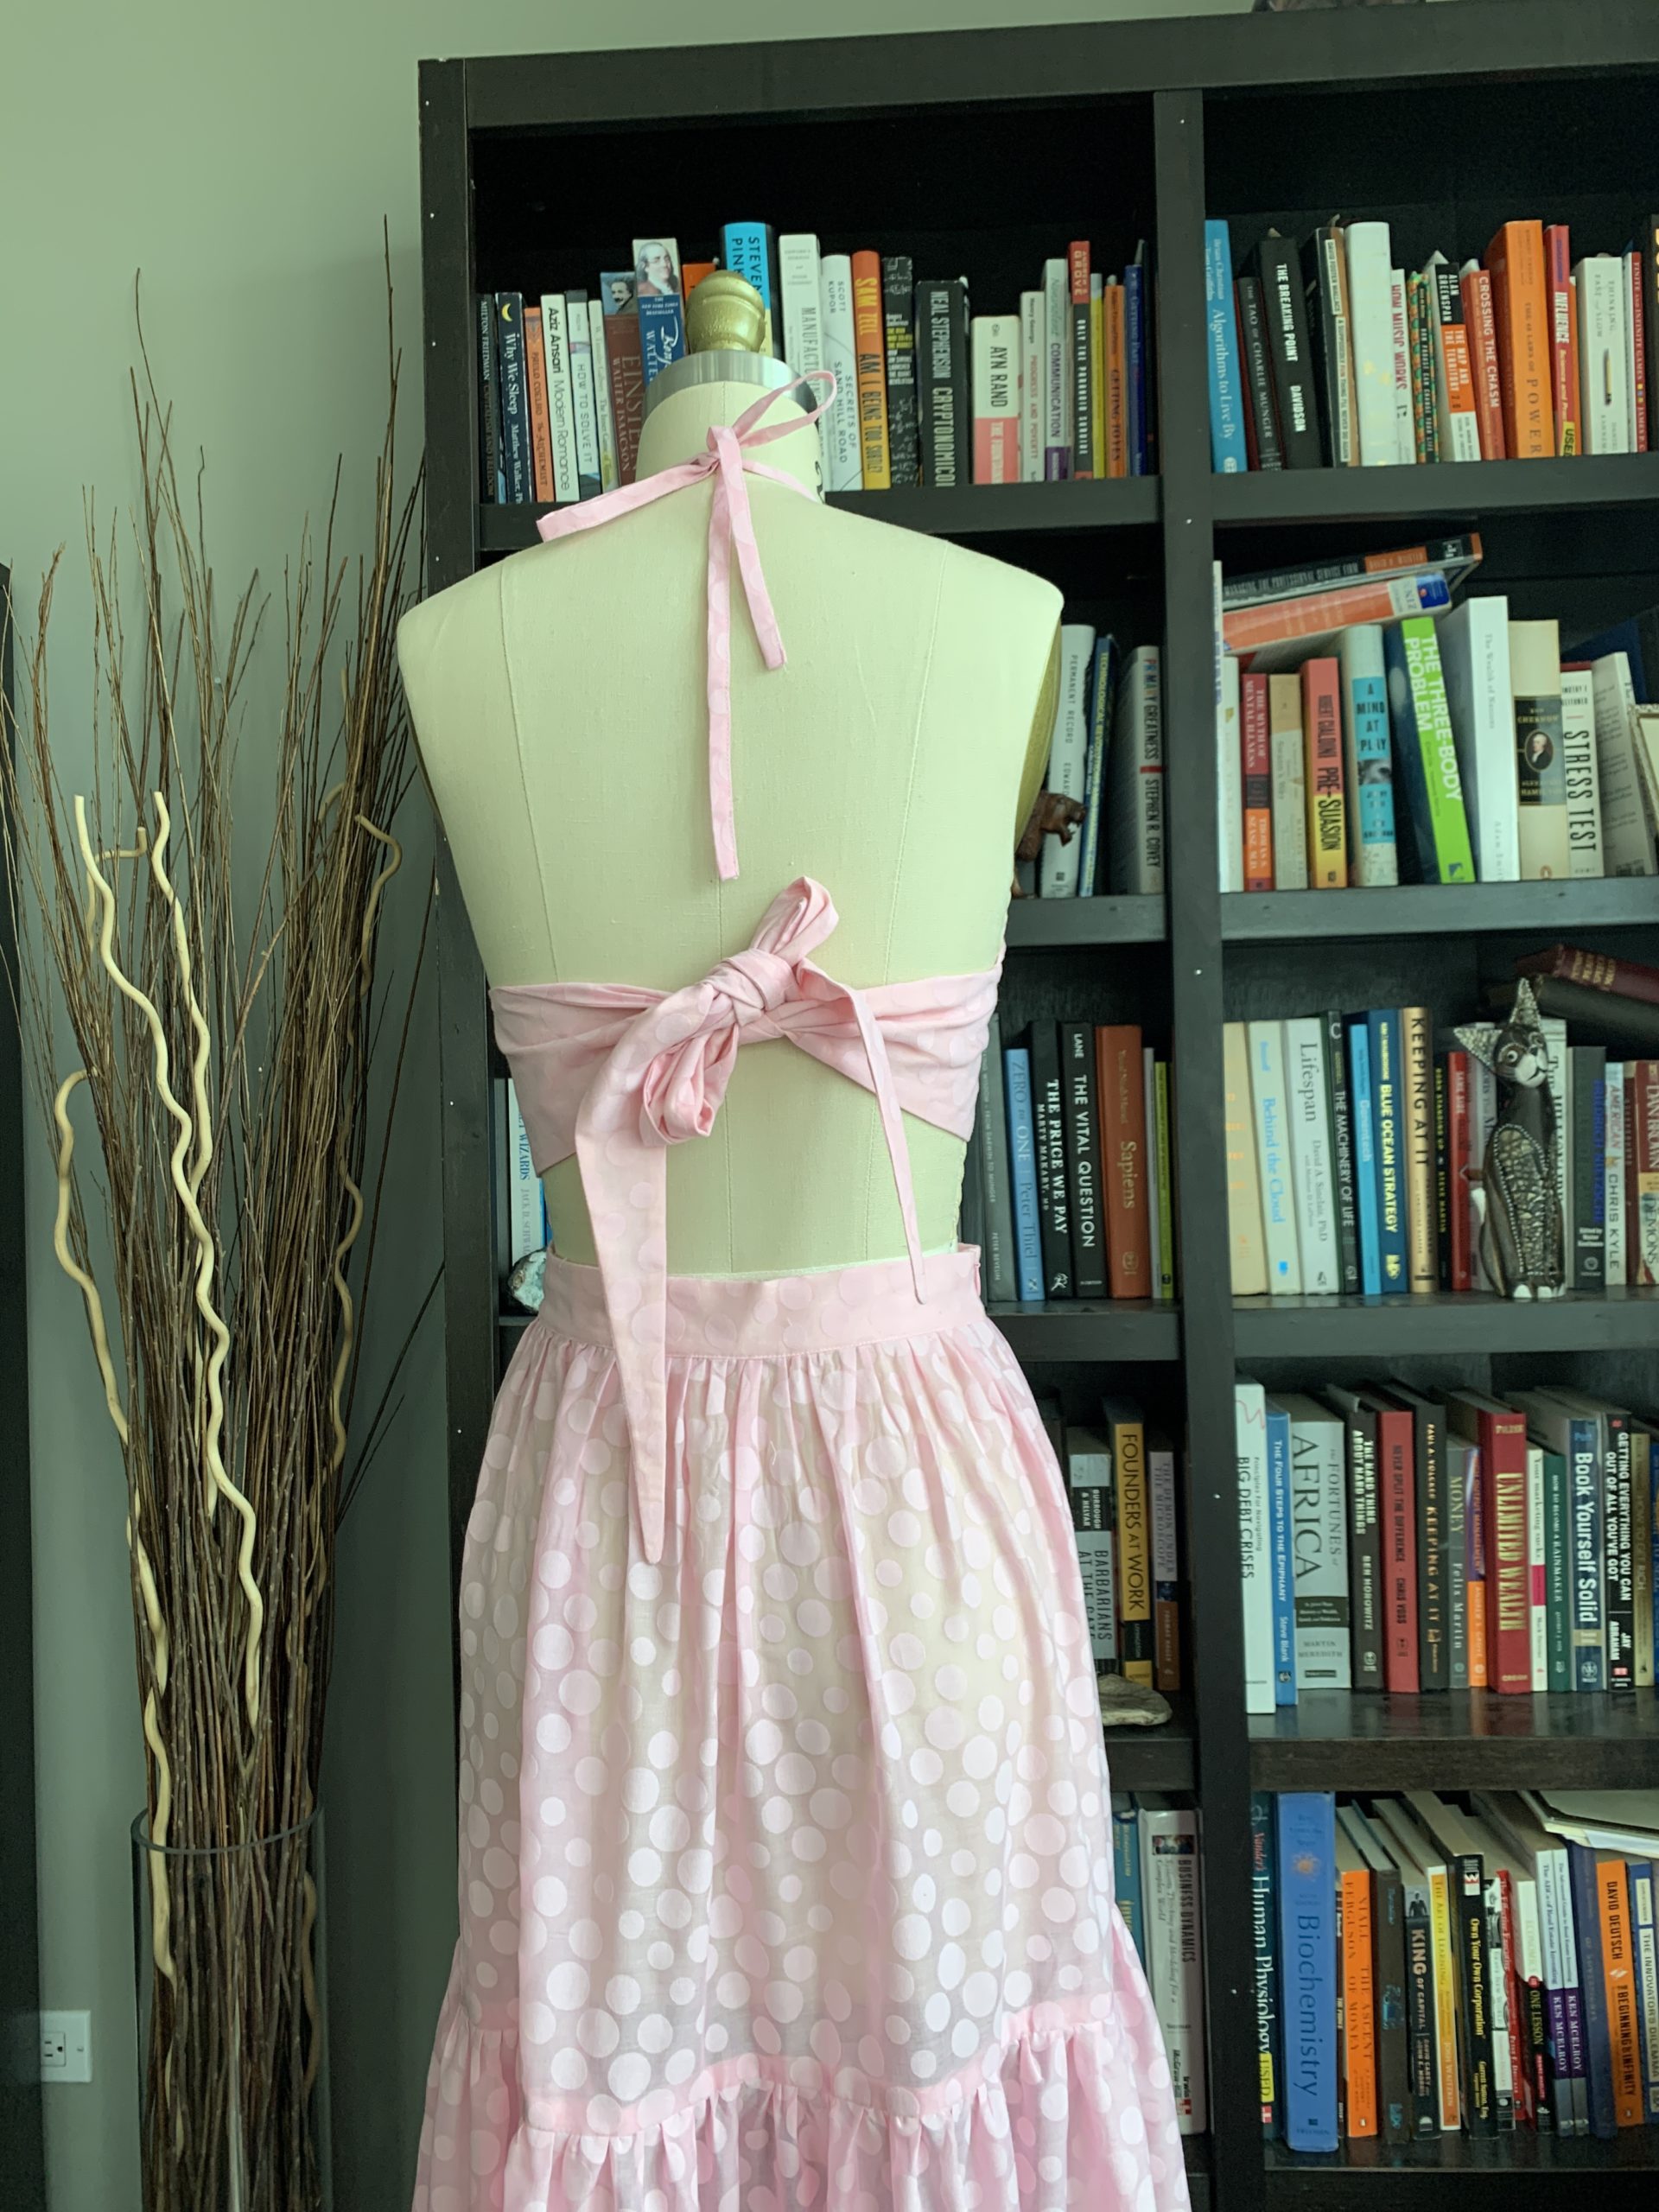
And then the outfit was done! 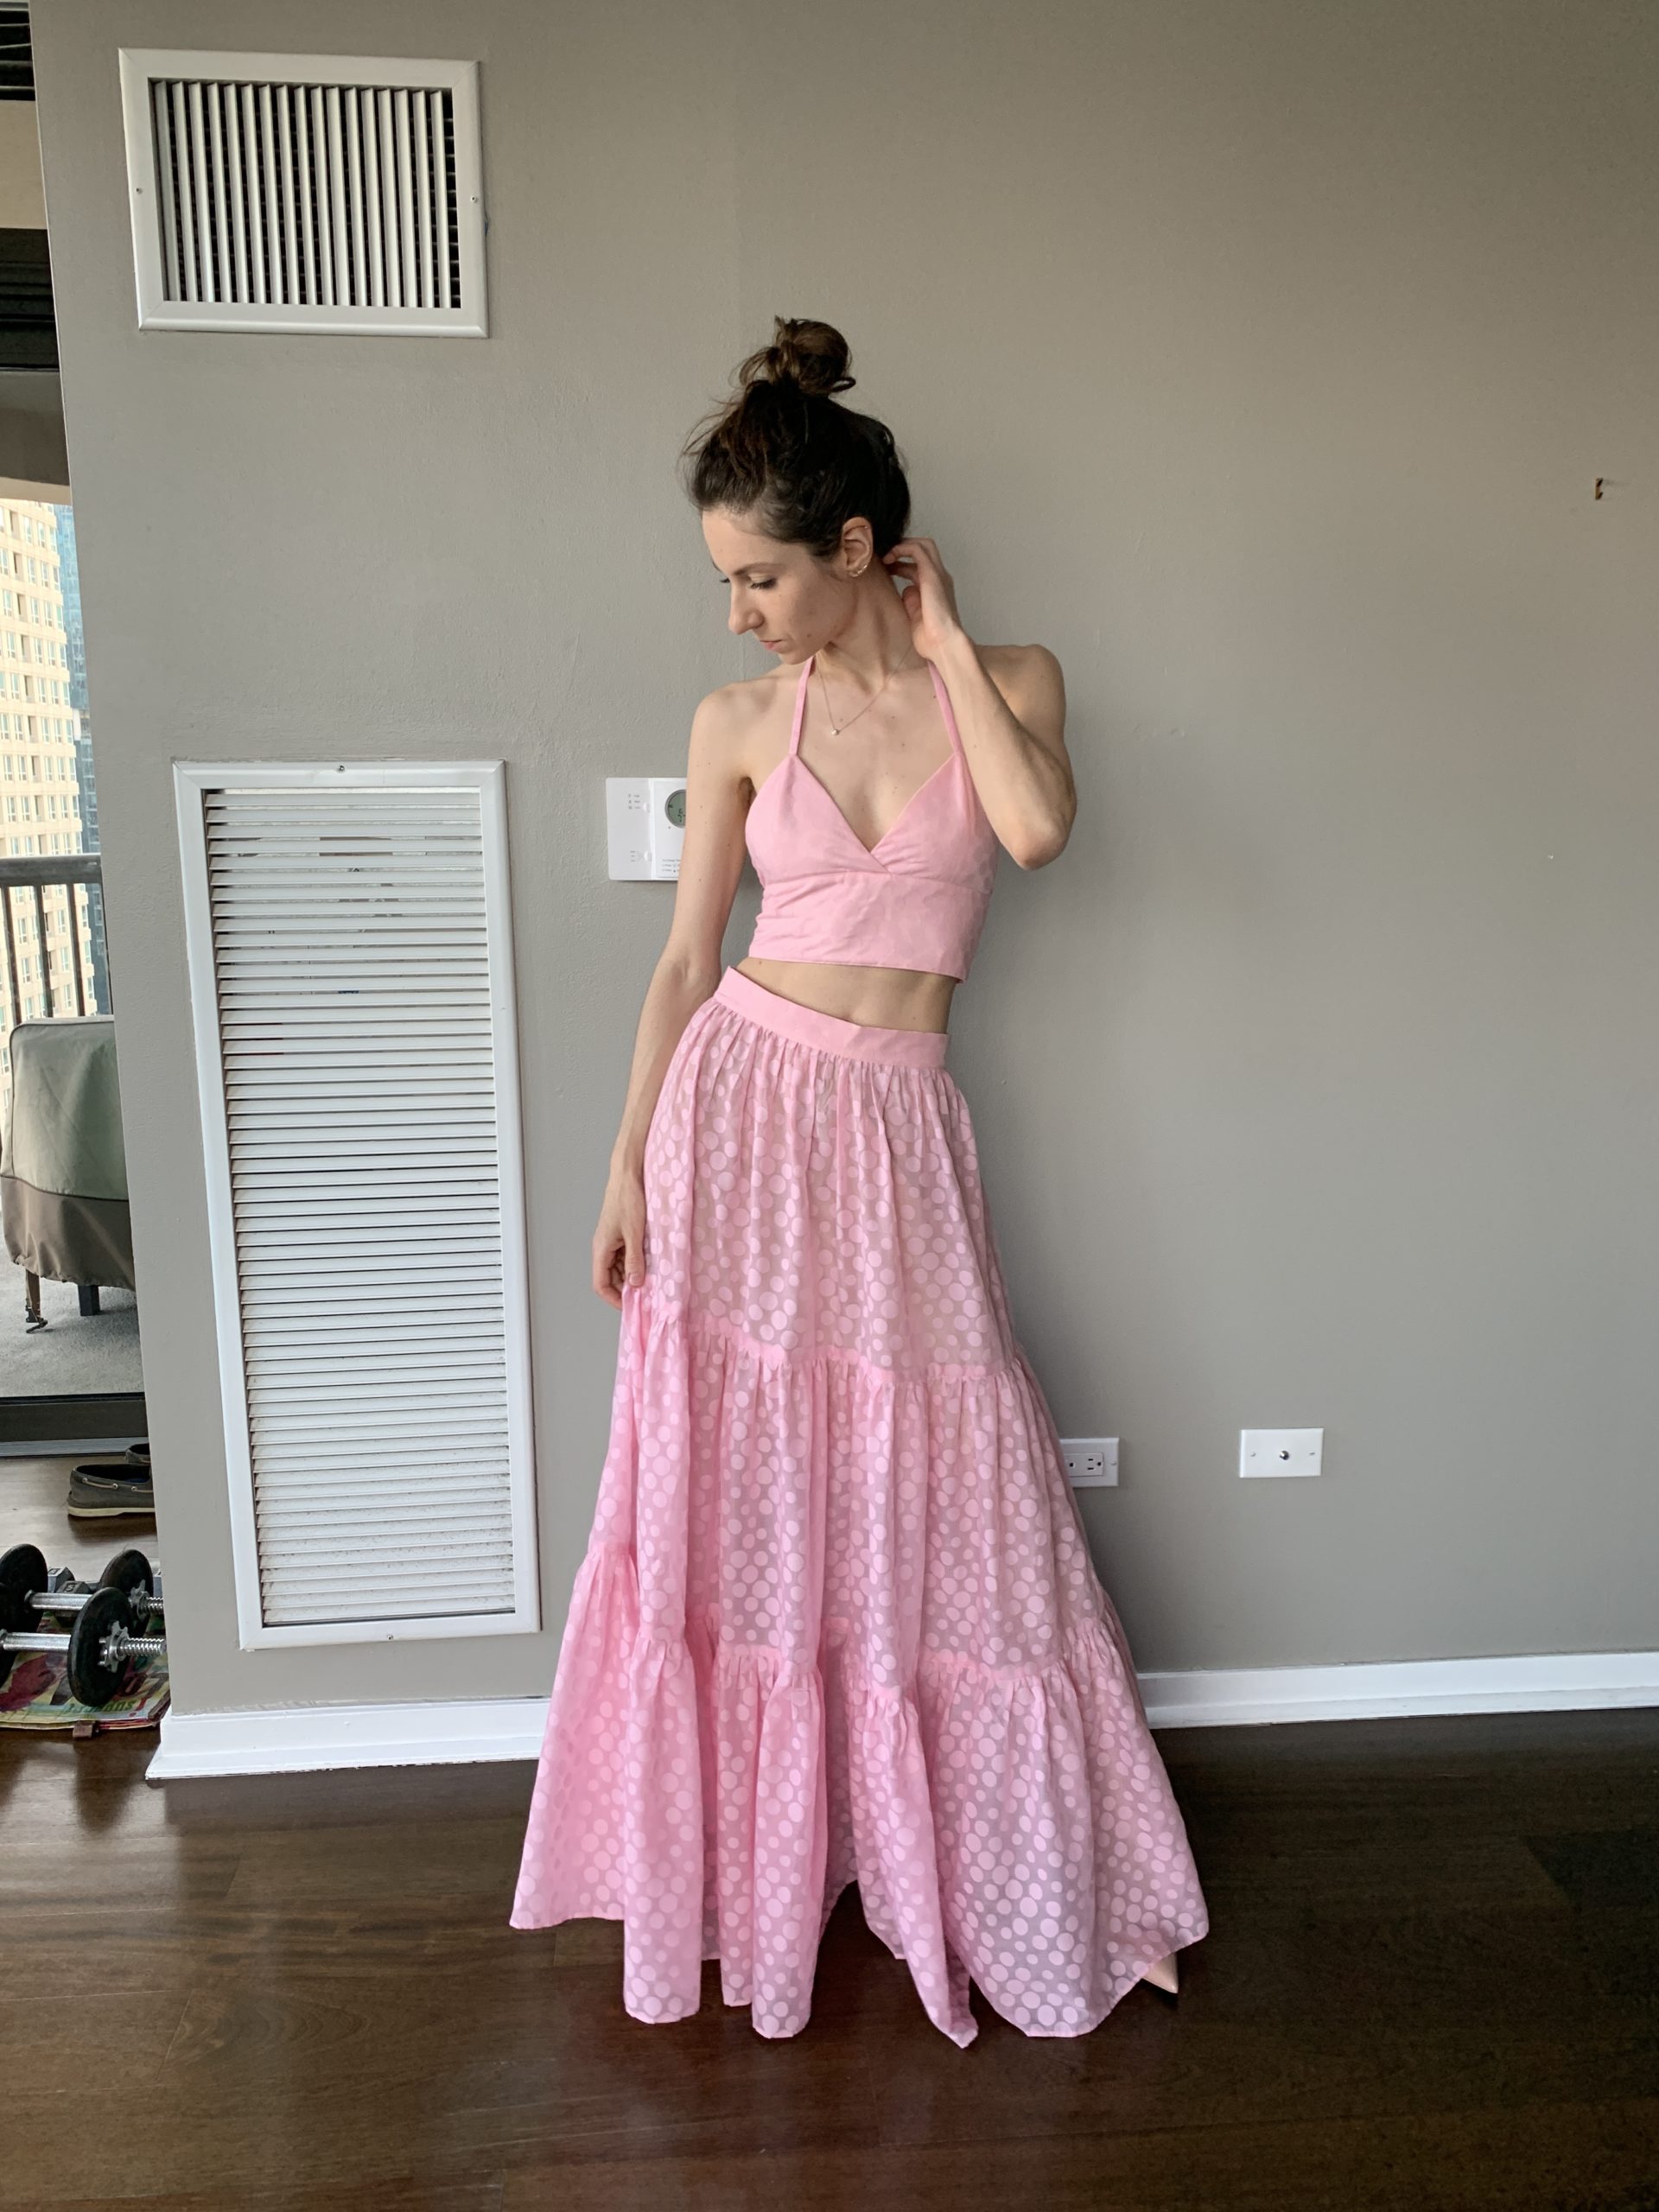
Needless to say, I am completely obsessed.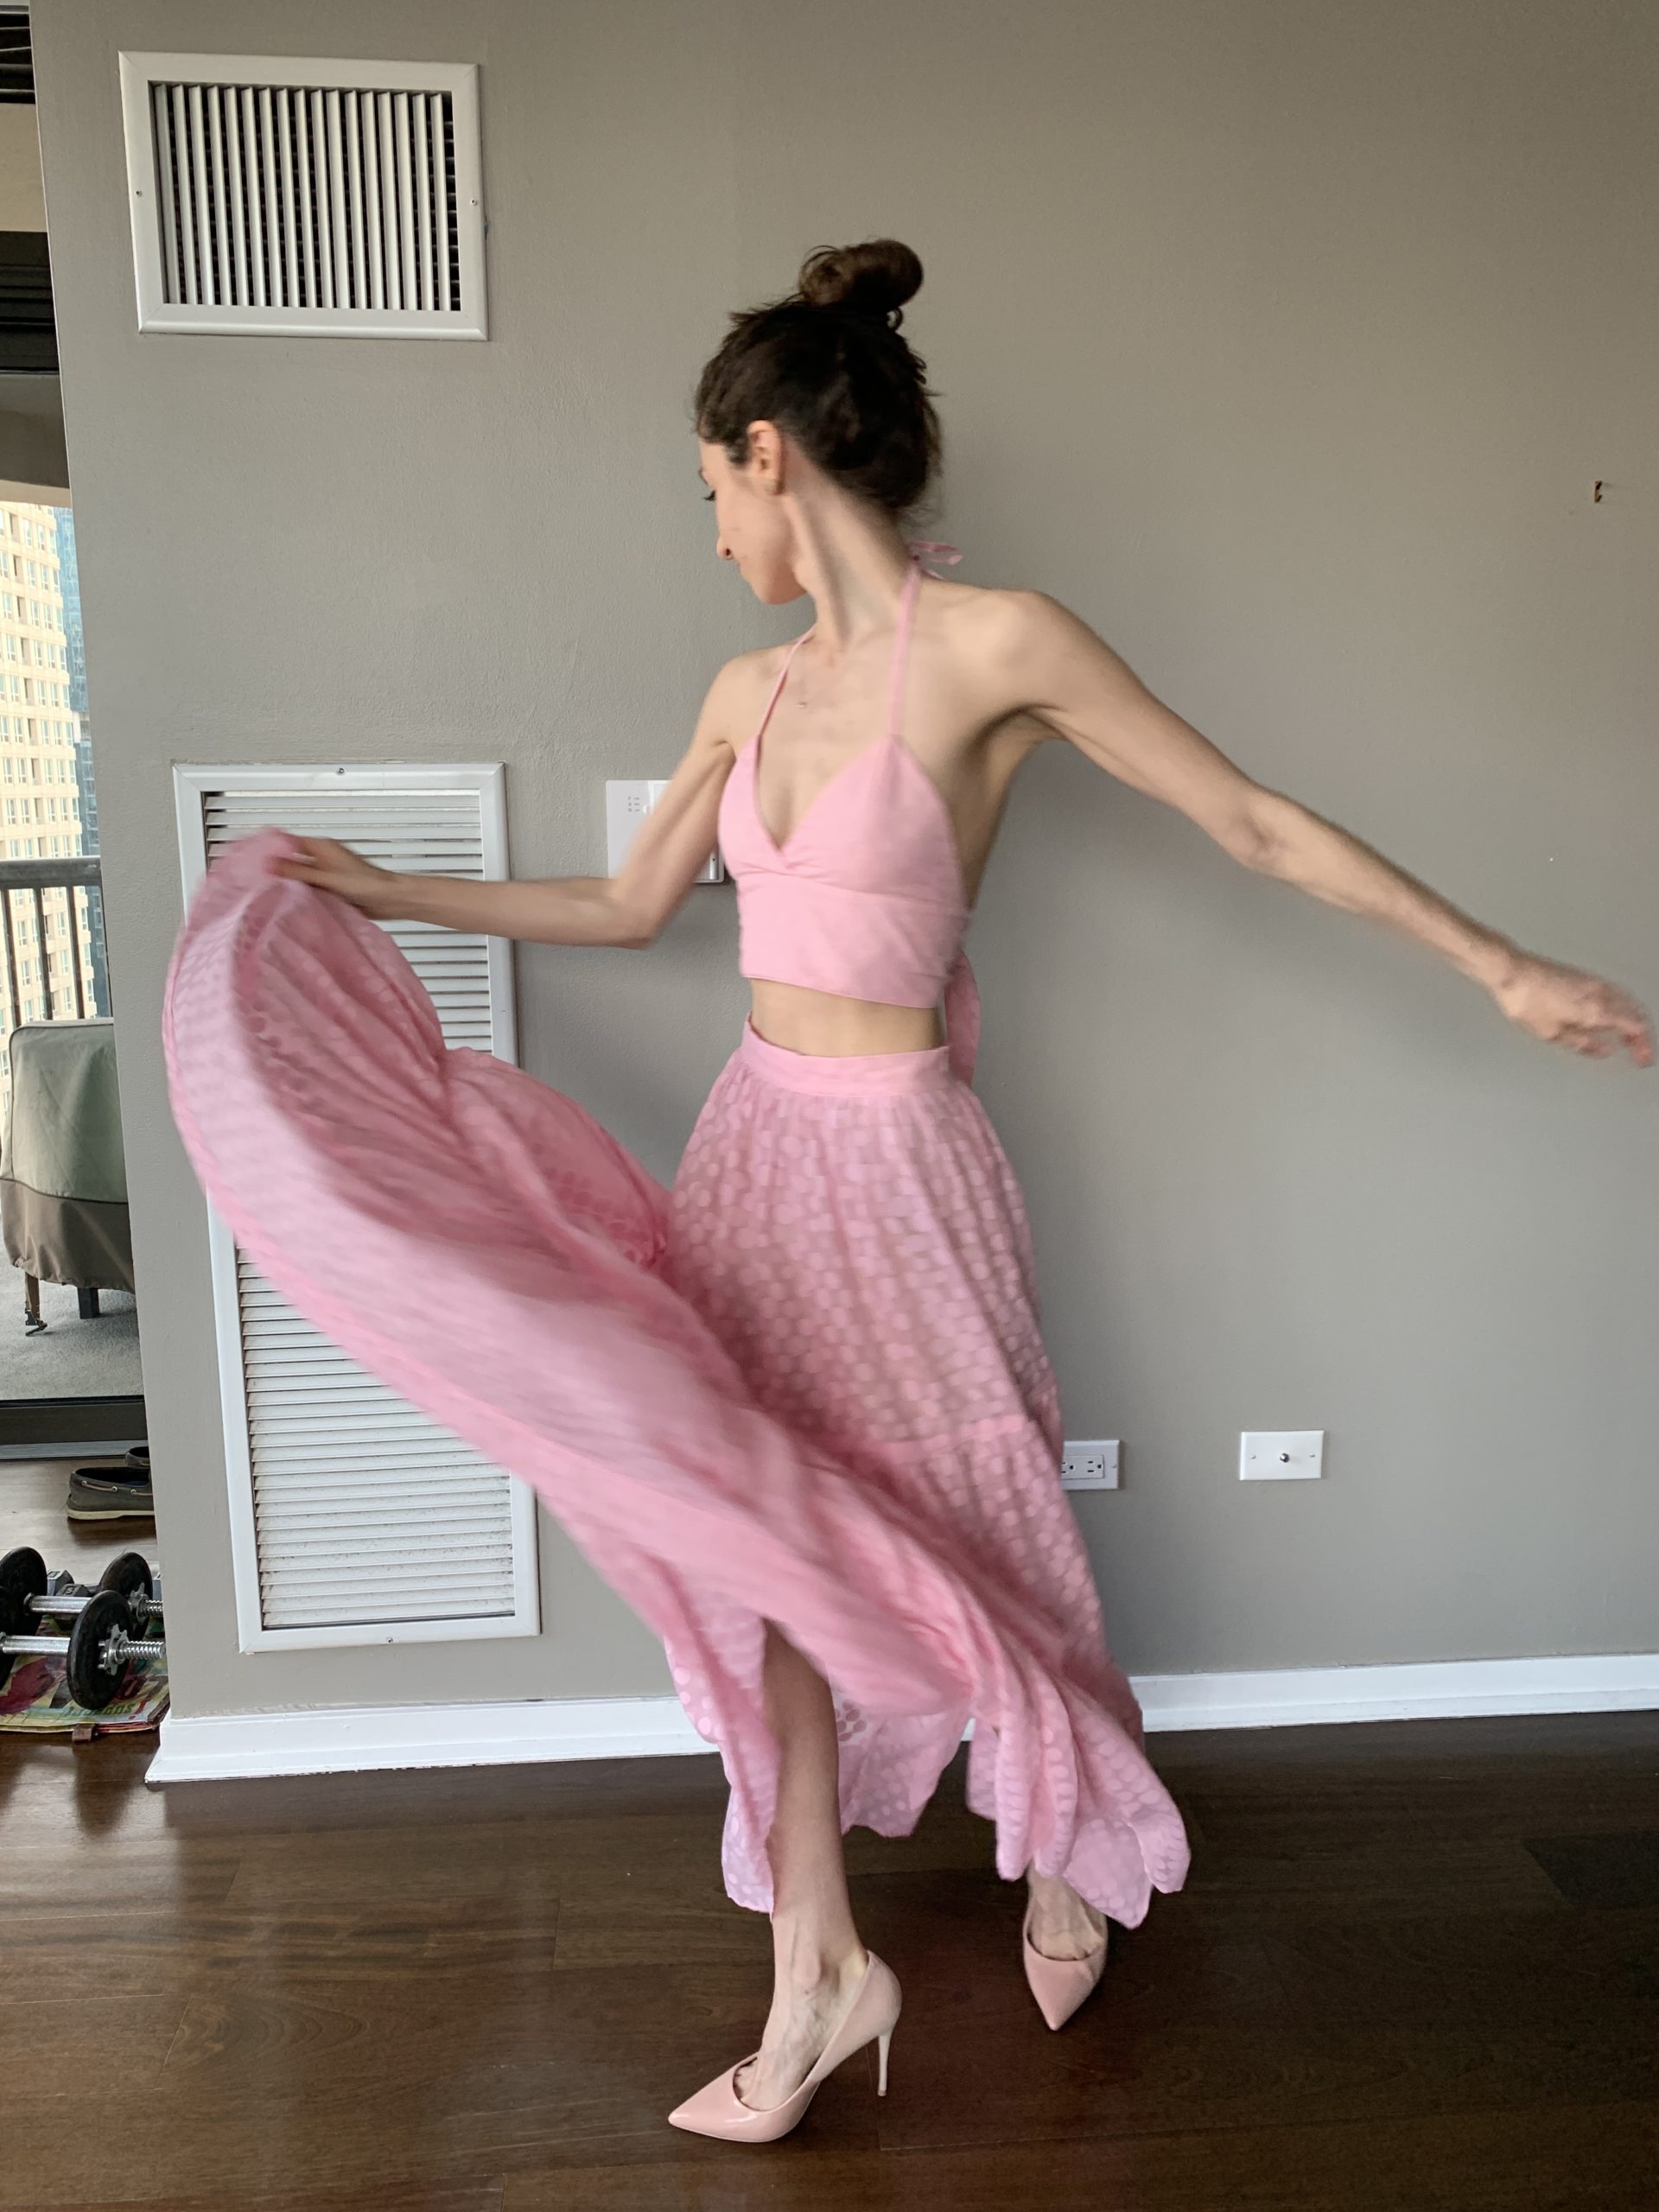
This outfit is definitely a bit more feminine and…pink than I’m used to, but I feel beautiful in it.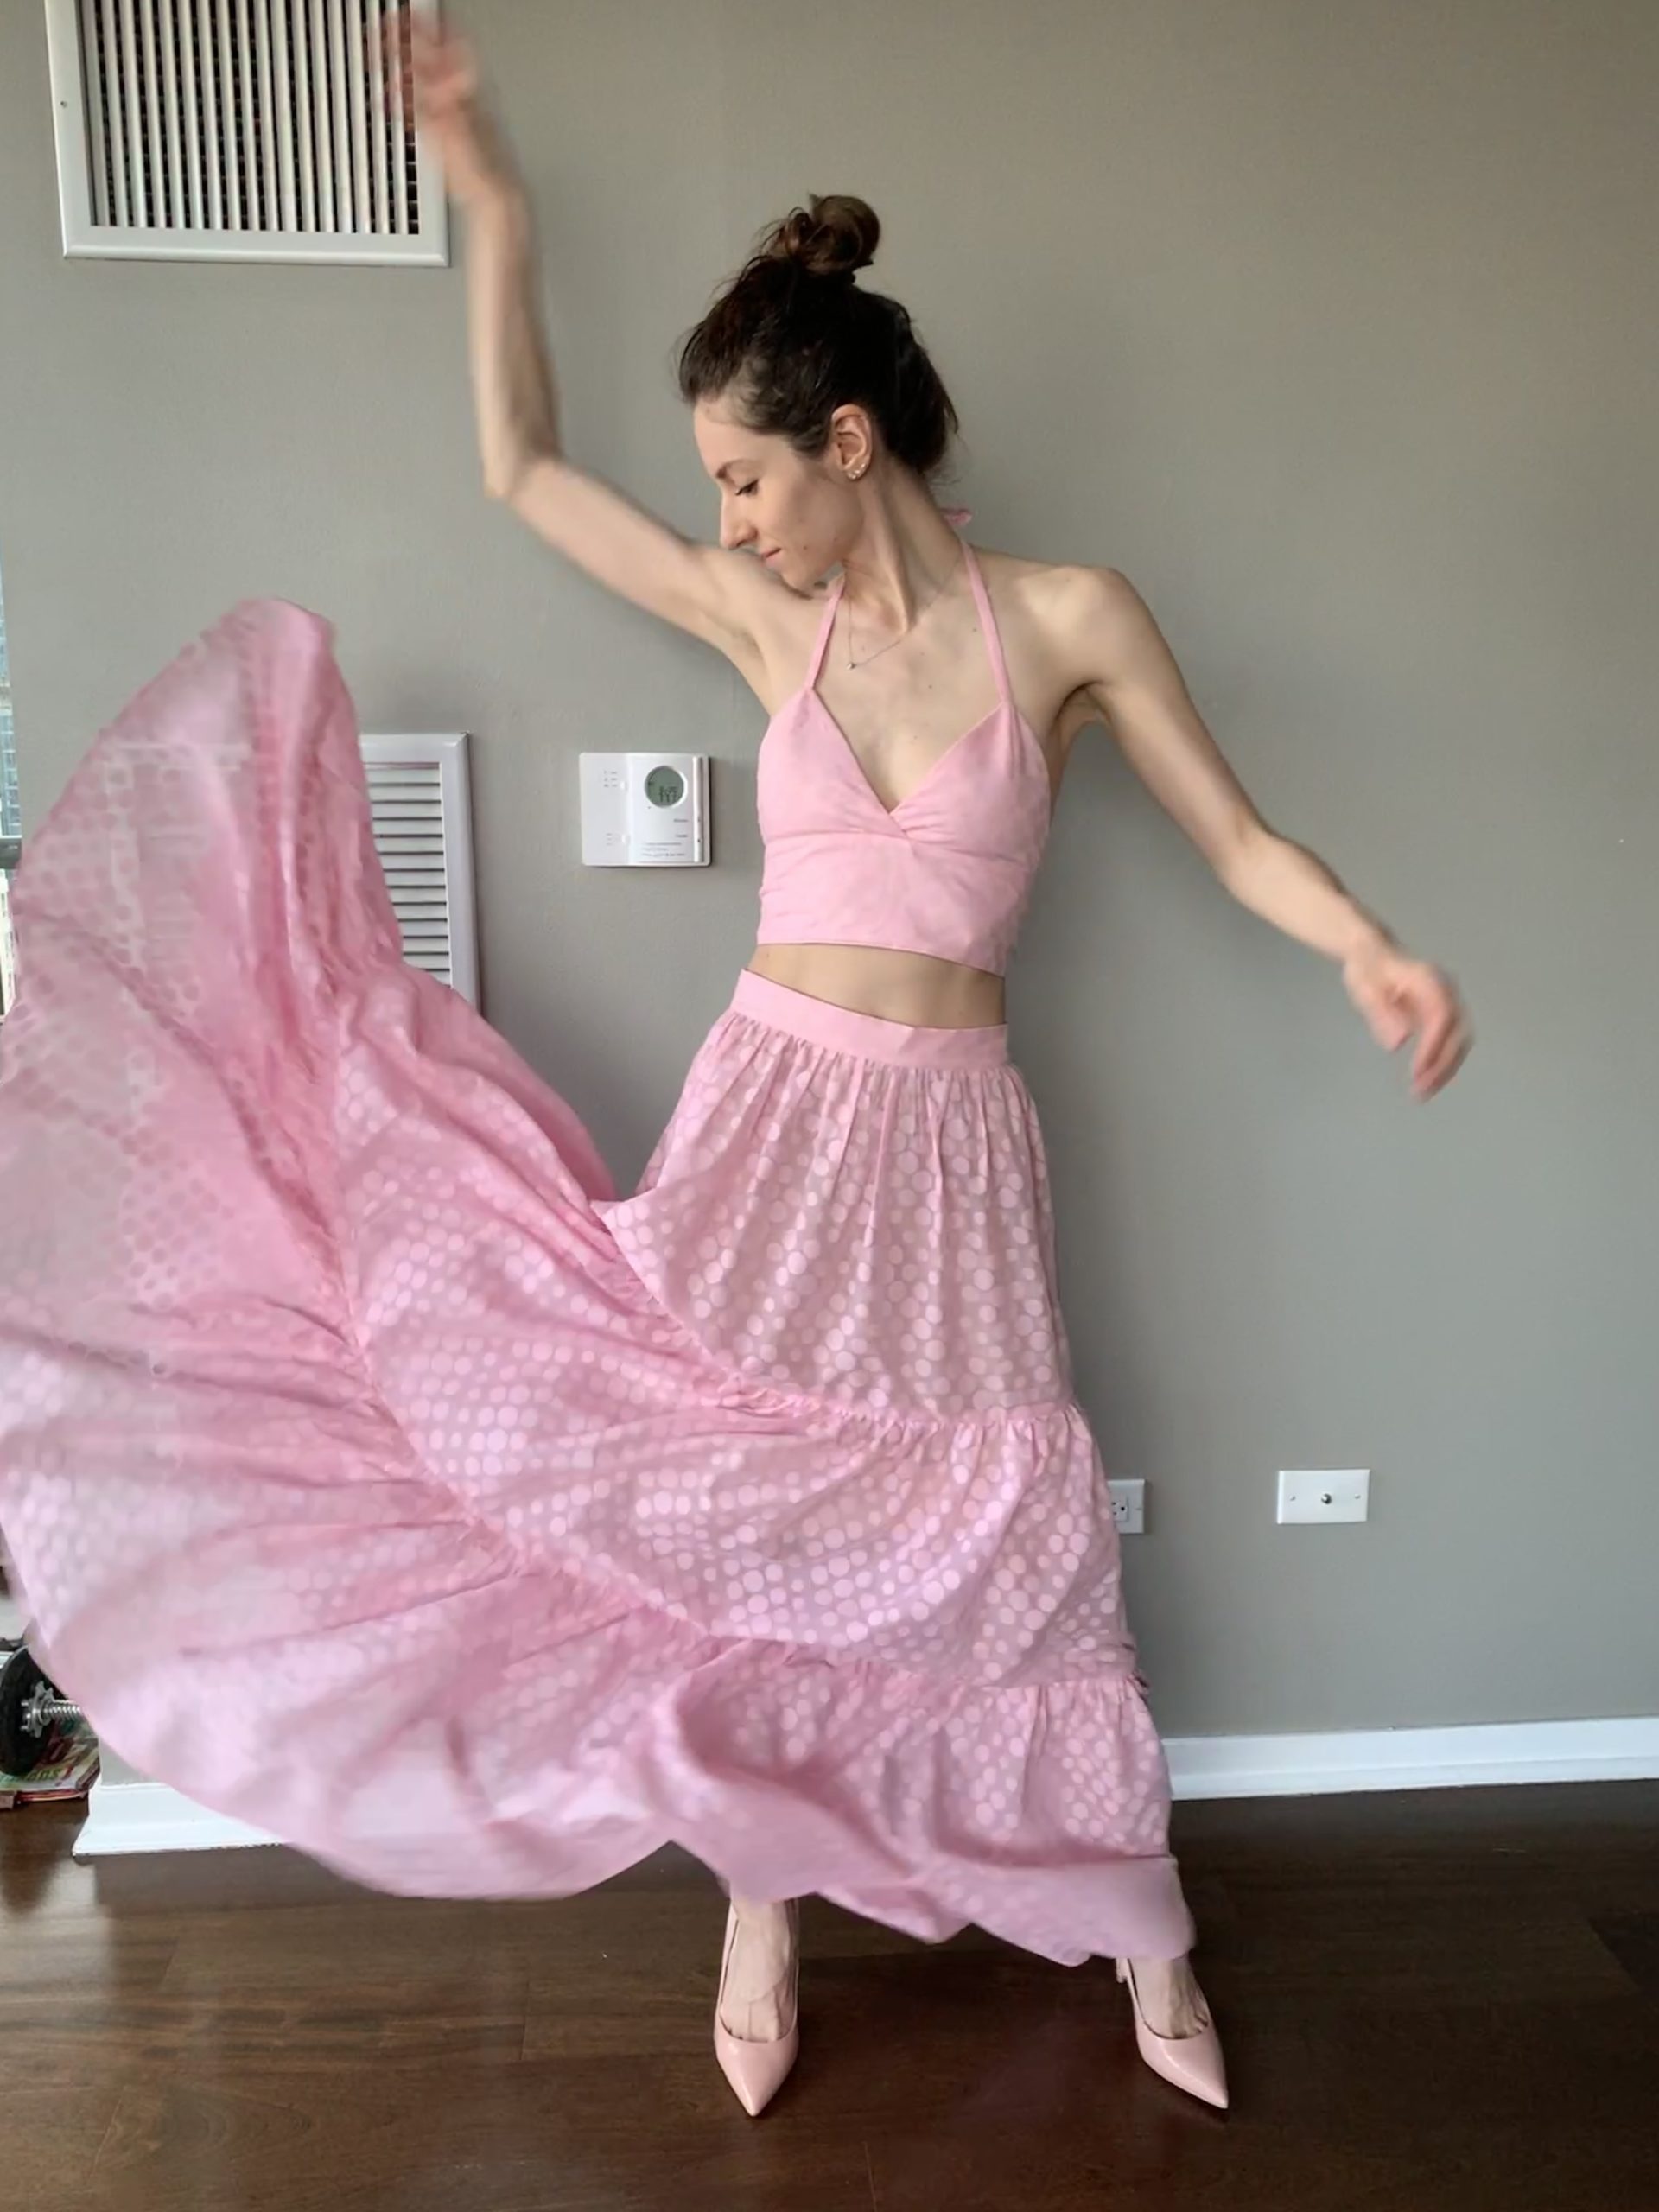

And that’s what matters right?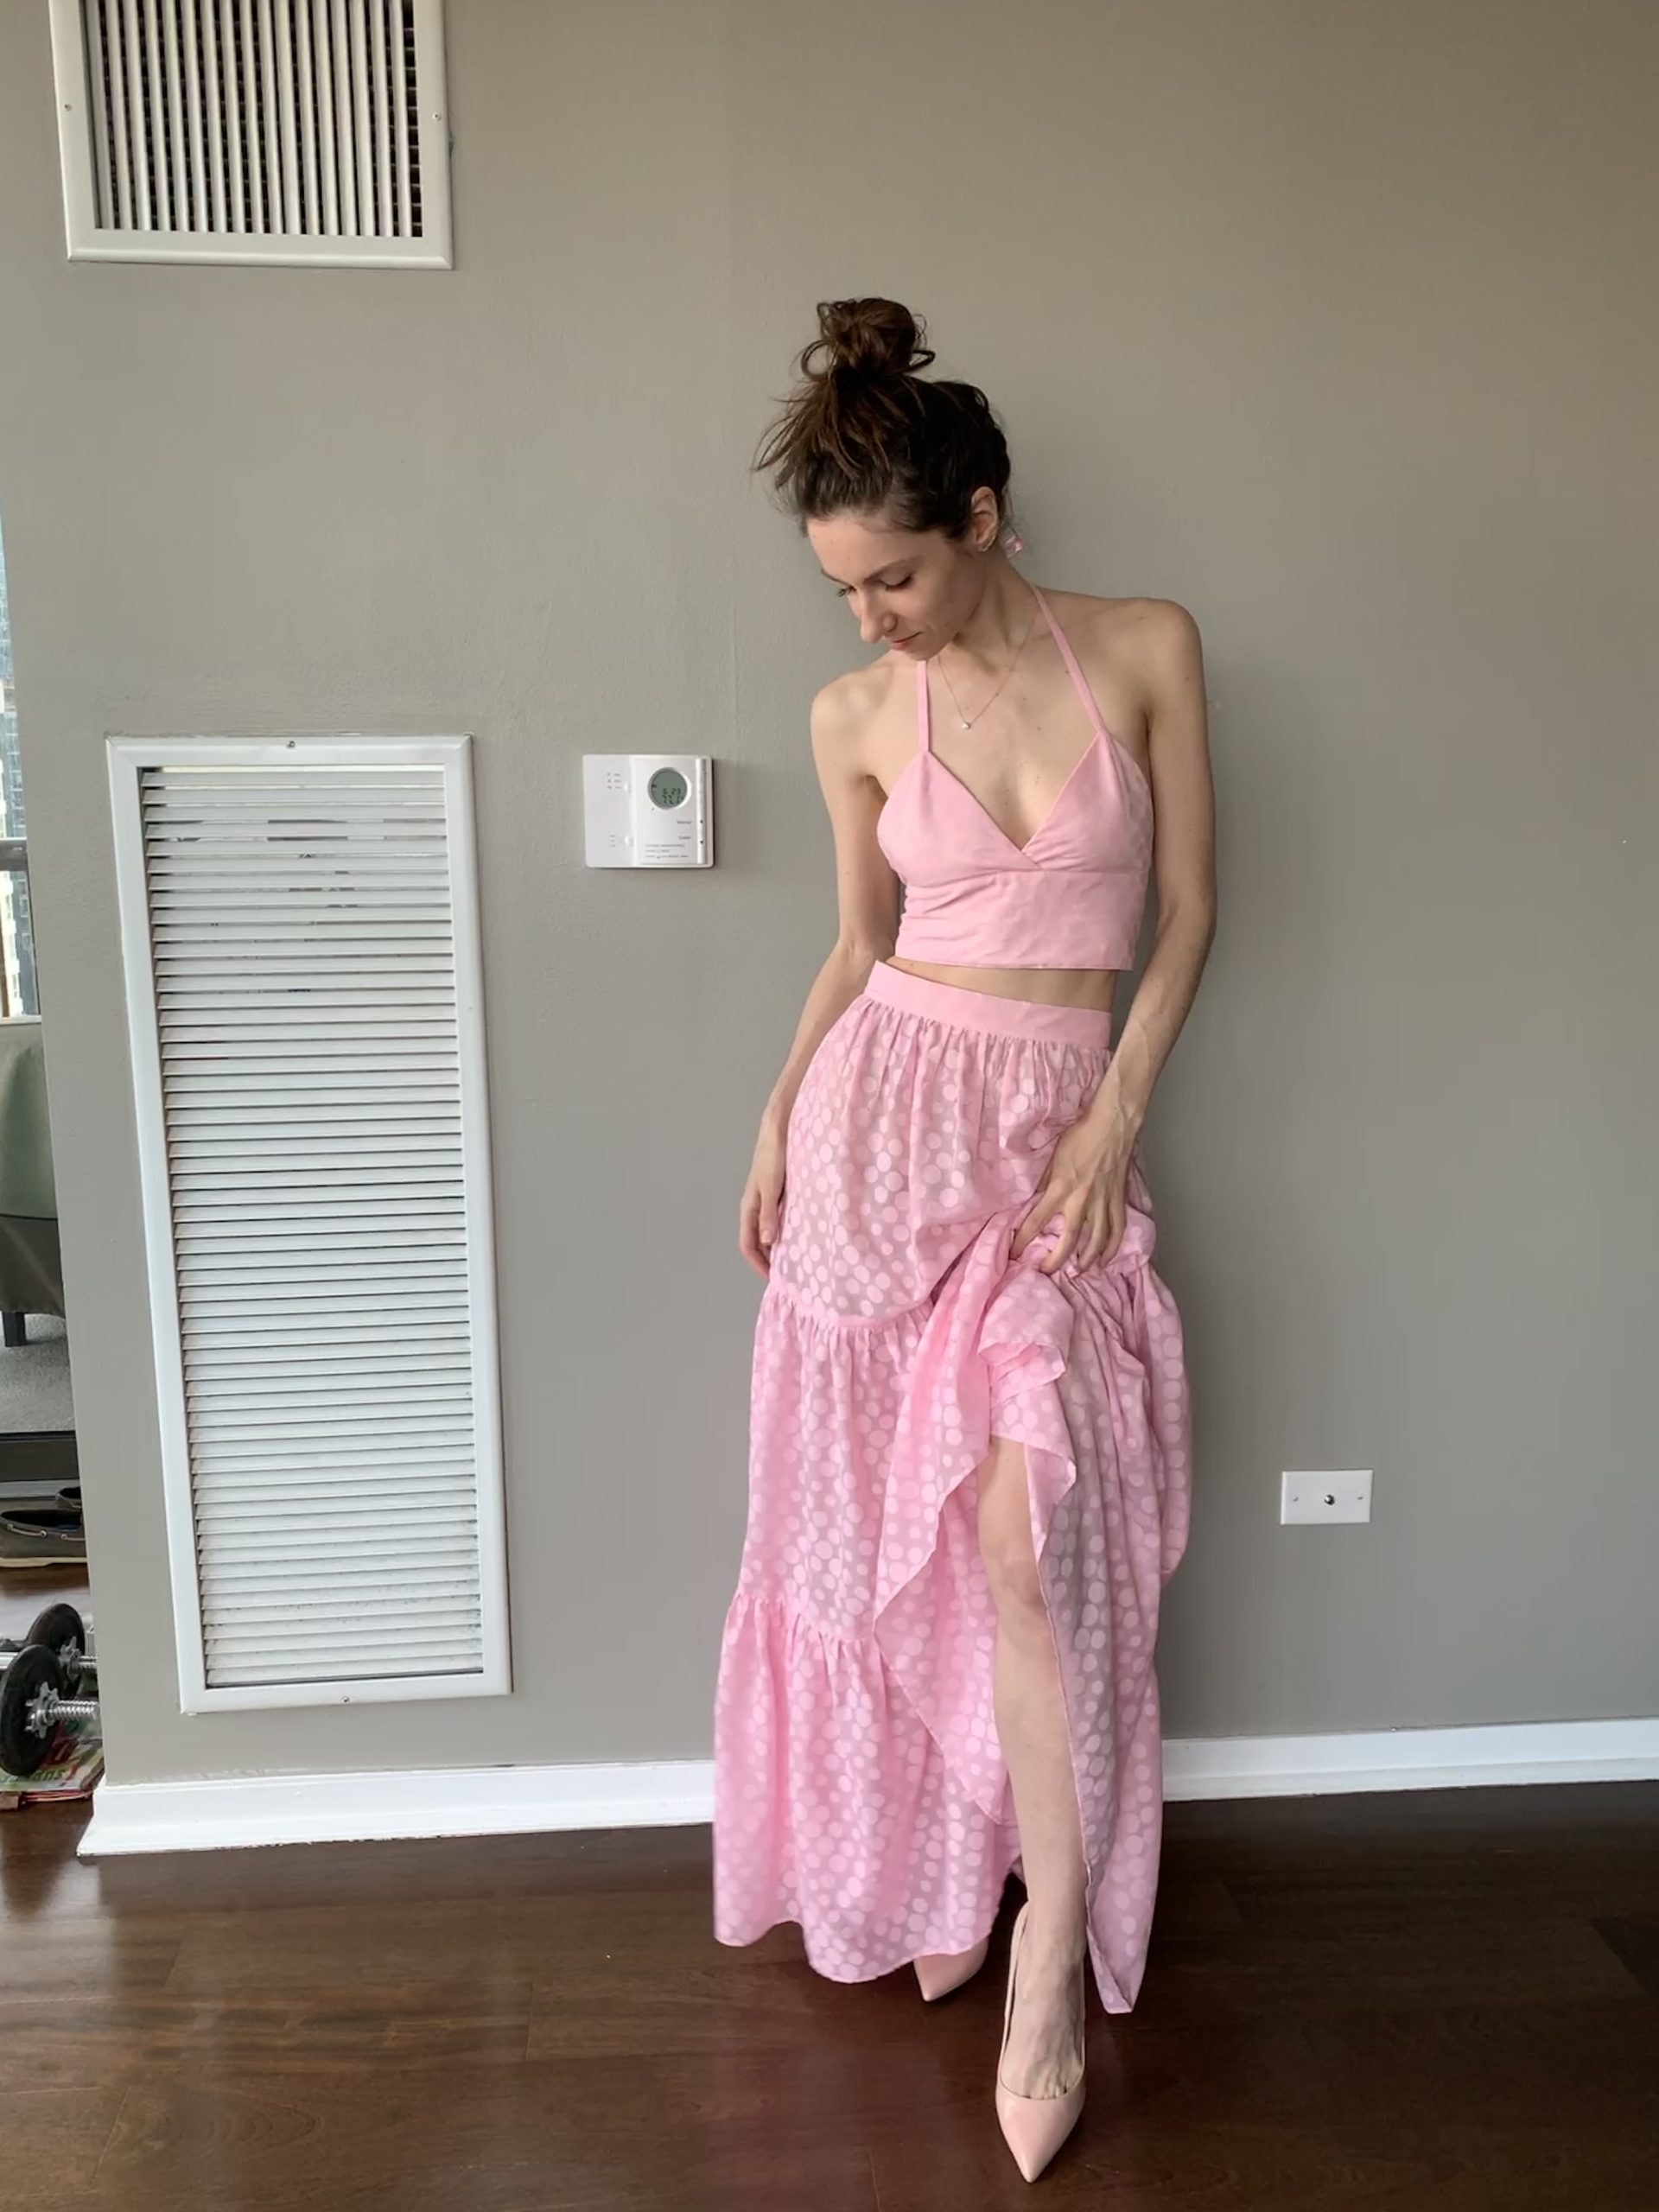
See you soon, Seychelles.
~Irina

